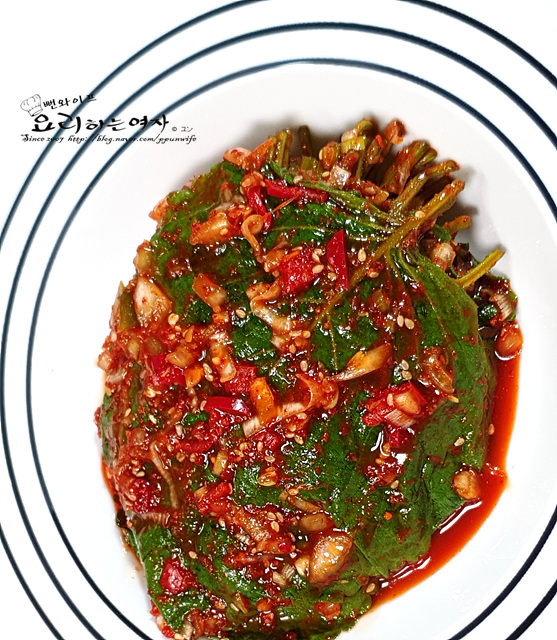
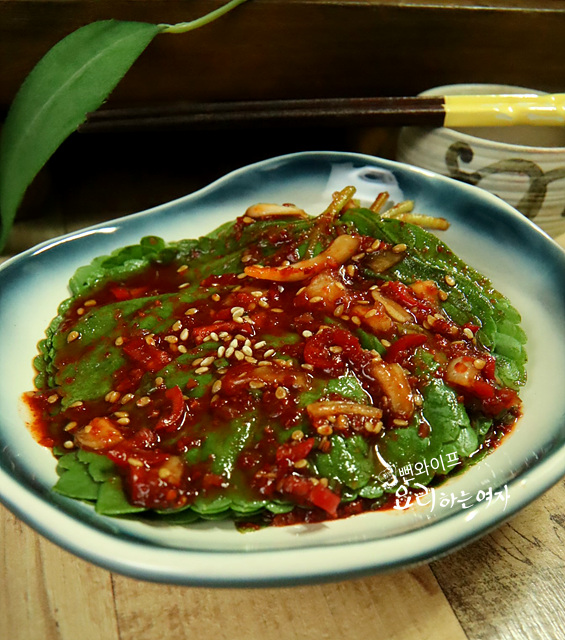
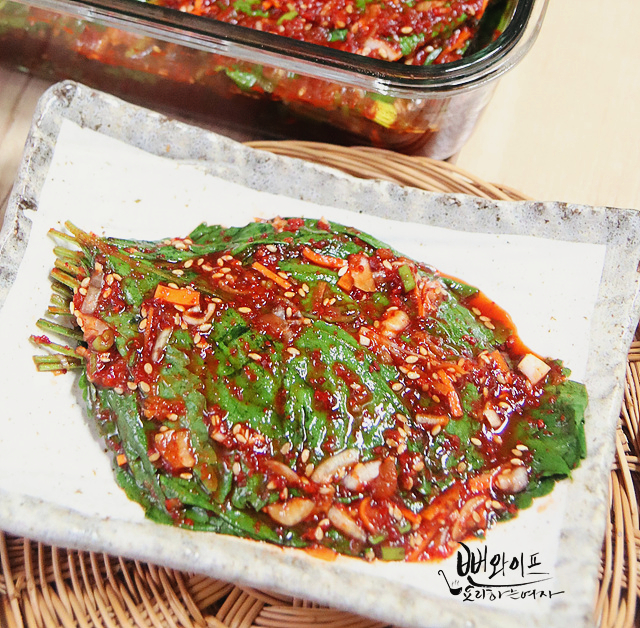
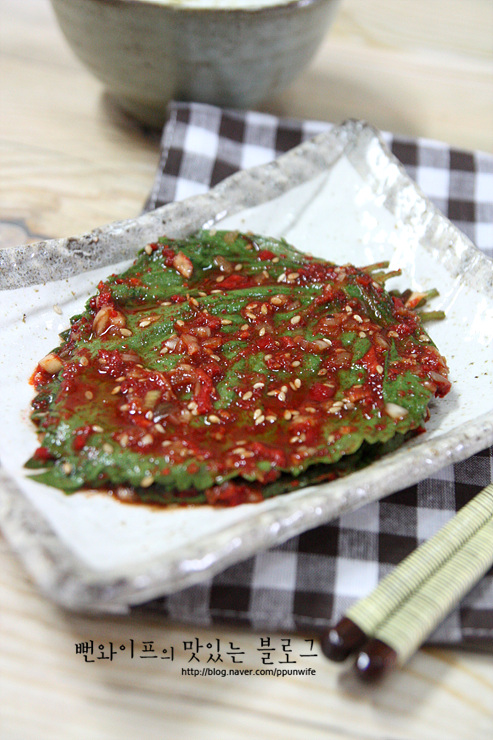
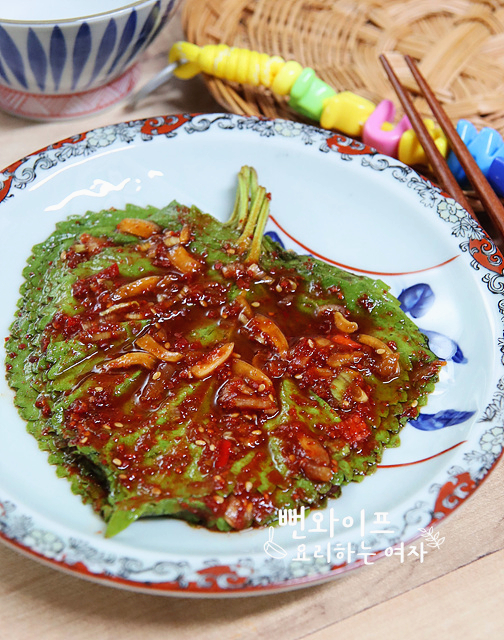
Kkaennip Kimchi (Perilla Leaf Kimchi) with Rich Anchovy Broth
A kimchi side dish made by layering rich anchovy broth seasoning paste onto perilla leaves fermented yellowish in salt water.
Translated from Korean by AI and not yet checked by a native speaker. Amounts and numbers are taken directly from the original recipe. Read the Korean original →
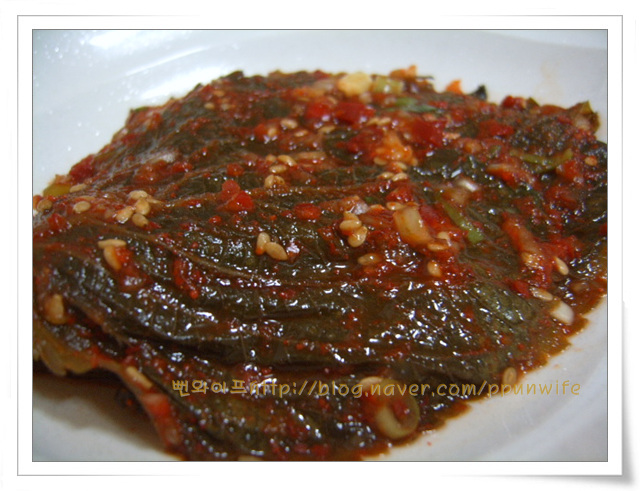
This is a specialty kimchi made by fermenting perilla leaves in salt water without blanching, preserving their unique aroma and crispness. Seasoning mixed with richly brewed anchovy broth, fish sauce, and vegetables is layered on for deep umami flavor. It makes a perfect salty side dish to stimulate the appetite in the hot summer.
- Servings
- about 10–12 servings
- Difficulty
- Medium
- Spiciness
- Mildly spicy
Ingredients
Ingredients
- Fermented perilla leaves200 leaves
- Red chili pepper4 (medium)
- Onion1/2 (large)
- Large green onion (daepa) (or scallions (jjokpa))1 stalk
- Anchovy broth1 cup
Seasoning
- Anchovy fish sauce (or sand lance)1/2 cup
- Gochugaru (Korean chili flakes)2/3 cup
- Minced garlic2 tbsp
- Minced ginger1 tsp
- Corn syrup (mulyeot)1 tbsp
- Sugar1 tbsp
- Toasted sesame seeds
Fermenting perilla leaves
- Perilla leaves200 leaves
- Water10 cups
- Coarse sea salt1 cup
- If using fresh perilla leaves, 100 leaves will match this amount of seasoning.
- Instead of large green onion, you can chop and add about 10 scallions, and adding julienned chestnuts is also delicious.
Steps
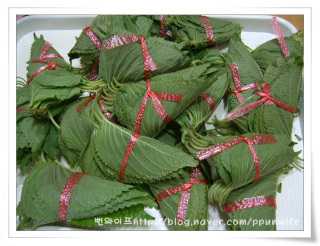
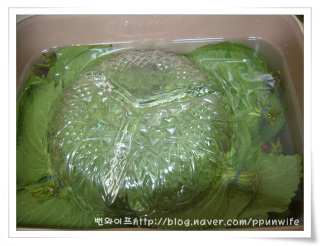
1. This is what the perilla leaves look like when brought home. Untie the twine and tie the perilla leaves into bundles of 20 with thread.
(If they are very dirty, wash them clean and shake off the water well; if they are clean, do not wash them, as you can wash them after fermenting.)
2. Make salt water with a 1:10 ratio of salt to water. (I dissolved 1 cup of coarse sea salt in 10 cups of water.)
Add the perilla leaves and press down with a stone or heavy plate so they do not float, then let them ferment.
If the perilla leaves come out of the water they may spoil, so make plenty of salt water and press them down well so they stay completely submerged in the water.
After a week to ten days, they ferment nicely into a yellowish color.
Toward the end of fermentation, it is fine even if the water turns dark and cloudy, so leave them alone until the perilla leaves turn yellowish.
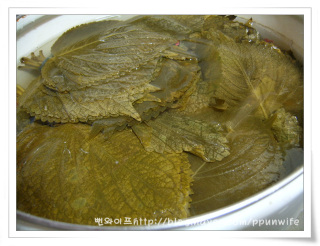
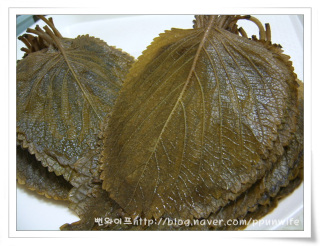
3. Change the water several times with clear water for the properly fermented perilla leaves. Once the water runs clear, soak them in water to draw out the saltiness.
4. Drain the perilla leaves well once the salt is removed. Do not wring or twist them; press firmly with both hands to squeeze out the moisture.
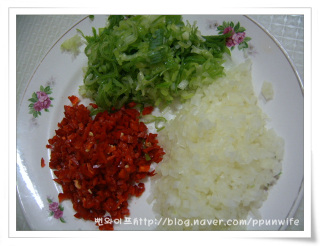
5. These are the ingredients for the seasoning paste. Finely chop the onion, red chili pepper, and large green onion (daepa).
You can also chop about 10 scallions instead of the large green onion. (Adding julienned chestnuts is delicious too.)
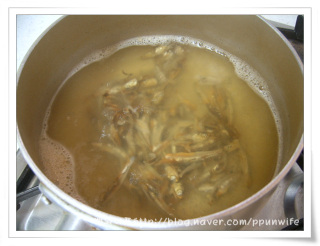
6. Brew 1 cup of rich anchovy broth and let it cool.
Add 2 cups of water to 10 large dried anchovies and boil until reduced to 1 cup.
I used medium dried anchovies instead of large ones, so there are more of them.
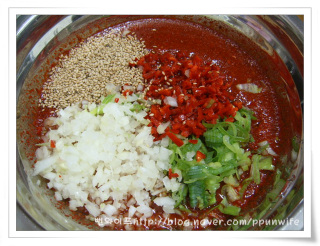
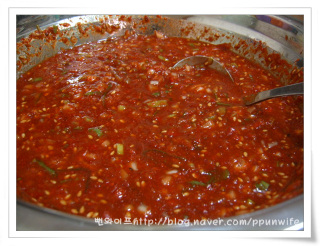
7. Add all seasoning ingredients to the cooled anchovy broth and mix.
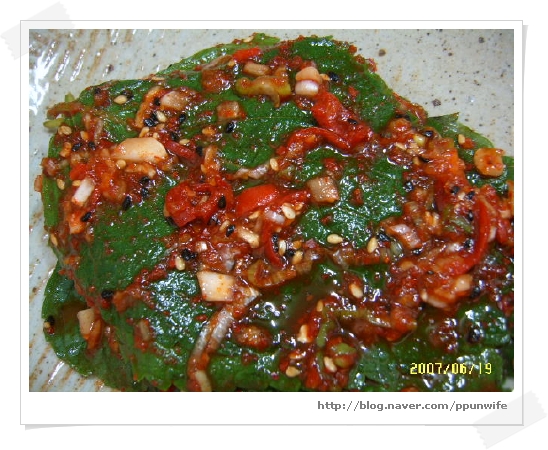
8. Let it sit for about 30 minutes so the seasoning ingredients blend together and develop color, then spread it onto the perilla leaves.
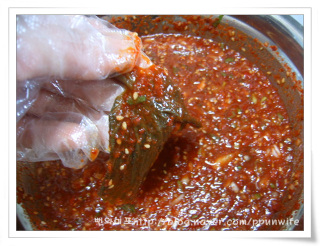
You can hold 3 overlapping perilla leaves in your hand and spread the seasoning on the front and back, or place the leaves on a plate and spread the seasoning with a spoon.
I find it more convenient and faster to hold the leaves in both hands while spreading.
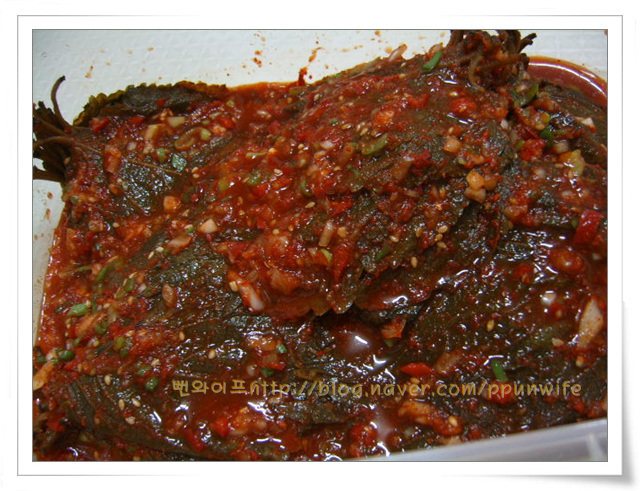
Transfer to a container, place in the refrigerator, and enjoy after 2 to 3 days for even better flavor.
 Ppunwife's tips
- If the perilla leaves come out of the water they may spoil, so make plenty of salt water and press them down well so they stay completely submerged.
- Toward the end of fermentation, it is fine even if the water turns dark and cloudy, so leave them alone until the perilla leaves turn yellowish.
- Drain the perilla leaves well once the salt is removed. Do not wring or twist them; press firmly with both hands to squeeze out the moisture.
- Transfer to a container, place in the refrigerator, and enjoy after 2 to 3 days for even better flavor.
FAQ
Can I make this with fresh perilla leaves instead of fermented perilla leaves?
If cooking with fresh perilla leaves, using 100 leaves will match the proportions of the given seasoning.
What should I keep in mind when fermenting perilla leaves in salt water?
If the perilla leaves are exposed above the salt water they can spoil, so you must keep them completely submerged by pressing down with a heavy plate or stone.
Can I use other supplementary ingredients instead of large green onion?
Instead of large green onion, you can chop and add about 10 scallions, or add julienned chestnuts to make the seasoning.
When is it best to eat the finished kimchi?
It tastes much better if you store it in a container in the refrigerator and take it out to eat after about 2 to 3 days.