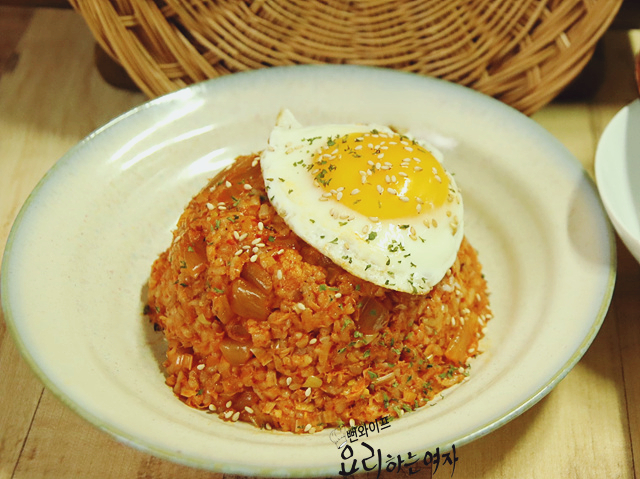
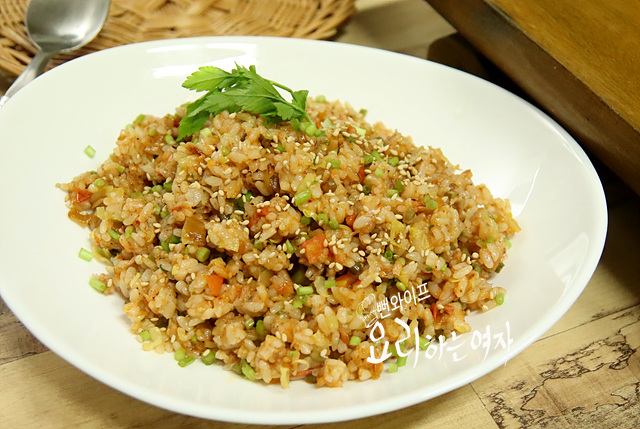
Kimchi Bokkeumbap (Kimchi Fried Rice) with Scallion Oil
A 10-minute one-pan kimchi fried rice made without meat, flavored deeply with green onion oil and aged sour kimchi brine.
Translated from Korean by AI and not yet checked by a native speaker. Amounts and numbers are taken directly from the original recipe. Read the Korean original →
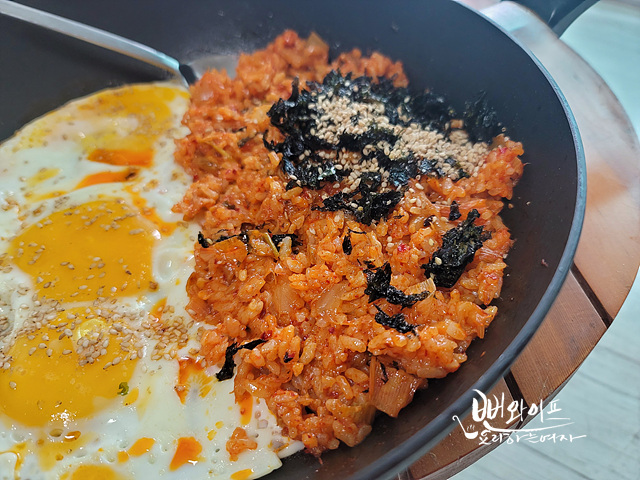
A 10-minute fried rice that builds deep flavor with golden green onion oil, with no need for meat or ham. Simmering and stir-frying with aged sour kimchi juice gives it just the right seasoning without extra sauces. Cooked completely in one pan with a fried egg on the side, it makes an easy and delicious single-bowl meal.
- Servings
- 2 servings
- Cook time
- 10 minprep not included
- Difficulty
- Easy
- Spiciness
- Mildly spicy
Ingredients
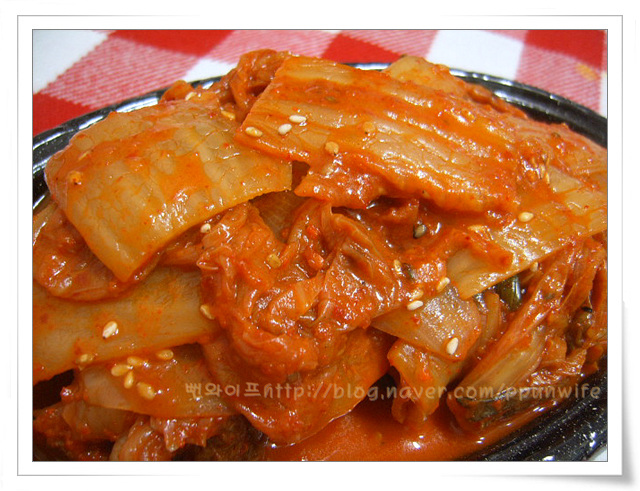
- Aged sour kimchi1 cup
- Cold cooked rice1 1/2 bowls, 300 g
- Large green onion (daepa)1/2 stalk
- Egg
- Sugar1/2 tbsp
- Toasted sesame oil
- Seaweed flakes
- Ground toasted sesame seeds
- Use aged sour kimchi juice straight from the jar without squeezing it out.
- Depending on how sour your aged sour kimchi is, add 1/2 to 1 tbsp of sugar to balance the acidity.
Steps
Prepare the ingredients
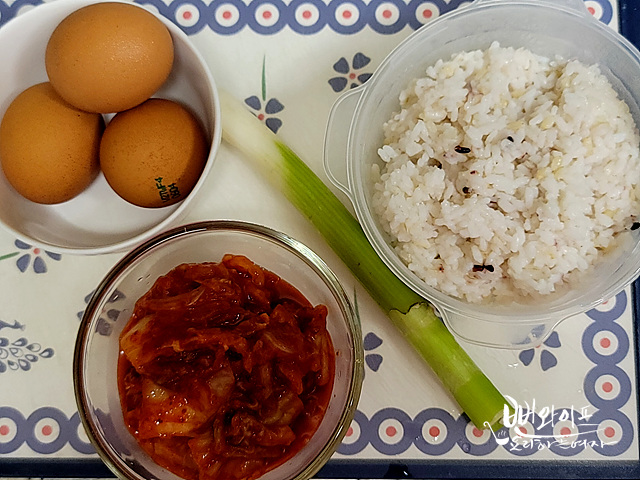
Prepare 1 bowl of cold cooked rice plus half a bowl more... measure out the aged sour kimchi juice without squeezing it out.
You will also need large green onion (daepa) and egg.
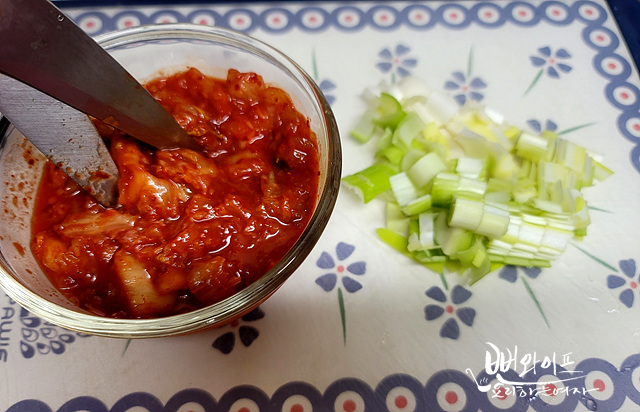
Cut the kimchi with kitchen shears into pieces that are not too fine, and thinly slice the green onion into pieces that are not too small either.
Make green onion oil
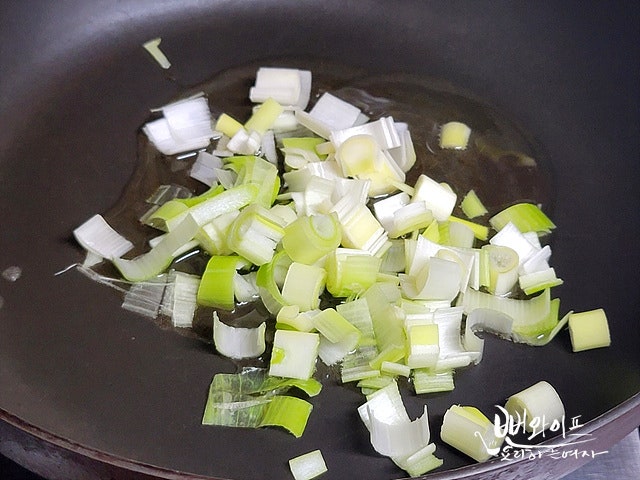
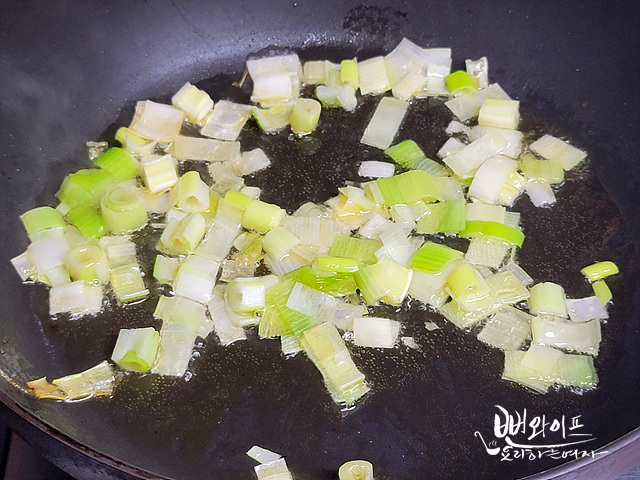
Heat the pan, swirl in 2 to 3 tbsp of cooking oil, add the green onion, and stir-fry. Once it turns golden and fragrant...
Stir-fry the kimchi
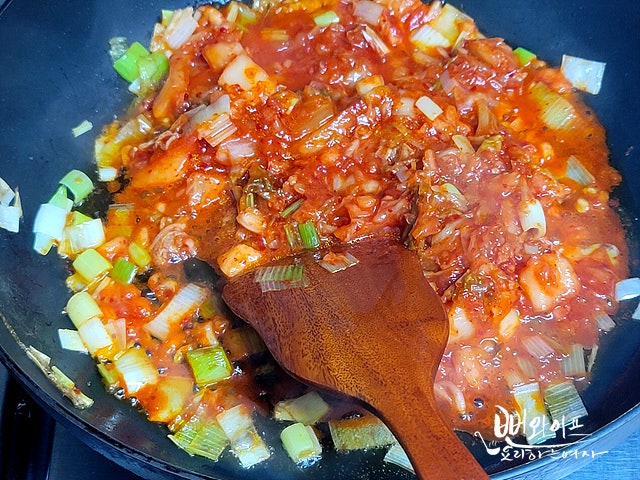
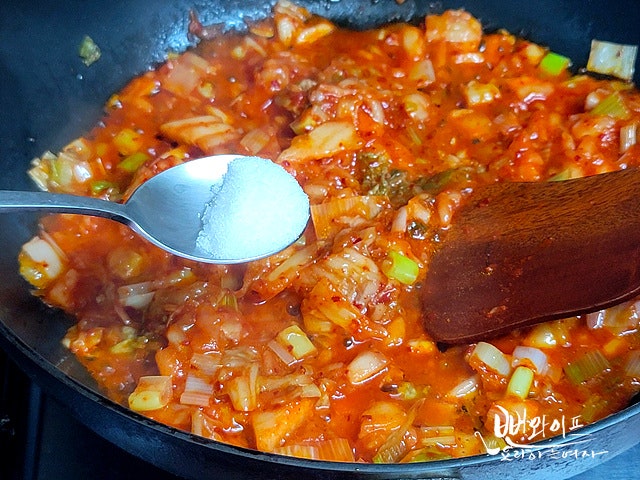
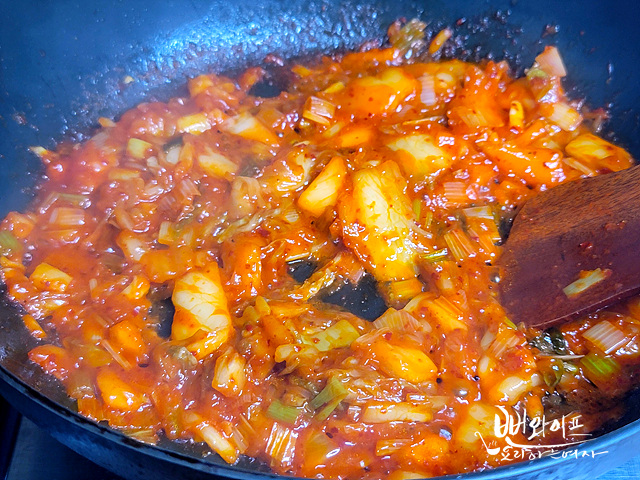
Add the sliced kimchi and pour in all of the kimchi juice.
Depending on how sour the kimchi is, add 1/2 to 1 tbsp of sugar to balance the tartness, and stir-fry as if reducing the liquid down.
Finish the fried rice
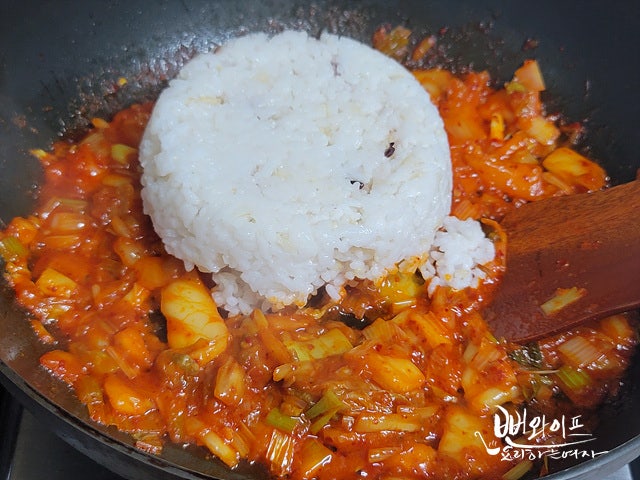
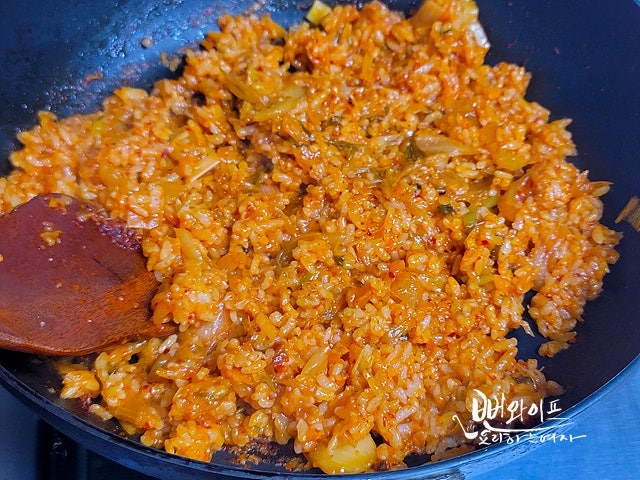
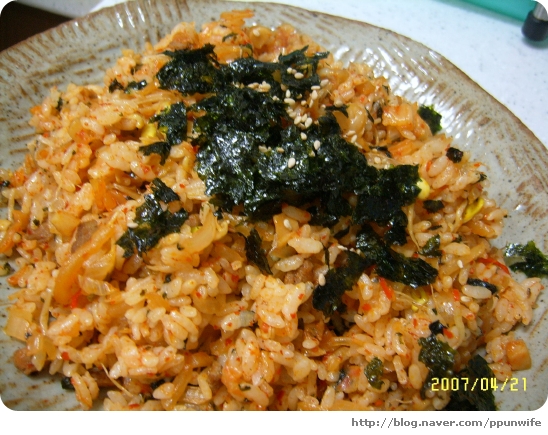
Add the rice, spread it out evenly, and stir-fry until fluffy, then finish with toasted sesame oil.
Because a generous amount of kimchi juice was simmered down today, it tastes perfectly seasoned without adding gochugaru (Korean chili flakes) or any extra salt.
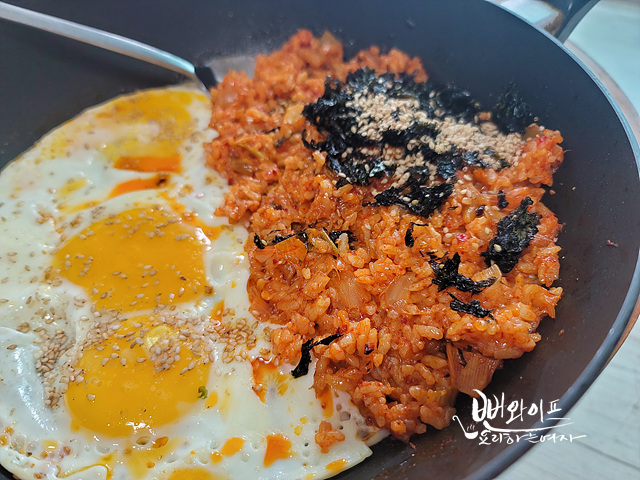
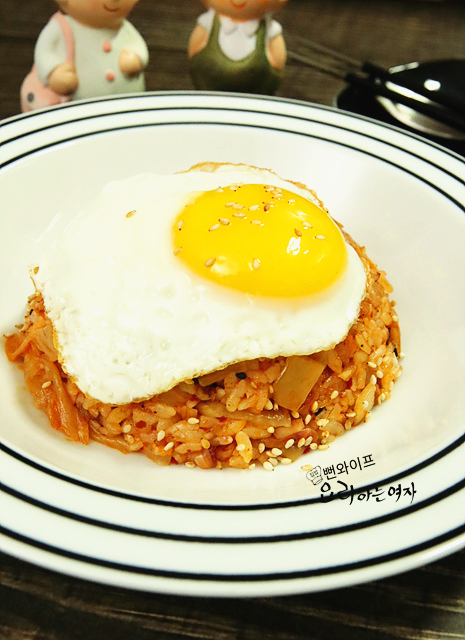
Push the rice to one side, fry an egg sunny-side up in the cleared space, and sprinkle with seaweed flakes and ground toasted sesame seeds to complete this one-pan kimchi fried rice.
 Ppunwife's tips
- Simmering down a generous amount of kimchi juice seasons the rice perfectly without needing gochugaru or extra seasonings.
FAQ
Is the seasoning sufficient without adding meat or ham?
If you add plenty of kimchi juice and simmer it down while stir-frying, it will be well seasoned without having to add gochugaru or other seasonings.
How can I adjust the flavor if the kimchi is too sour?
Depending on how fermented your aged sour kimchi is, stir-frying it with half a tablespoon to one tablespoon of sugar will gently soften the sharp acidity.
Do I need to fry the egg in a separate pan?
You can push the fried rice to one side of the pan and cook the egg right in the empty space to finish everything in one pan.