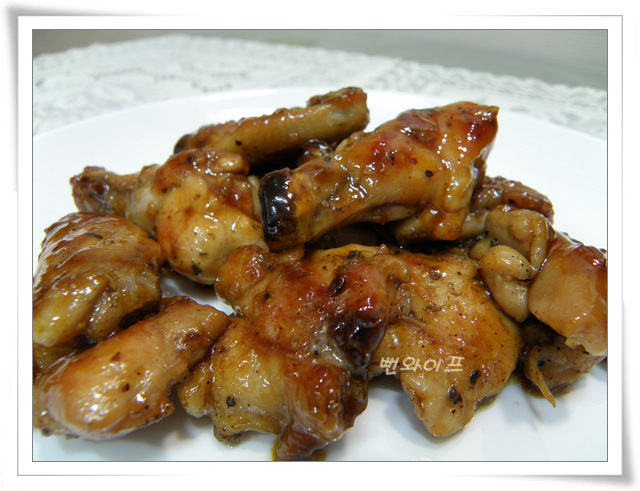
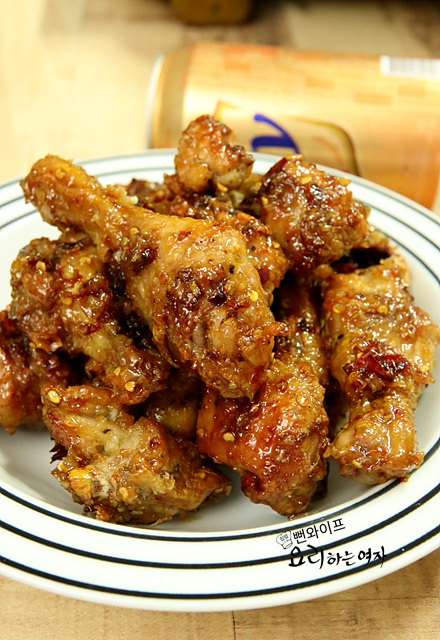
Sweet and Crispy Dakgangjeong (Crispy Glazed Fried Chicken)
Boneless dakgangjeong made with seasoned chicken breast double-fried and tossed in a sweet seasoned chicken sauce.
Translated from Korean by AI and not yet checked by a native speaker. Amounts and numbers are taken directly from the original recipe. Read the Korean original →
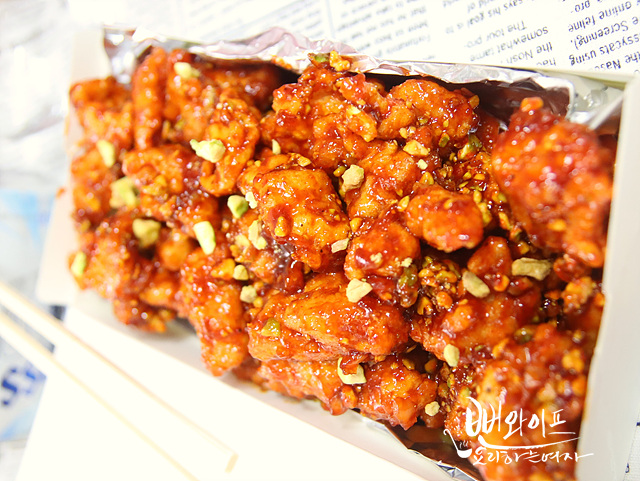
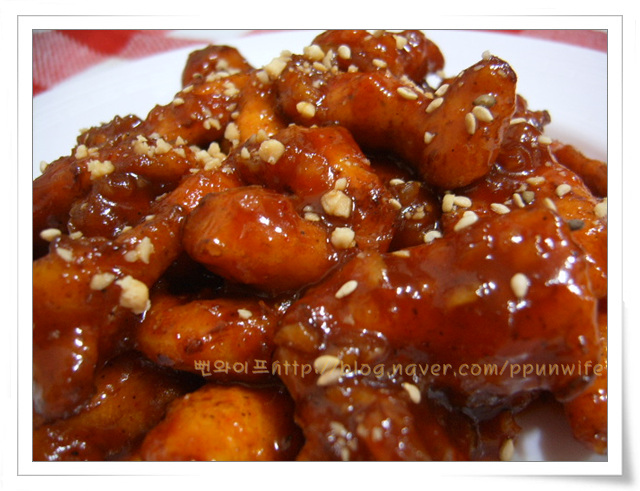
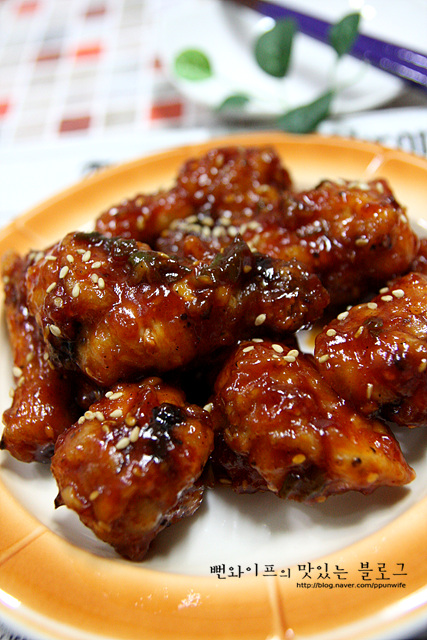
This dakgangjeong features bite-sized pieces of seasoned chicken breast double-fried for an extra crispy texture. Simmered in a sweet, non-spicy seasoned chicken sauce, it is great as a snack for kids or as a beer snack for adults.
- Servings
- 2–3 servings
- Cook time
- 6 minprep not included
- Difficulty
- Medium
- Spiciness
- Mildly spicy
Ingredients
Ingredients
- Chicken breast500 g
- Nuts (or sesame seeds)almonds, peanuts, etc.
Chicken Marinade
- Salt1/3 tsp
- Minced ginger1/2 tsp
- Ground black peppera little
Batter
- Egg1
- Frying mix (twigim-garu)1/2 cup
- Potato starch1/2 cup
Sauce
- Gochujang (Korean red chili paste)1 1/2 tbsp
- Ketchup4 tbsp
- Regular soy sauce (jin-ganjang) (or brewed soy sauce (yangjo-ganjang))2 tbsp
- Corn syrup (mulyeot)4 tbsp
- Sugar1 tbsp
- Mirin (cooking rice wine)2 tbsp
- Minced garlic1 tbsp
- Water5 tbsp
- To remove any gamey chicken smell, you may also soak it in milk for about 30 minutes and rinse.
Steps
Prepare the ingredients
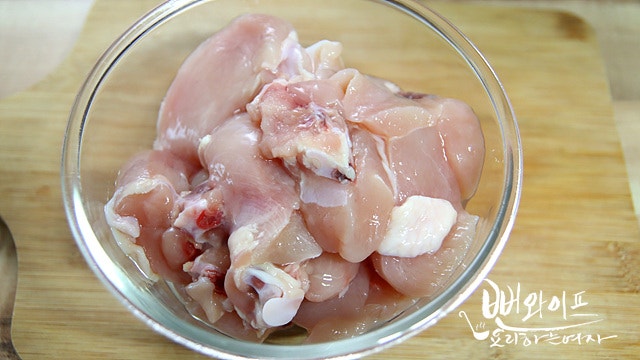
I bought a whole large chicken and set the chicken breast aside. The yield from one chicken weighs 500 g.
Trim the chicken breast
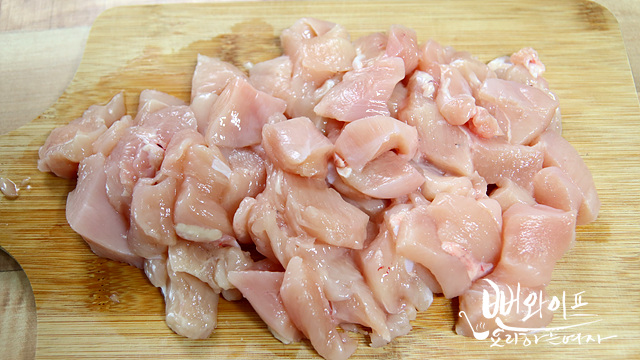
Cut it into small, bite-sized pieces.
Remove any bones or tendons attached, and to remove any gamey chicken smell, you can also soak it in milk for about 30 minutes and rinse it.
Season the chicken
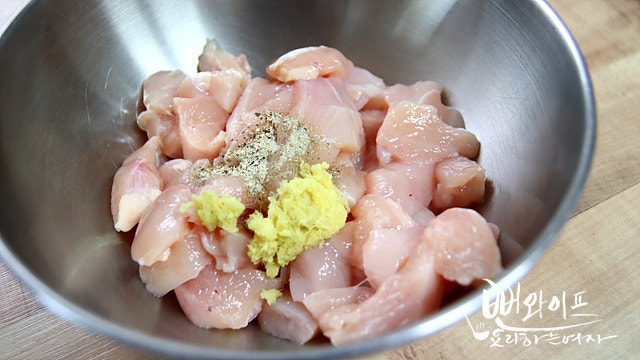
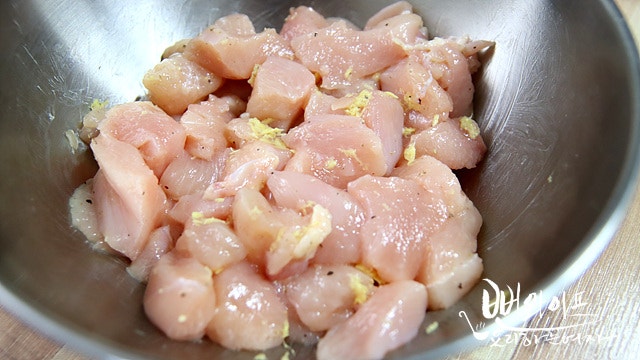
Add 1/3 tsp salt, 1/2 tsp minced ginger, and a little ground black pepper to the trimmed chicken breast, and mix well so the seasoning absorbs evenly.
Pre-seasoning before coating with batter removes gamey odors and ensures the flavor melds with the meat, making it much tastier.
Coat with batter
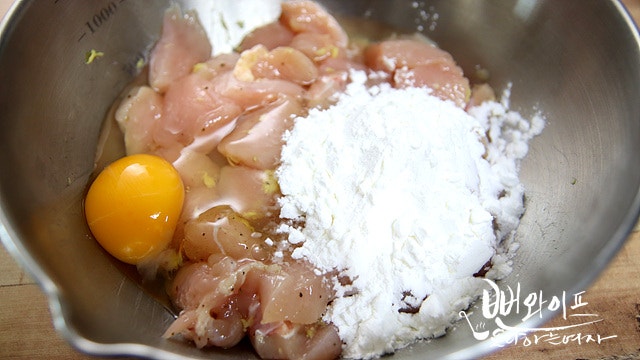
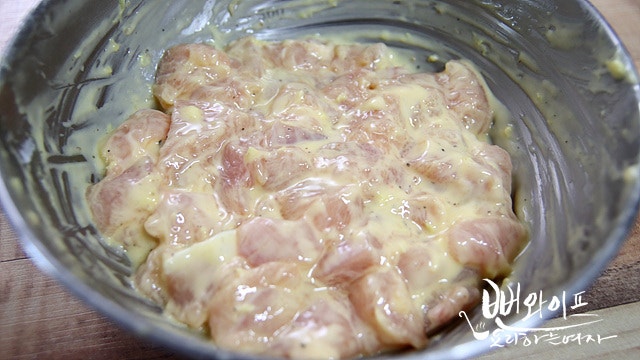
Add 1/2 cup potato starch, 1/2 cup frying mix (twigim-garu), and 1 egg (extra-large), then mix to coat the meat.
If it feels too dry, add water a little at a time so the batter coats moistly.
Fry
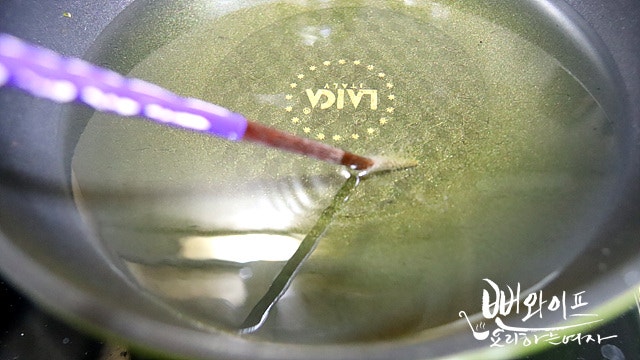
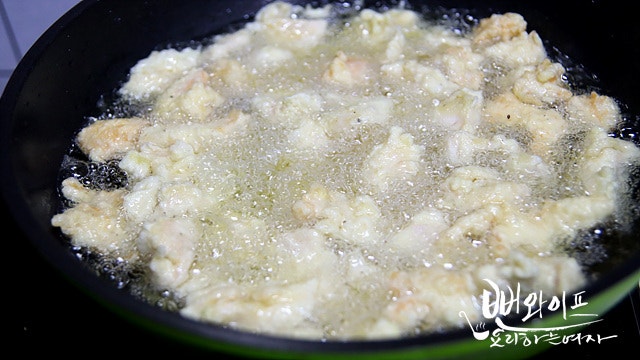
Temperature is important for crispy frying.
Between 170 and 180 °C is ideal.
Pour oil into a pan and raise the heat to high to bring up the temperature.
Place chopsticks in the center of the pan where the temperature is highest; when bubbles rise vigorously, it has reached the right temperature.
My bubbles were on the small side, so I waited a bit longer before frying.
Lower the heat to medium so it does not exceed the target temperature, and add the ingredients one by one.
Here is how to check the frying temperature using batter drops:
If a drop or two of batter sinks halfway down and floats right back up, it is 170–180 °C.
If it does not rise right away but sinks to the bottom and slowly floats up, it is below 160 °C.
If the batter scatters across the oil surface, it is above 180 °C.
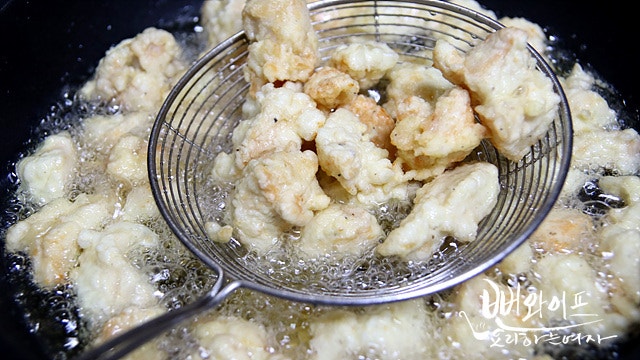
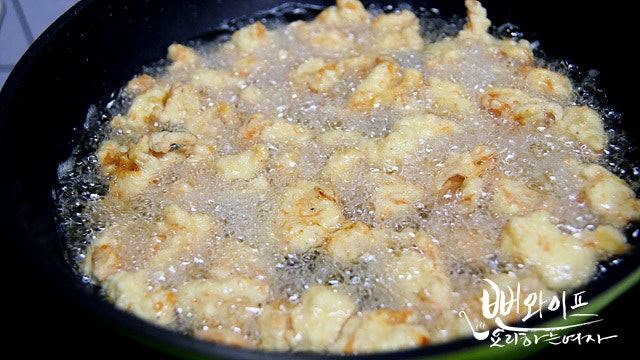
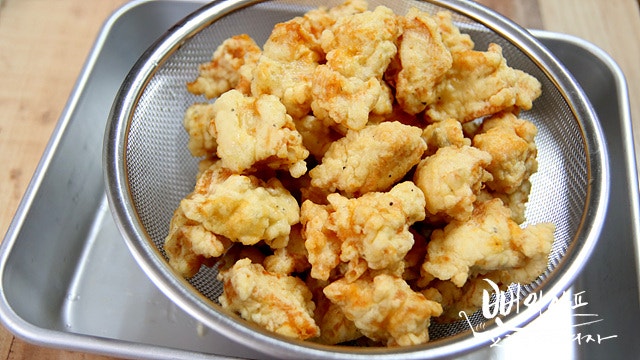
Wait until the batter sets slightly before separating any stuck pieces; they will come apart easily.
Fry for about 4–5 minutes, shake off excess oil in the air, and then fry a second time at a slightly higher temperature until light brown.
Since it has already been fried once, fry it for around 1 minute while watching the color and crispness.
Make the dakgangjeong sauce
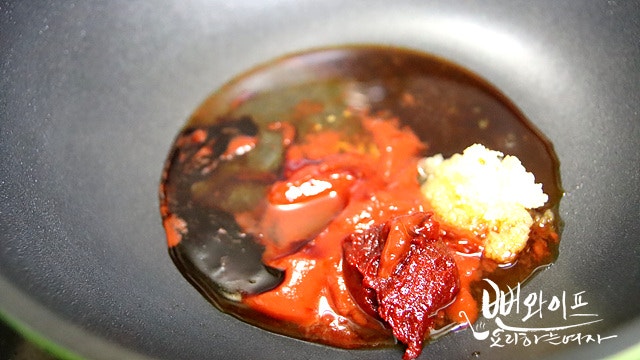
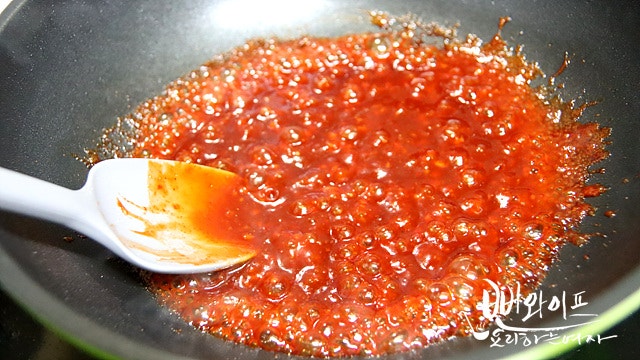
Put all the dakgangjeong sauce ingredients into a pan and bring to a vigorous boil so they combine well.
Taste the sauce and adjust the sweetness or saltiness to your liking as it boils.
Toss together
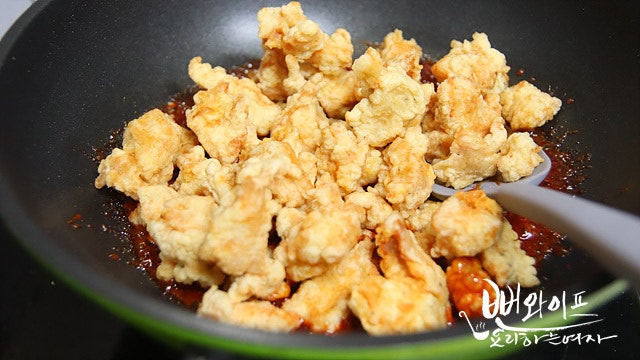
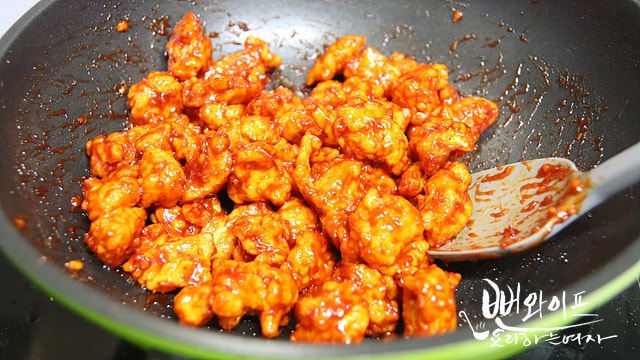
Add the fried meat, toss so the sauce coats evenly, reduce it down completely, and turn off the heat.
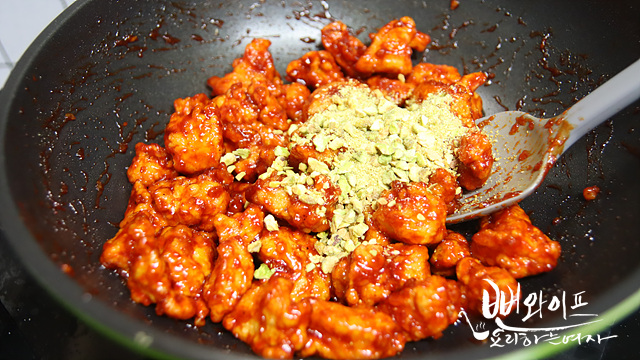
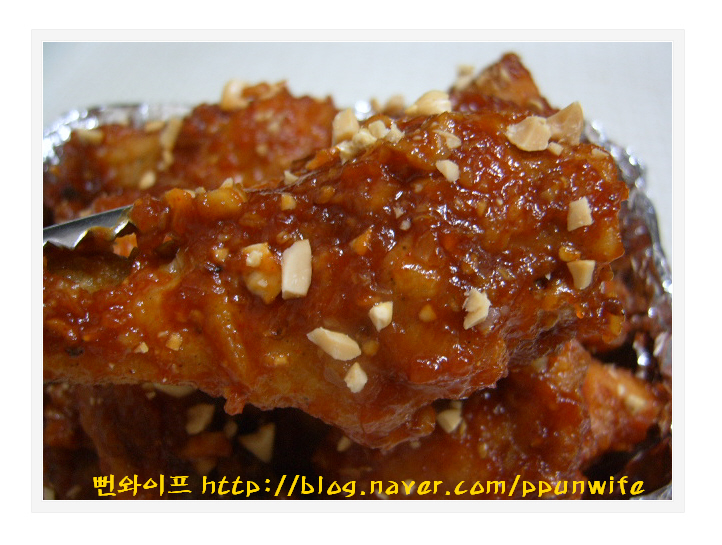
Finally, add chopped nuts, toasted sesame seeds, or black sesame seeds, mix evenly, and finish.
Complete
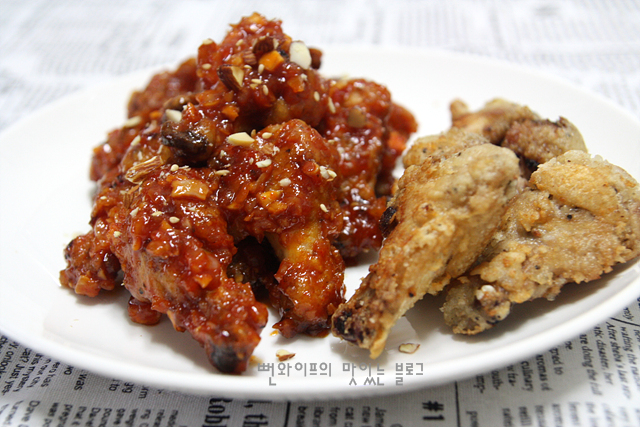
Dakgangjeong coated in seasoned chicken sauce is complete.
 Ppunwife's tips
- Pre-seasoning before coating with batter removes gamey odors and ensures the flavor melds with the meat, making it much tastier.
- If it feels too dry, add water a little at a time so the batter coats moistly.
- Wait until the batter sets slightly before separating any stuck pieces; they will come apart easily.
FAQ
How can I reduce gamey chicken odors during prep?
After removing any bones or tendons from the chicken breast, soaking it in milk for about 30 minutes and rinsing it helps reduce gamey odors.
How can I tell if the oil temperature is right?
When a drop of batter sinks halfway down the oil and floats right back up, it is at the ideal frying temperature of 170–180 °C.
What is the secret to frying dakgangjeong extra crispy?
Fry once for 4–5 minutes, lift out to expose to the air, and fry a second time for around 1 minute at a slightly higher oil temperature until light brown.
What should I do if the batter mixture is too stiff?
If there is not enough moisture when mixing the dry flour and egg, add water a little at a time to adjust it to a moist consistency.