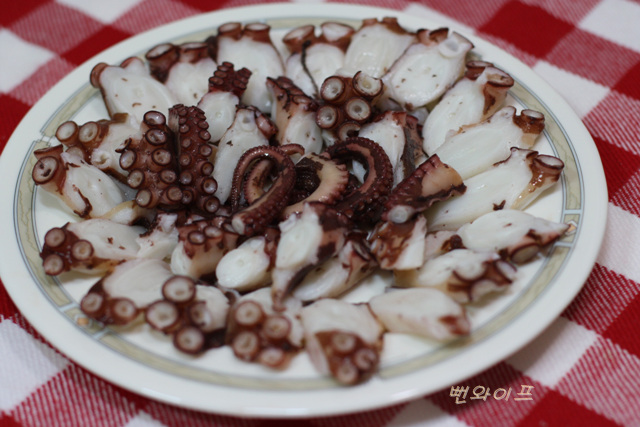
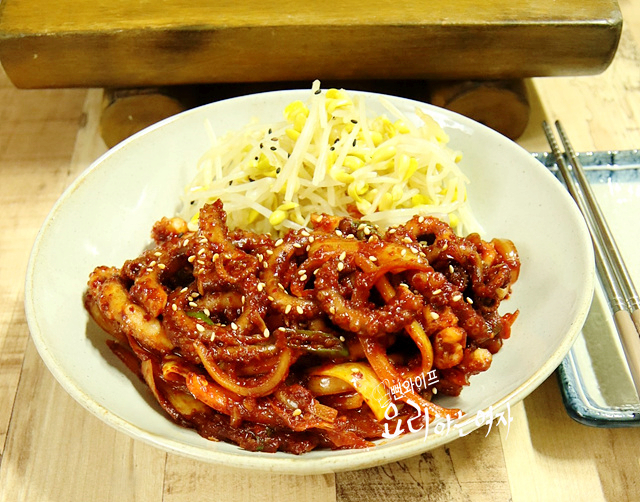
Tender Muneo Sukhoe (Parboiled Octopus Slices)
A special dish of octopus parboiled to tender, chewy perfection in water with Korean radish and mirin.
Translated from Korean by AI and not yet checked by a native speaker. Amounts and numbers are taken directly from the original recipe. Read the Korean original →
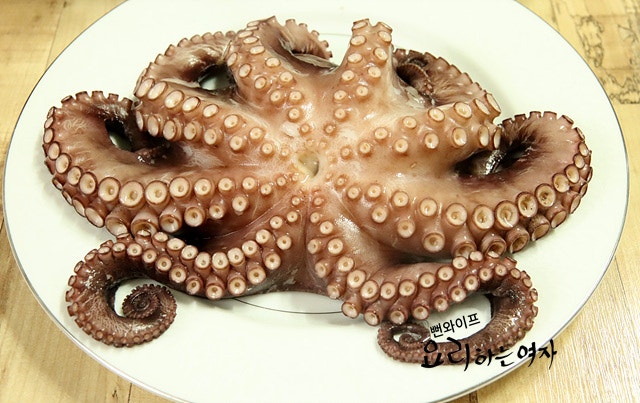
This dish features octopus cleaned thoroughly with flour to remove grit, then parboiled for about 10 minutes with Korean radish and mirin. Thanks to its bouncy, chewy texture, it makes an ideal companion for drinks. Boiled octopus can also be easily turned into a butter-seared dish if you like.
- Servings
- about 3–4 servings
- Cook time
- 10 minprep not included
- Difficulty
- Medium
- Spiciness
- Not spicy
Ingredients
Boiling octopus
- Octopus1 whole, 1 kg
- Flour4 tbsp
- Korean radish (mu)100 g
- Mirin (cooking rice wine)3 tbsp
Butter-seared octopus
- Boiled octopus leg3 (head portion)
- Butter1 tbsp (melted)
- Soy sauce1/2 tbsp
- Sugar1 tsp
- Ground black peppera little
- For an octopus weighing under 1kg, reduce the cooking time to about 5 to 7 minutes so it does not turn tough.
Steps
Prepare the ingredients
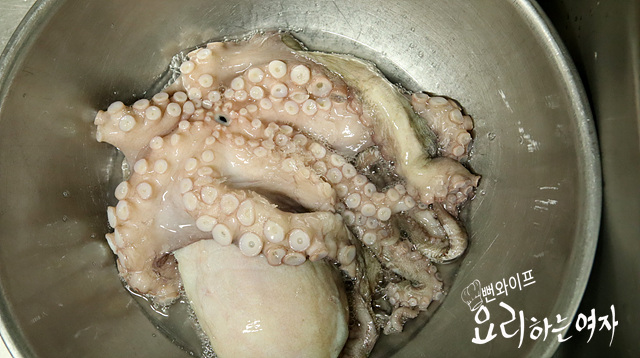
This is a 1kg webfoot rock octopus.
It is roughly the size of 2 to 3 large squid.
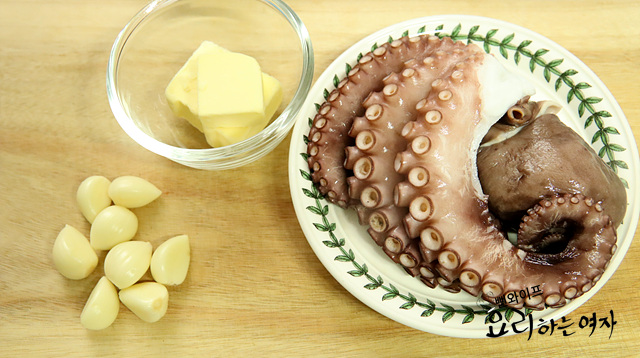
For the butter-seared octopus, I prepared butter and whole garlic cloves. For the boiled octopus, that is the head and 3 legs.
Clean the octopus
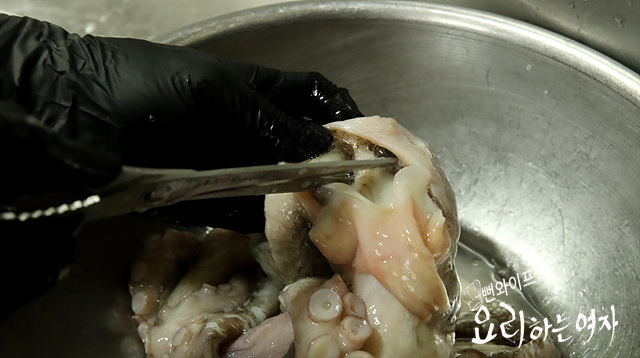
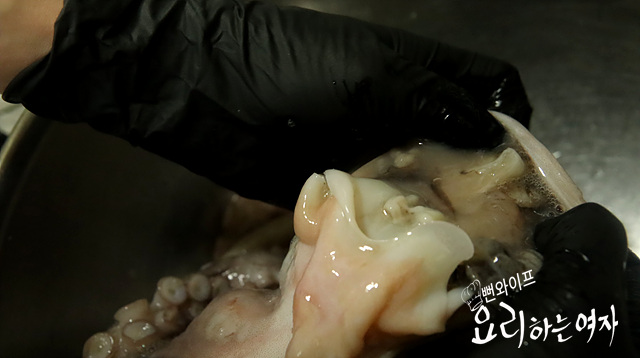
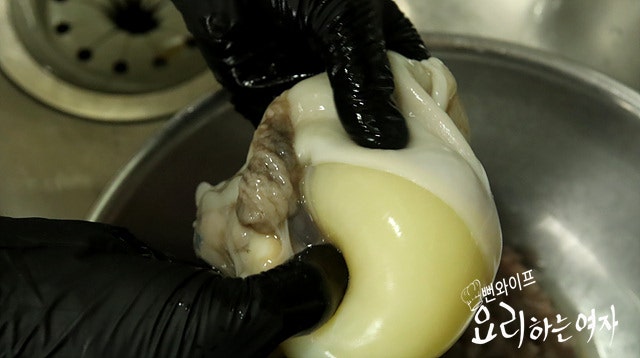
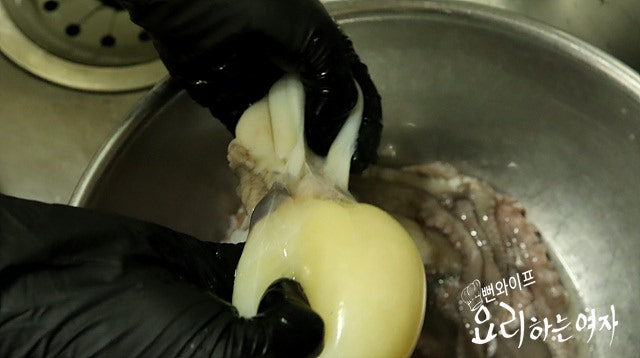
Lift up the inside of the head and you will find a connecting membrane. Snip it with kitchen shears and turn the head inside out.
Pull on the innards with your hand and they will start to come off. Smaller bits of innards also cling inside, so pull everything away cleanly.
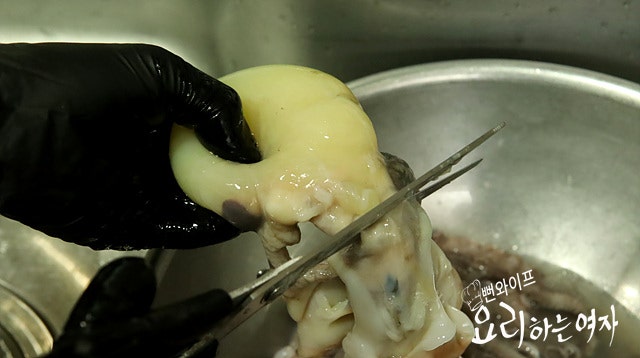
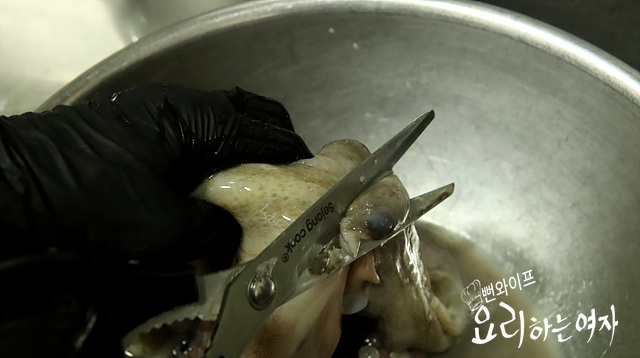
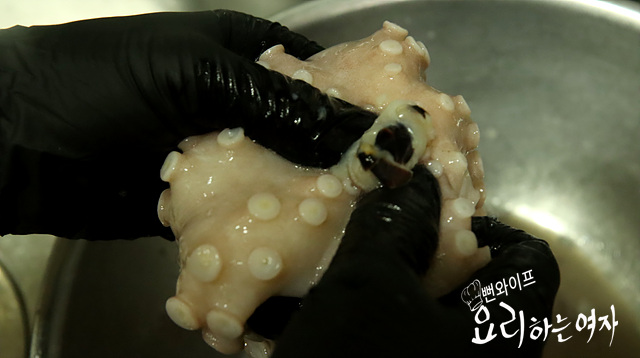
Snip them cleanly away with kitchen shears, and cut out the eyes as well.
Pop out the mouth located in the center of the body too.
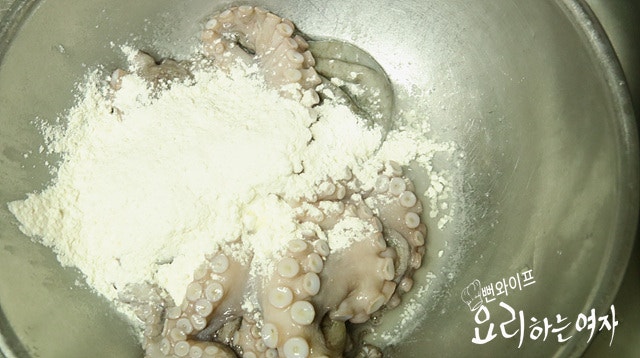
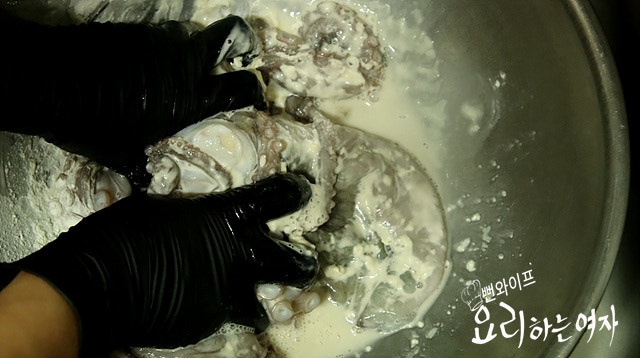
Pour the flour over the octopus, add a little water, and scrub vigorously with your hands to strip away any clinging mud and debris.
Scrubbing with flour like this also removes the distinctive fishy odor.
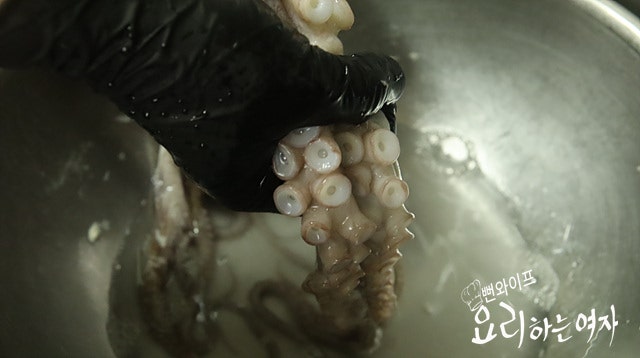
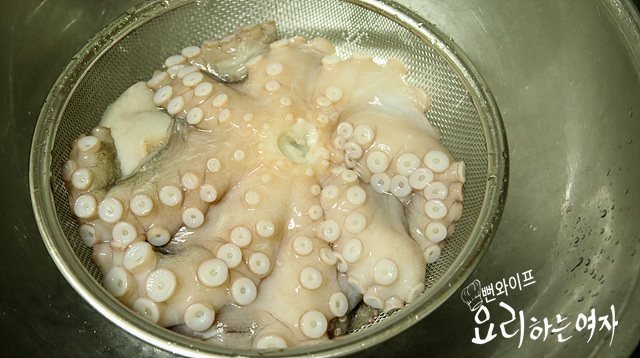
Rinse under running water until the water runs clear, then run your fingers down along the suckers so any grit trapped inside washes out.
Drain briefly in a colander.
How to boil the octopus
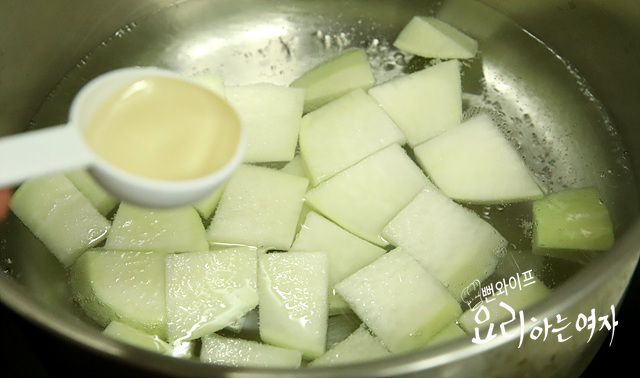
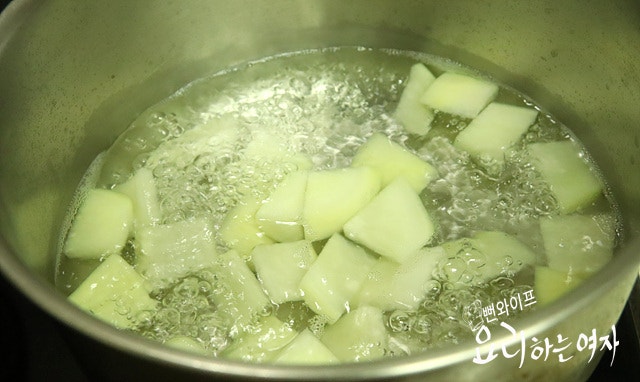
Pour in enough water to submerge the octopus, add the Korean radish sliced into flat bite-sized squares, pour in the mirin or soju, and bring to a rolling boil.
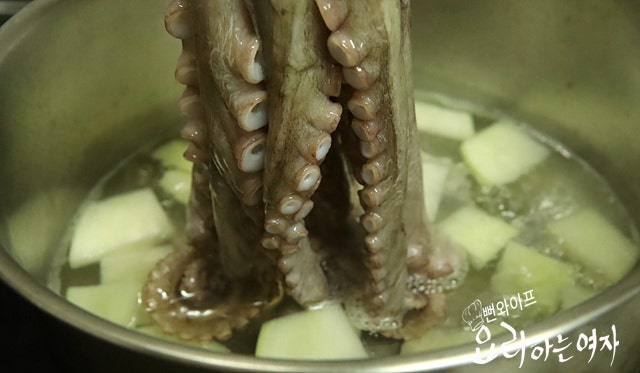
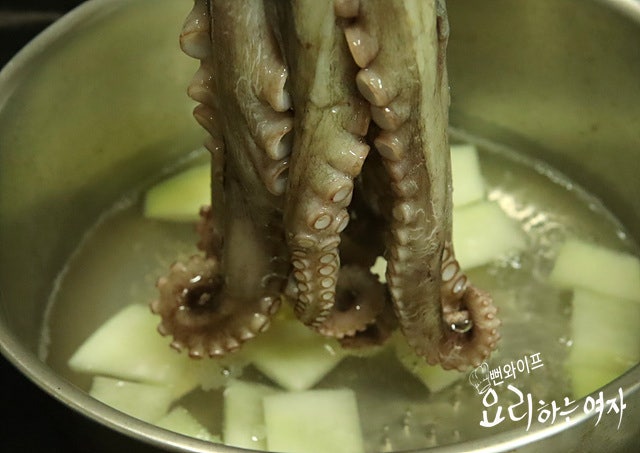
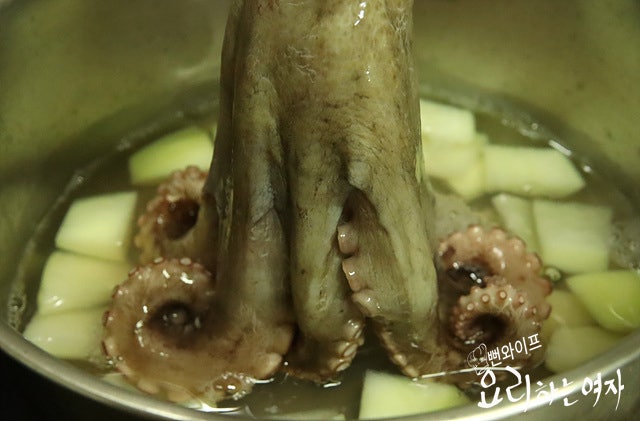
To help the legs curl outward into a neat shape, repeatedly dip the tips into the boiling water and lift them back out.
Once the legs hold their curl, submerge the octopus whole.
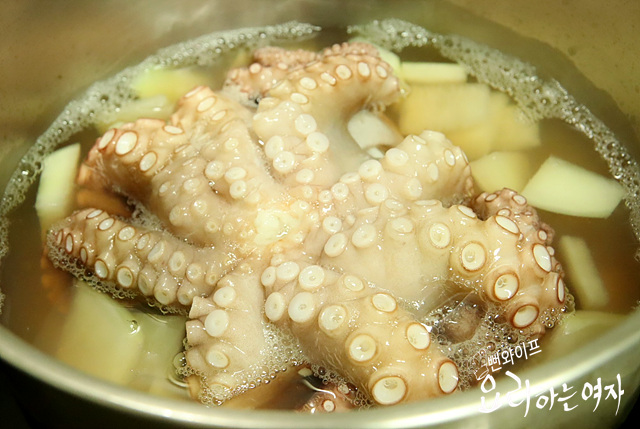
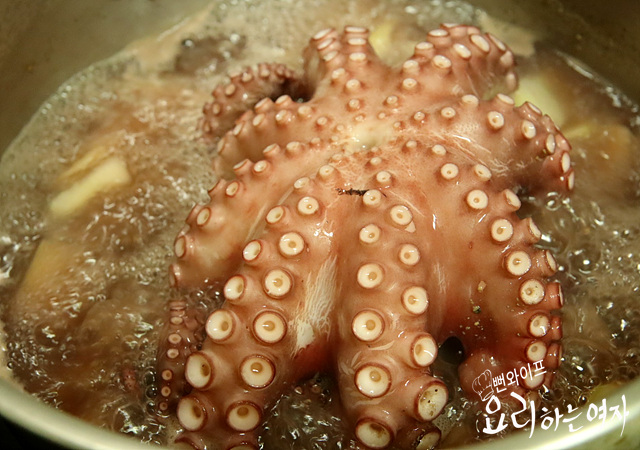
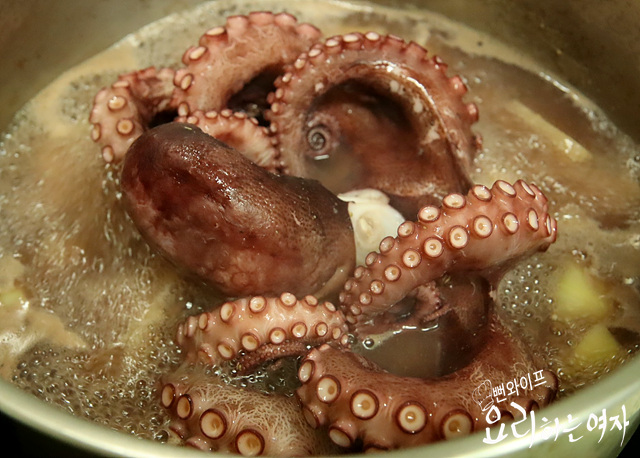
From this point, boil for about 10 minutes.
Flip it over once halfway through.
For an octopus under 1kg, reduce the time to about 5 to 7 minutes so it does not turn tough.
Once the octopus turns red all over and a chopstick glides smoothly into the thickest part, it is fully cooked through.
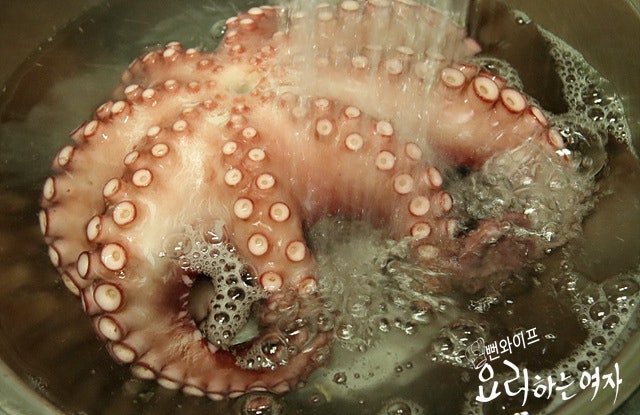
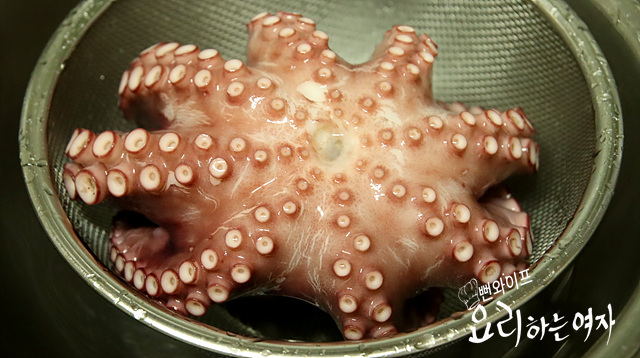
For a springy, bouncy bite, cool off the heat in cold water, drain completely, and slice.
If you prefer it tender, slice and enjoy it warm without chilling.
Make butter-seared octopus
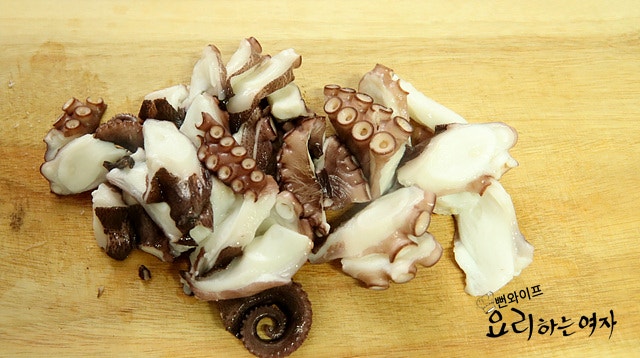
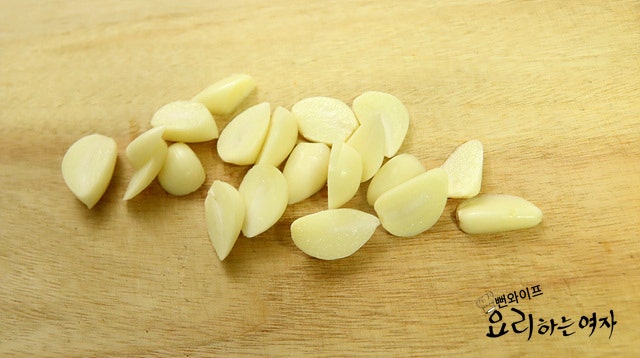
Slice the boiled octopus into bite-sized pieces and slice the garlic cloves thinly.
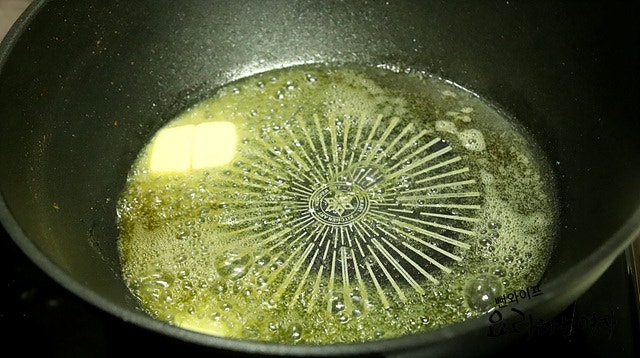
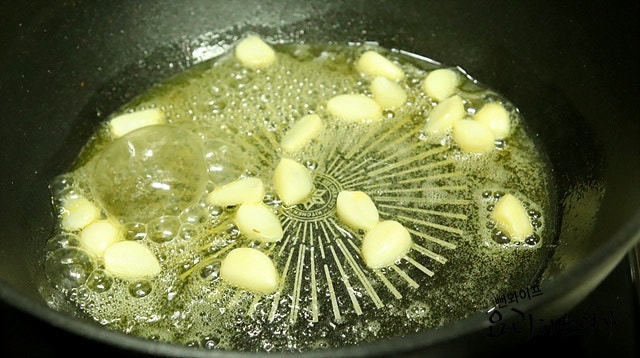
Melt the butter and sauté until the garlic turns fragrant.
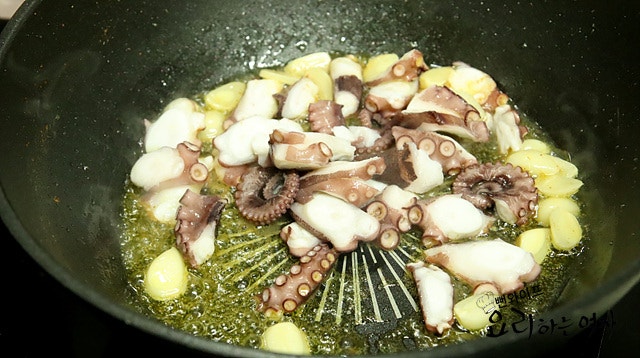
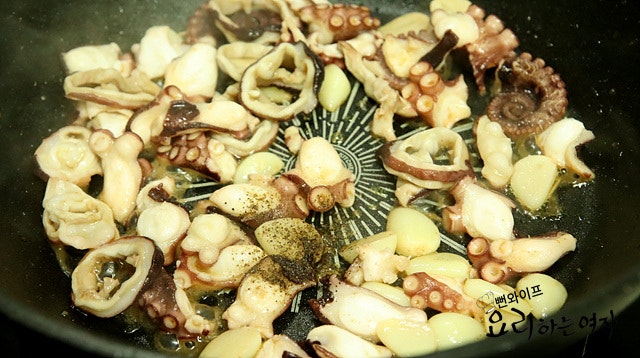
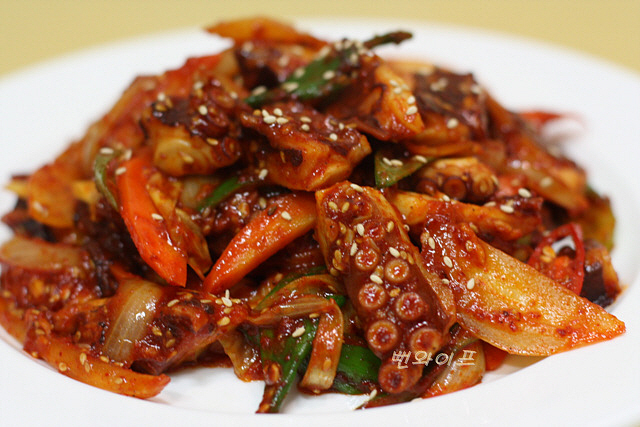
Add the octopus and sauté, season with the soy sauce and sugar, and once the butter is absorbed into the octopus, finish with a sprinkle of ground black pepper.
Finish
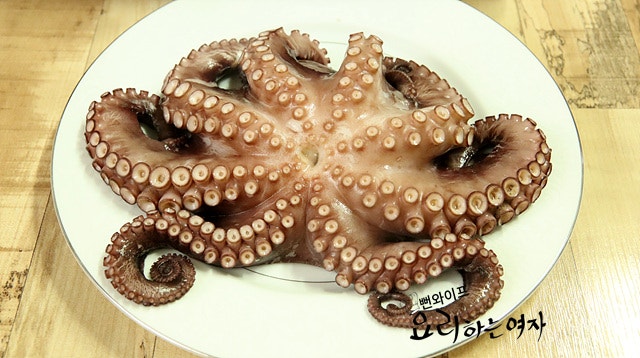
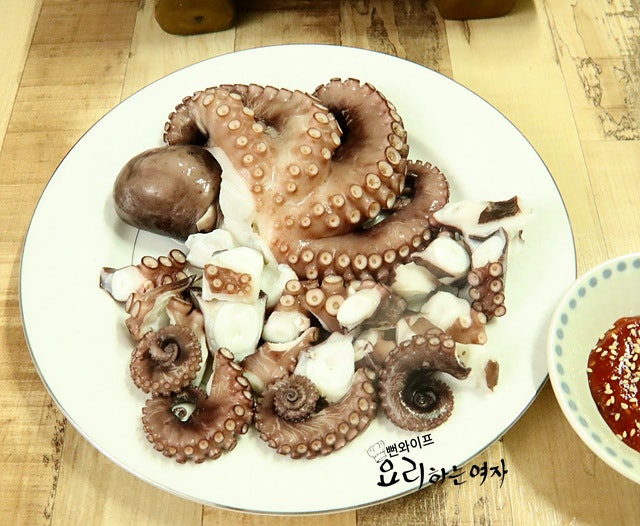
Slice into bite-sized pieces and dip into chogochujang (sweet and tangy red chili sauce) or seasoned sesame oil salt.
Because it was live octopus, it is incredibly fresh and springy.
The closer you get to the tips of the legs, the more tender and delicate it is.
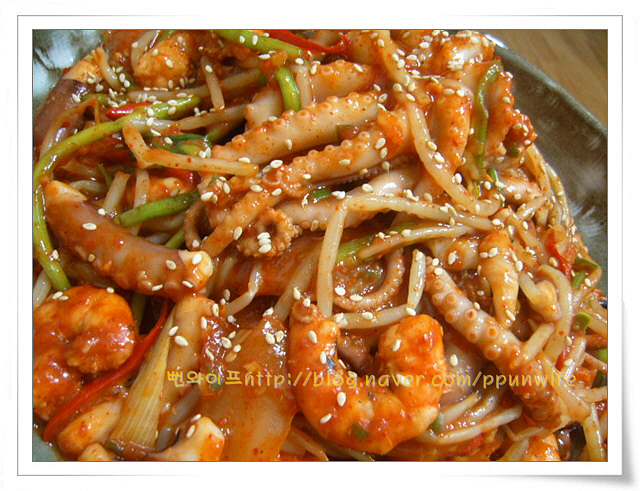
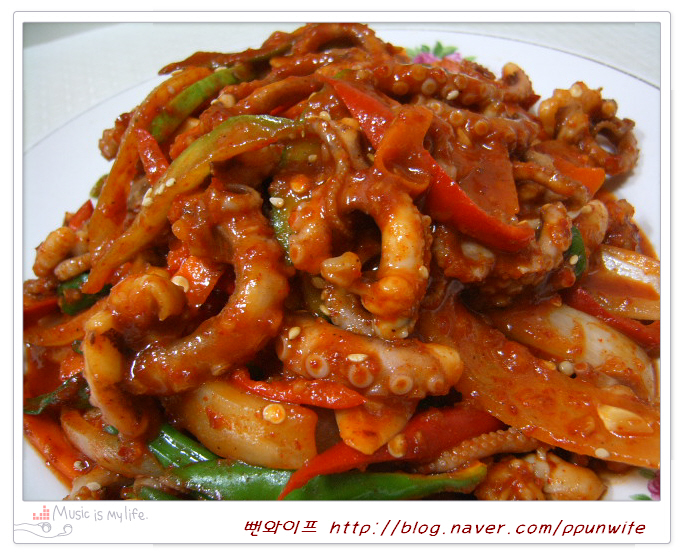
It is wonderful enjoyed plain and clean with just a dipping sauce, or tossed with various vegetables as octopus chomuchim.
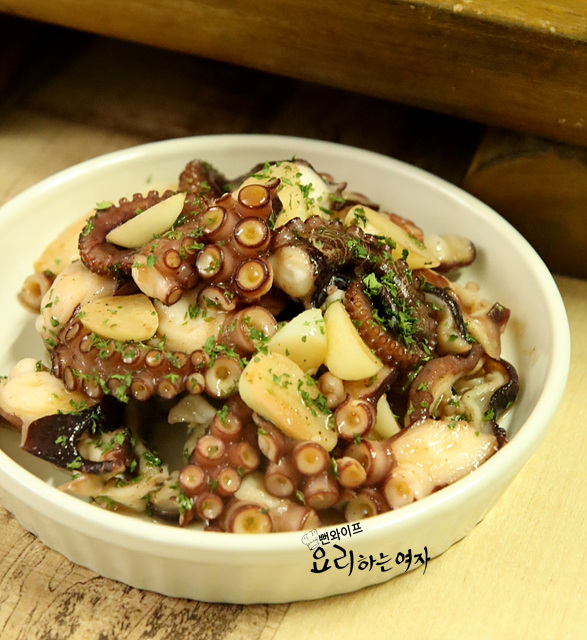
The quick butter sear also pairs wonderfully with beer or wine.
I thought the octopus was large, but parboiled and served in two styles, it disappeared in no time.
 Ppunwife's tips
- To help the legs curl outward into a neat shape, repeatedly dip the tips into the boiling water and lift them back out.
- For a springy, bouncy bite, cool off the heat in cold water, drain completely, and slice.
- If you prefer it tender, slice and enjoy it warm without chilling.
FAQ
How can I tell when the octopus is fully cooked?
When the outside turns entirely red and a chopstick slides easily into the thickest part, it is perfectly cooked through.
How long should I boil an octopus smaller than 1kg?
For a small octopus under 1kg, it is best to reduce the boiling time to about 5 to 7 minutes so it stays tender.
How should I handle it to give it an extra-springy bite?
Chill it briefly in cold water after boiling and shake off the water before slicing for a springy texture; if you prefer it soft, slice it straight away while warm.
Why do you use flour during the cleaning step?
Scrubbing vigorously with flour washes out mud and grit trapped in the suckers and removes the characteristic fishy odor.