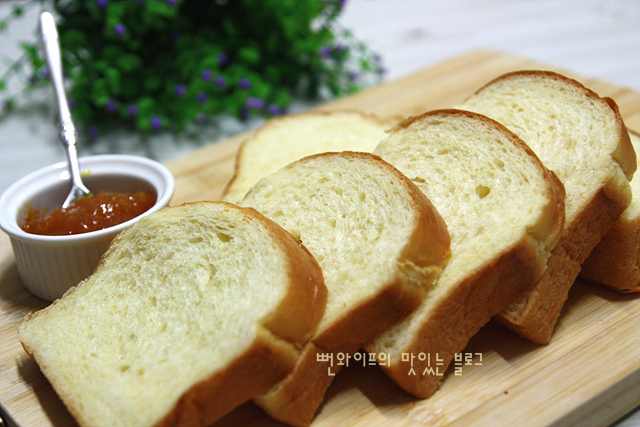
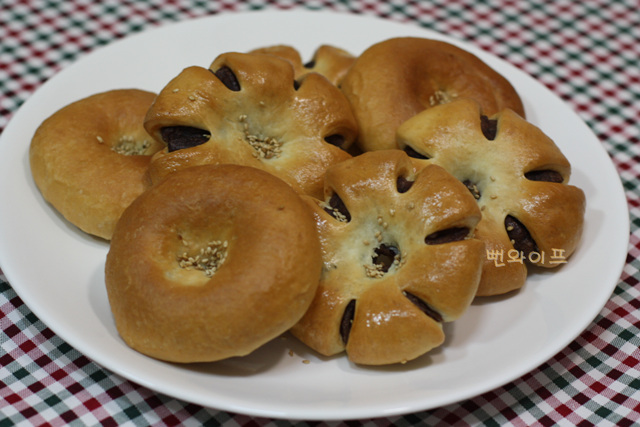
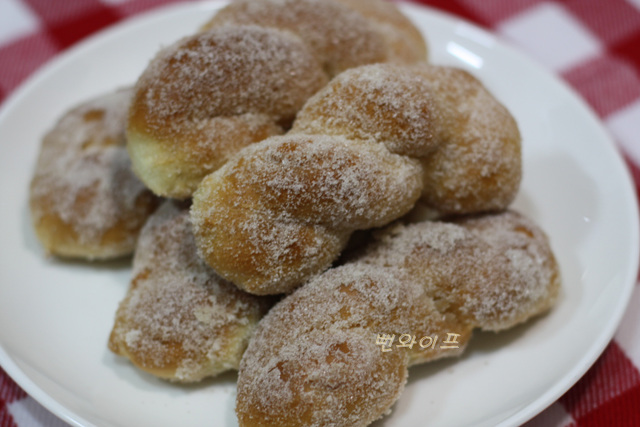
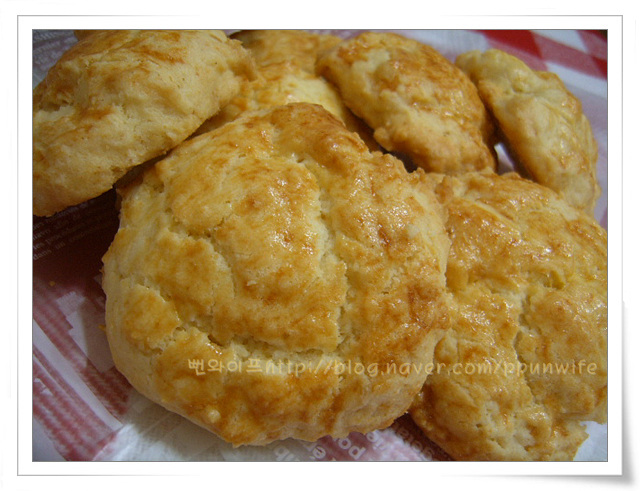
Soft Morning Rolls Baked in the Oven in 15 Minutes
Soft morning rolls kneaded by hand, carefully fermented, and baked golden in the oven.
Translated from Korean by AI and not yet checked by a native speaker. Amounts and numbers are taken directly from the original recipe. Read the Korean original →
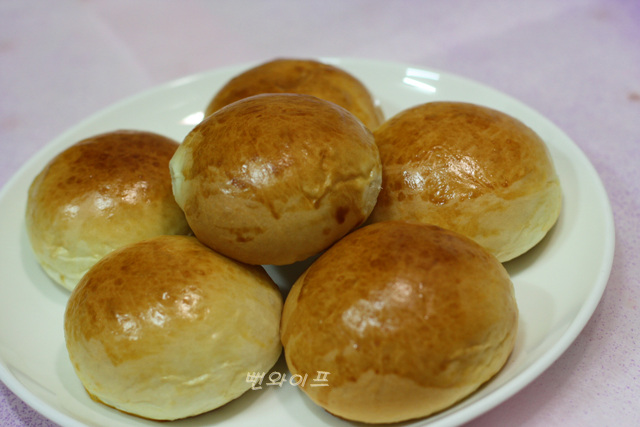
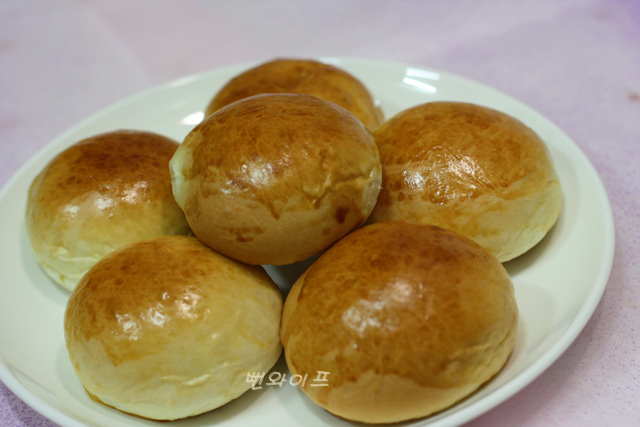
This is a basic yeast bread made with bread flour and instant dry yeast, baked in the oven for about 15 minutes. Kneading thoroughly until the dough feels slightly wet to build gluten, along with carefully checking fermentation progress, is the key to a soft texture. It is wonderful enjoyed right away while warm or served with jam as a snack.
- Servings
- about 3–4 servingsOriginal: Makes 8 to 10 rolls
- Cook time
- 15 minprep not included
- Difficulty
- Medium
- Spiciness
- Not spicy
Ingredients
Ingredients
- Bread flour200 g (2 cups)
- Sugar2 tbsp
- Salt1/2 tsp
- Instant dry yeast1 tsp (3 g)
- Skim milk powder1 tsp
- Water120 g
- Butter20 g
Egg wash
- Egg yolk1
- Milk1 tbsp
- You can use milk instead of skim milk powder and water.
- If replacing the butter with oil (grapeseed oil, canola oil, olive oil, etc.), add 1 tbsp.
- Take the butter out of the refrigerator and let it sit at room temperature for at least 1-2 hours.
- Sift the flour (bread flour) once.
- Warm the water or milk slightly in the microwave until just lukewarm (be careful, as yeast dies if it is hot).
Steps
■ 1 tbsp (Ts) - 15 ml (use an adult soup spoon as a substitute)
■ 1 tsp (ts) - 5 ml (use a teaspoon as a substitute)
■ 1 cup - 200 ml (a standard paper cup)
. 0.5 tbsp = 1/2 tbsp
. 0.5 tsp = 1/2 tsp
. 0.5 cup = 1/2 cup
Morning rolls (yield: 8 to 10 rolls)
Ingredients: 200 g (2 cups) bread flour, 2 tbsp sugar, 1/2 tsp salt, 1 tsp (3 g) instant dry yeast,
1 tsp skim milk powder, 120 g water, 20 g butter
Egg wash: 1 egg yolk + 1 tbsp milk
You can use milk instead of skim milk powder and water.
(If replacing the butter with oil (grapeseed oil, canola oil, olive oil, etc.), add 1 tbsp.
Please refer to the measurement conversion table for baking: ⇒ http://blog.naver.com/ppunwife/140051634263
* Take the butter out of the refrigerator and let it sit at room temperature for at least 1-2 hours.
* Sift the flour (bread flour) once.
* Warm the water or milk slightly in the microwave until just lukewarm (be careful, as yeast dies if it is hot).
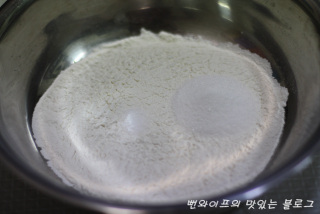
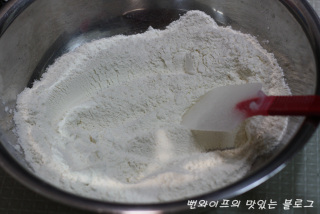
1. Add the sifted flour, measured sugar, and salt to a bowl...
2. Mix well.
Salt can interfere with yeast activity, so we coat it with flour first.
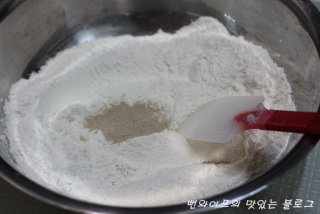
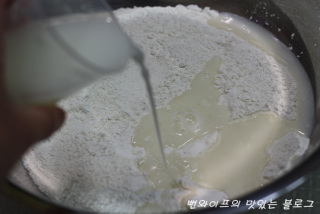
3. Add the yeast and mix thoroughly into the flour.
It is best to use instant dry yeast, which ferments well.
For those interested, I purchased it from an online baking shop:
http://www.bakingschool.co.kr/bs/bemarket/shop/index.php
4. Dissolve the skim milk powder in slightly warm water (30 to 40 °C) and pour it into the flour.
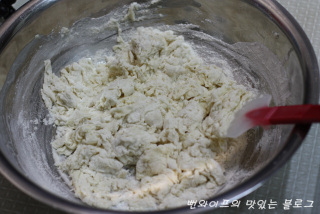
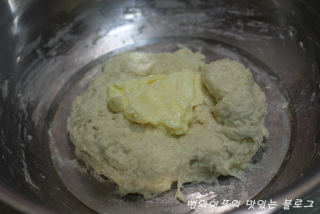
5. Mix well with a spatula, then roughly bring it together into a single lump by hand...
6. Add the butter to the dough and knead by hand. (Do not melt the butter into liquid before adding, or the dough will become too wet.)
Once the butter is evenly incorporated into the dough, it is easier to transfer the dough to a cutting board or a spacious work surface.
When you first add the butter, the dough feels very wet, but as you keep kneading, it reaches a good workable consistency.
If the dough is too stiff, the bread can turn out hard rather than soft, so a dough that feels slightly on the wetter side is better.
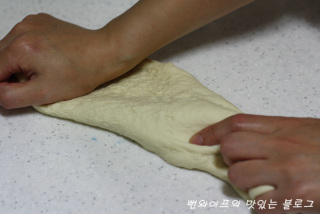
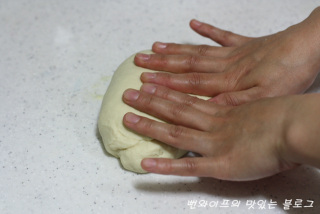
7. Push and knead the dough as if washing laundry by hand, then...
8. Fold it, roll it into a ball with your hands, and push and knead again. Repeat steps 7 and 8 for about 15 minutes to develop gluten. If you do not have to worry about downstairs neighbors, slamming the dough against the counter helps with gluten formation.
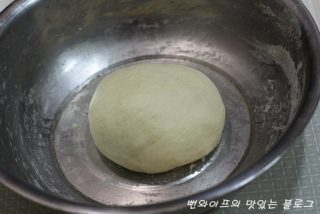
10
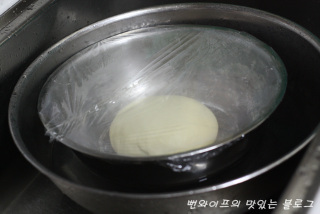
9. When the dough is smooth and does not tear when stretched, it is well kneaded. Place it in a bowl...
10. Cover with plastic wrap so it does not dry out, then set the dough bowl over a container filled with warm water.
If the water cools down during fermentation, add hot water to keep it warm.
This step is not necessary in the summer when room temperature is around 30 °C, but because dough does not ferment well at lower temperatures, doing this works well on cold days like now or in winter.
11
12
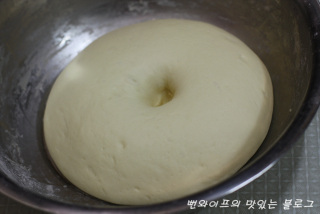
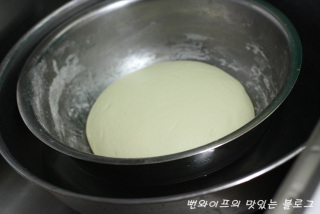
11. After 50 minutes, if the dough has doubled in size, the fermentation went well (first rise).
12. Press gently with your index finger; if the indentation holds its shape, it is fully fermented. If the hole springs back, it needs more time, so extend the fermentation.
13
14
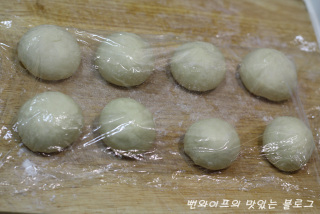
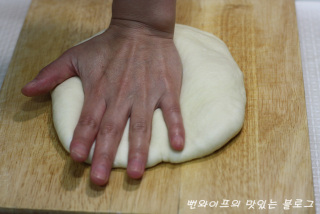
13. After finishing the first rise, deflate the dough by pressing it with your palm or rolling it with a rolling pin...
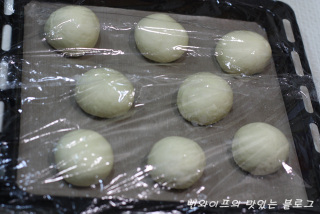
14. Divide the dough into 8 to 10 equal pieces, round each piece, cover with plastic wrap so they do not dry out, and let rest at room temperature for about 10 minutes for the bench rest.
15
16
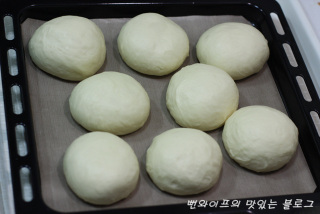
15. After the bench rest, press the gas out of the dough, round each piece again, arrange them on a baking sheet, cover with plastic wrap, and let rise for about 40 minutes for the second rise.
During the second rise as well, set the pan over a container of warm water or create an environment that encourages good fermentation.
16. Once the second rise is complete, the dough pieces have doubled in size. Now they are ready to bake in the oven.
17
18
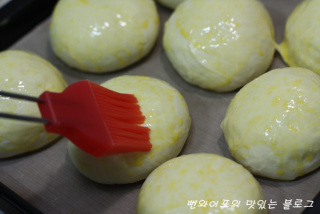
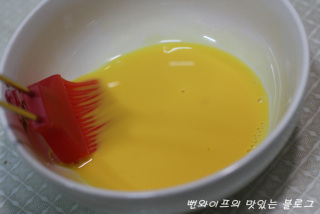
17. Mix the egg yolk and milk together to make an egg wash...
18. Brush it over the surface before baking, and the bread will come out golden and glossy.
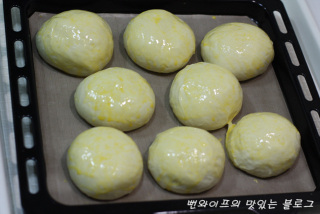
Bake in the oven at 180 °C for about 15 minutes.
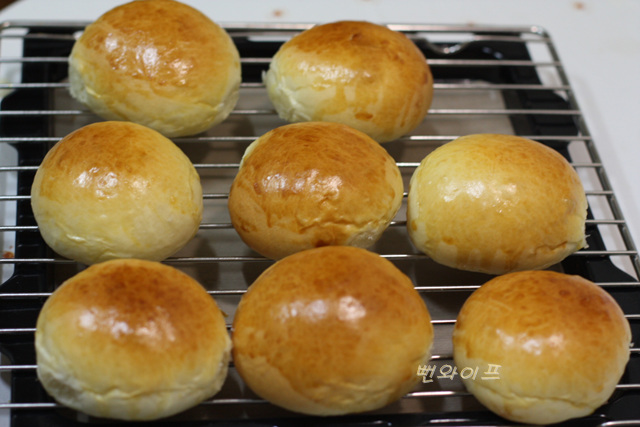
Transfer the baked rolls to a wire rack and let them cool.
 Ppunwife's tips
- For yeast bread, knead the dough until it feels slightly on the wetter side.
- Baking at too low a temperature for a long time can make the bread hard.
- The bread will not turn out soft if it is under-fermented or over-fermented (check with the finger test).
- It is best to use instant dry yeast, which ferments well.
FAQ
Can I use vegetable oil instead of butter?
Instead of 20 g of butter, you can substitute 1 tbsp of vegetable oil such as grapeseed oil, canola oil, or olive oil.
What should I do if I do not have skim milk powder and water?
Instead of preparing skim milk powder and water separately, you can substitute milk in the dough.
How do I check if the first rise is complete?
When you gently press into the dough with your index finger, it is ready if the indentation stays put; if the hole fills back in, extend the fermentation time.
Why brush egg wash on the surface of the bread?
Brushing the dough surface with an egg wash made of yolk and milk before baking gives the finished bread a lovely golden color and appetizing shine.