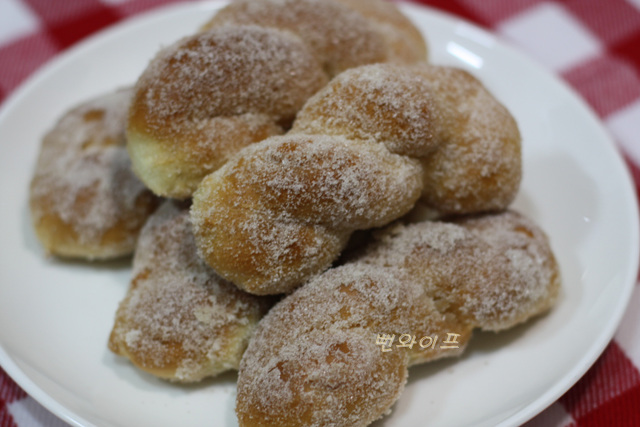
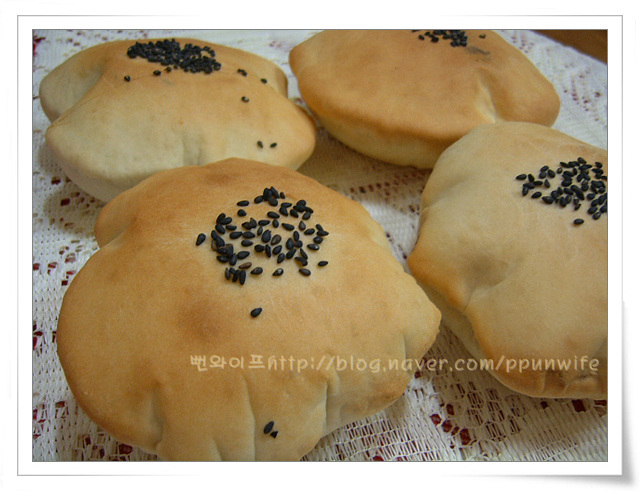
Soft Danpatbbang (Red Bean Bun) with Sweet Red Bean Paste
A soft danpatbbang snack filled generously with sweet red bean paste and baked in the oven.
Translated from Korean by AI and not yet checked by a native speaker. Amounts and numbers are taken directly from the original recipe. Read the Korean original →
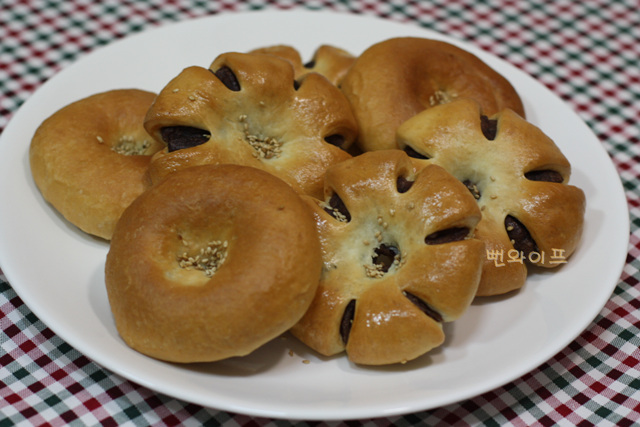
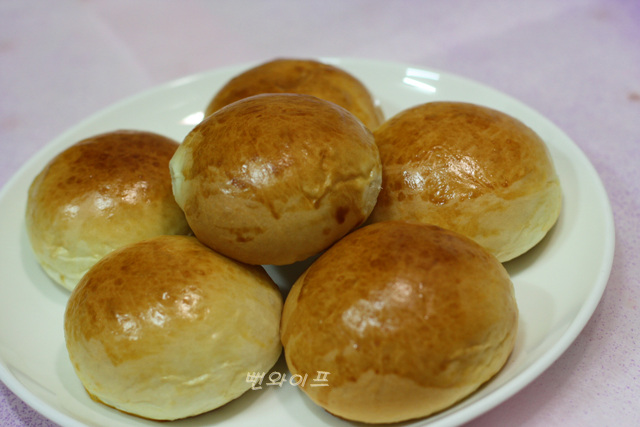
This home-baking snack is made by filling dough generously with sweet red bean paste and baking it until soft. Brushing the tops with melted butter or milk right after baking while still warm keeps them from drying out and maintains moisture and shine. It makes a satisfying treat when served with milk.
- Servings
- about 3–4 servingsOriginal: Makes 5–6 buns
- Cook time
- 20 minprep not included
- Difficulty
- Medium
- Spiciness
- Not spicy
Ingredients
Ingredients
- Bread flour200 g (2 cups)
- Sugar2 tbsp
- Salt1/2 tsp
- Instant dry yeast1 tsp (3 g)
- Skim milk powder2 tsp
- Water120 g
- Butter (or oil 1 1/2 tbsp)20 g
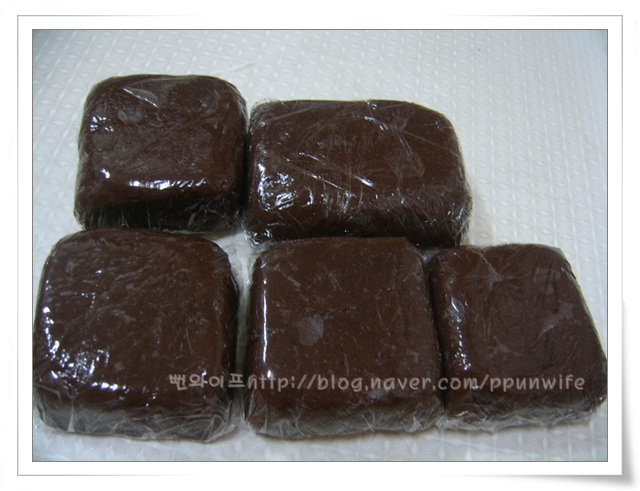
- Sweet red bean paste300 g (approx.)
Egg wash
- Egg yolk1
- Milk (or water)1 tbsp
- You can use milk in place of the skim milk powder and water.
- Take the butter out of the refrigerator and let it sit at room temperature for at least 1-2 hours.
- Sift the flour (bread flour) once beforehand.
- Warm the water or milk slightly in the microwave so it is just slightly warm. (Be careful, as hot liquid will kill the yeast)
Steps
For the process from kneading through the first rise,
refer to the link here: ⇒ http://blog.naver.com/ppunwife/140094980271
Once the dough has finished its first rise (50 minutes), press it with your hands to deflate the gas, divide it into 6 pieces,
shape each into a round ball, cover with plastic wrap so they do not dry out, and let them rest at room temperature for about 10 minutes for an intermediate rise.
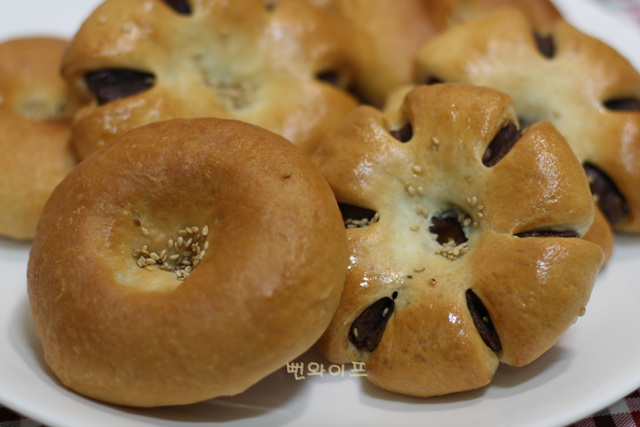
Shaping the sweet red bean paste into round balls of about 40–50 g makes it easier to shape the buns.
If you need homemade sweet red bean paste, see here: ⇒ http://blog.naver.com/ppunwife/140055502143
Once the intermediate rise is complete, flatten each piece of dough with your palm or a rolling pin.
Shape the dough into a shallow cup, place the sweet red bean paste inside, and...
Pinch the edges tightly closed so no filling is visible.
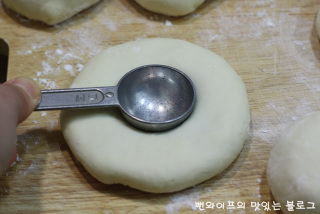
Press the dough gently with your palm until flattened to about 2 cm thick,
then press down firmly in the center with a measuring spoon or an egg until it touches the bottom.
For a different shape, you can also snip the edges with kitchen shears to divide it into 6 sections.
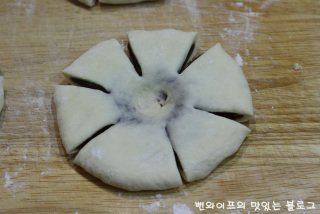
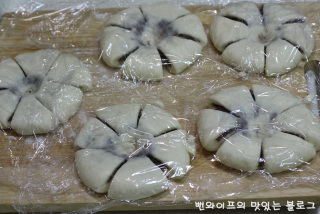
Cover with plastic wrap or a plastic bag, and let it undergo a second rise in a warm spot for 40 minutes.
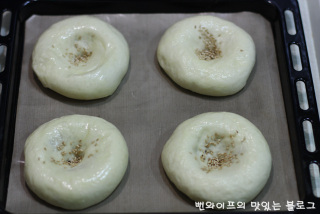
After finishing the second rise, brush the egg wash evenly over the dough and sprinkle a few sesame seeds into the indentation.
The egg wash is made by mixing 1 egg yolk with 1 tbsp of milk or water.
Bake at a temperature of 180°C for 15–20 minutes.
 Ppunwife's tips
- Brushing melted butter or milk evenly over the surface of the baked buns before they cool will make them glossy and moist.
FAQ
How can I substitute if I do not have skim milk powder?
You can use milk in place of both the water and skim milk powder in the dough for the same purpose.
How do I keep the surface of the baked red bean buns moist and glossy?
Brushing melted butter or milk evenly over the outside before the buns cool after coming out of the oven will add moisture and shine.
What temperature should the water or milk be when making the dough?
Warm it slightly in the microwave so it is lukewarm, being careful not to make it too hot so the yeast is not killed.