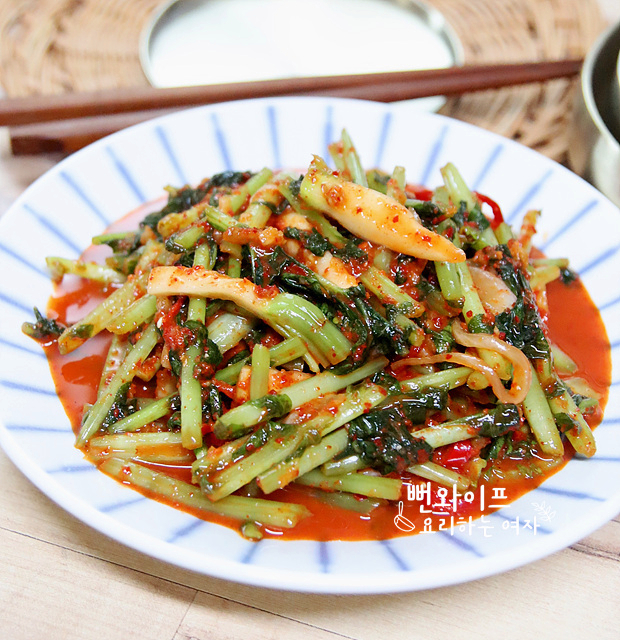
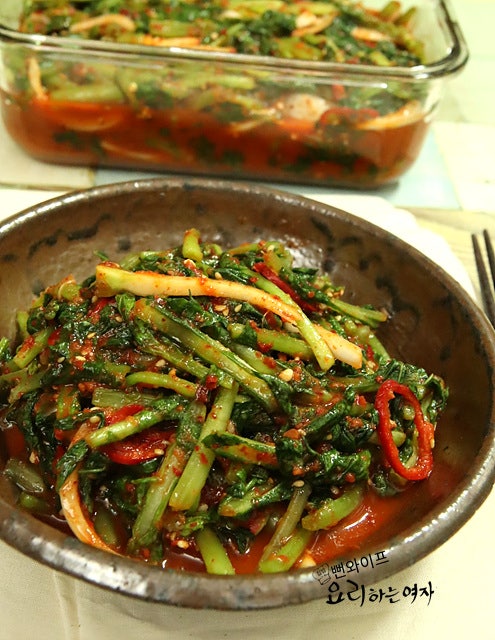
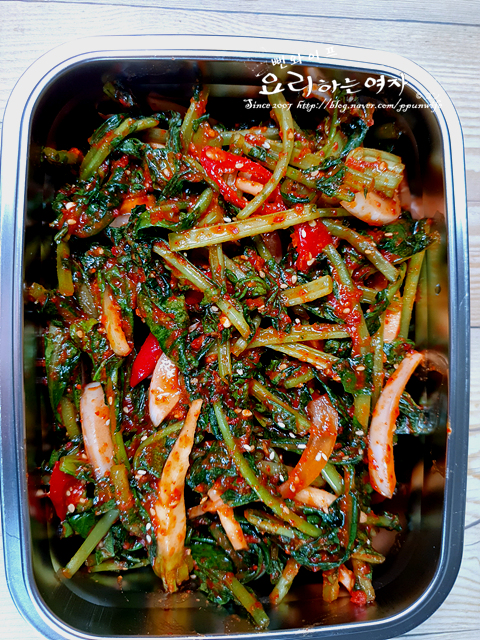
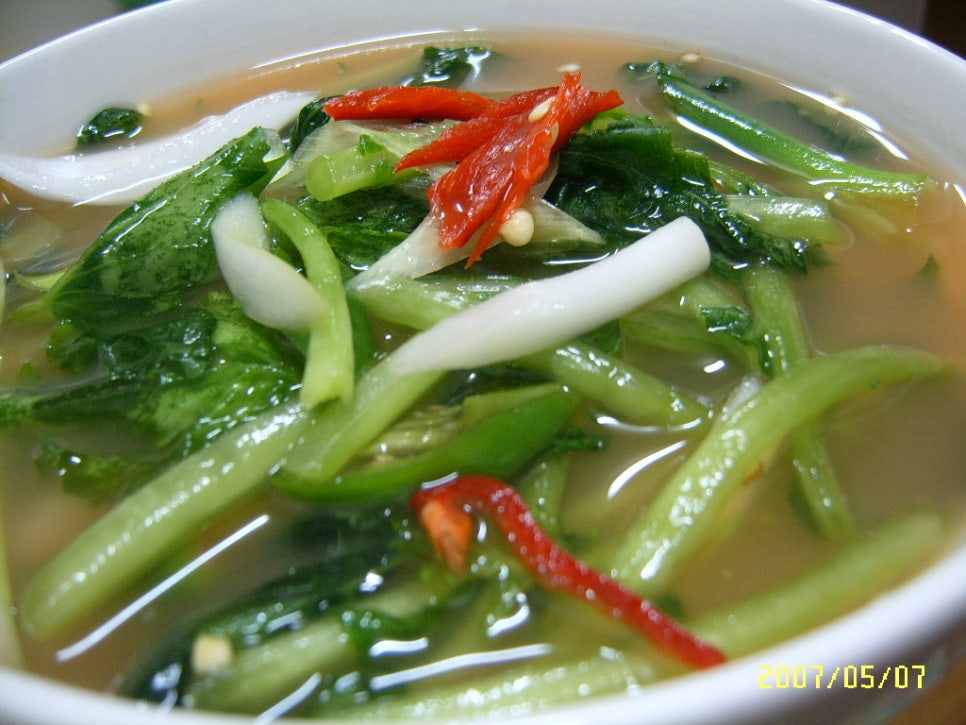
Yeolmu Kimchi (Young Summer Radish Kimchi) with Rice Broth
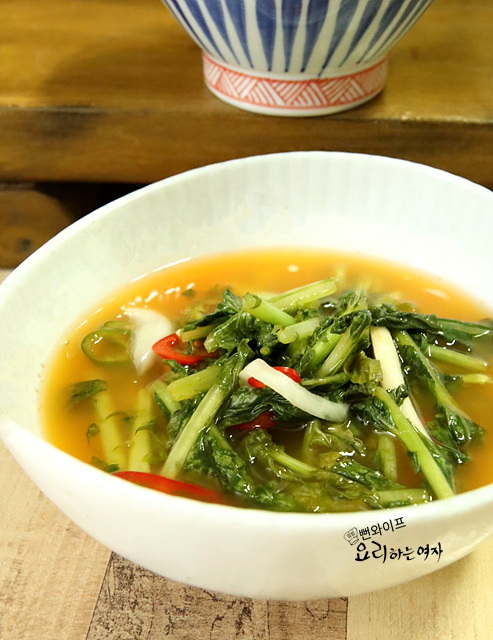
A brothy spring kimchi made by blending cold cooked rice instead of boiling porridge, finished with refreshing anchovy broth.
Translated from Korean by AI and not yet checked by a native speaker. Amounts and numbers are taken directly from the original recipe. Read the Korean original →
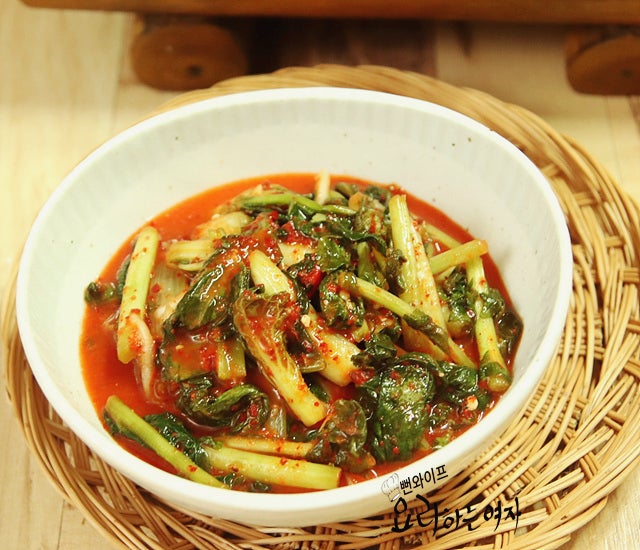
You can make the seasoning effortlessly by blending cold cooked rice in a blender instead of cooking flour porridge. With plenty of anchovy broth, it yields plenty of light broth that pairs perfectly with noodles or naengmyeon.
- Servings
- about 10–12 servings
- Difficulty
- Medium
- Spiciness
- Mildly spicy
Ingredients
Ingredients
- Young summer radish (yeolmu)1 bunch
- Eolgari cabbage1 bunch
- Onion1/2 (large)
- Red chili pepper3
- Coarse sea salt1/2 cup
Yeolmu kimchi seasoning
- Anchovy broth3 cups
- Cold cooked rice1/2 bowl
- Peeled garlic (or 4 tbsp minced garlic)15, 4 tbsp
- Ginger (or 1 tbsp minced ginger)2 cloves, 1 tbsp
- Red chili pepper5
- Gochugaru (Korean chili flakes)2/3 cup
- Salted fermented shrimp (saeujeot)3 tbsp
- Sand lance fish sauce (or dried anchovies)3 tbsp
- Sugar (or green plum syrup (maesil-cheong))2 tbsp
- Remove any yellowed or damaged stems, trim away the eolgari cabbage roots and yeolmu radish bulbs, and cut into bite-sized lengths.
- Sprinkle evenly with 1/2 cup coarse sea salt and salt for around 1 hour.
- You can omit the red chili pepper garnish if you prefer not to chew on chili pieces.
Steps
Prepare the ingredients
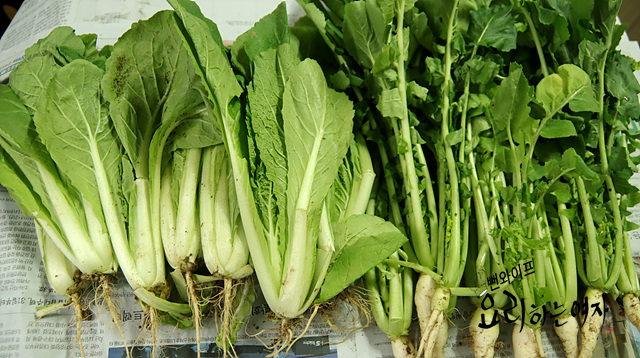
Here is 1 bunch of eolgari cabbage and 1 bunch of young summer radish (yeolmu).
Trim the ingredients
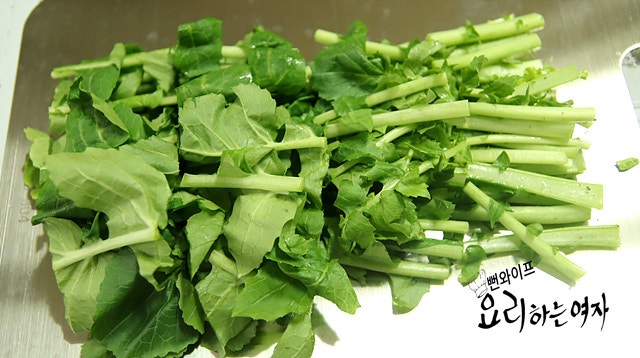
The yeolmu is very clean, so there is hardly anything to trim.
Pluck off any yellowed or damaged stems; it is fine to keep the attached radish roots after trimming, but because they were too pungent, I cut them all off.
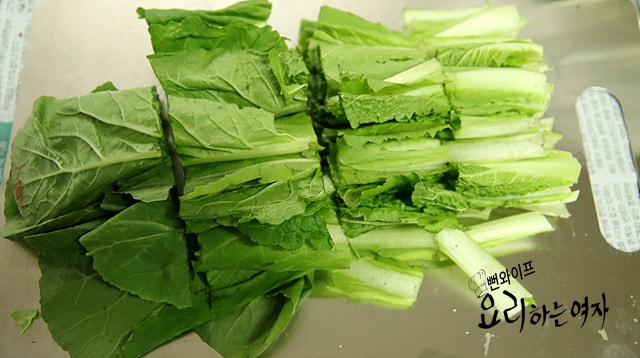
Cut them into bite-sized lengths.
Trim the root ends off the eolgari cabbage as well, and cut it to a similar length as the yeolmu.
The very tips of the yeolmu and cabbage leaves lack texture and easily give off a raw grassy smell, so it is nice to blanch them and add them to doenjang soup.
This time, after cutting off the radish bulbs and trimming everything, the two bunches weighed 1.5 kg.
Wash the greens
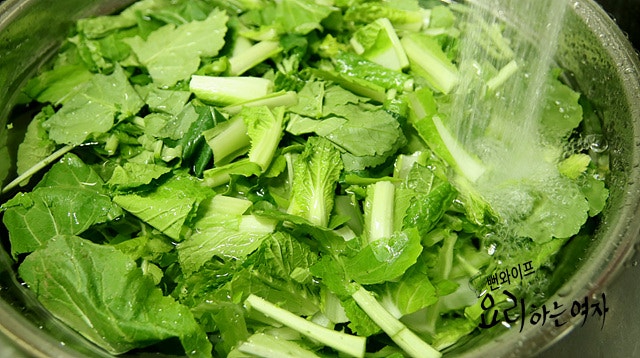
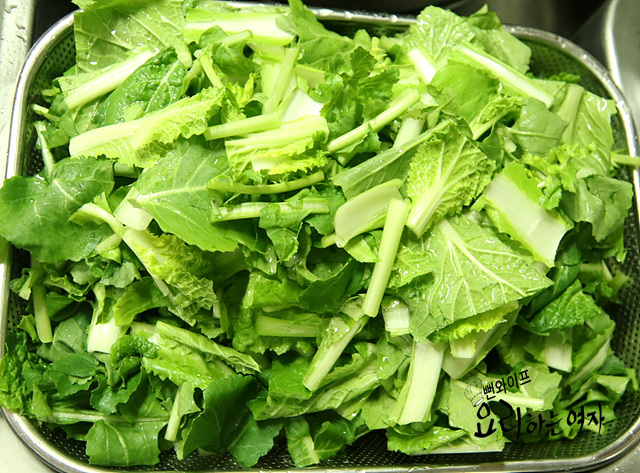
Rinse once in water, fill the bowl with water again, let them soak briefly, and rinse multiple times until no dirt settles at the bottom.
If you salt them right after rinsing while plenty of moisture remains, you can salt them without adding extra water.
Salt the greens
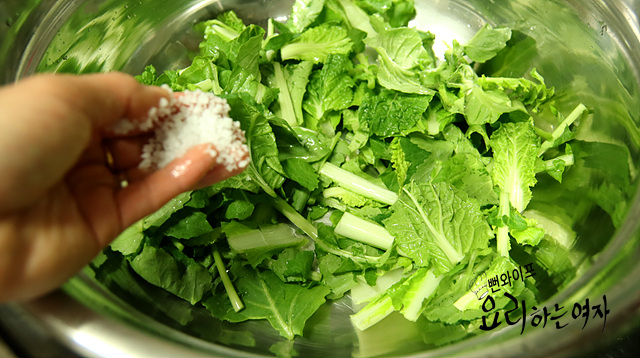
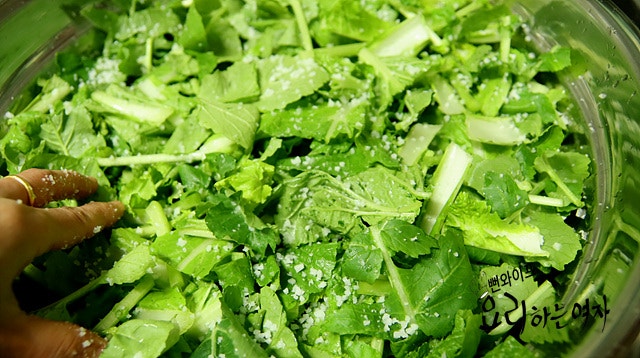
First, spread about two handfuls across the bottom and sprinkle about 2 tbsp of salt evenly over them. Repeat this process until all 1/2 cup of coarse sea salt is sprinkled, then let salt for around 1 hour.
They salt well only when there is plenty of moisture, so if they have drained too dry, sprinkle some water with your hands to keep them moist.
Young summer radish harvested in spring is tender and does not take long to salt, so keep an eye on it and adjust the time.
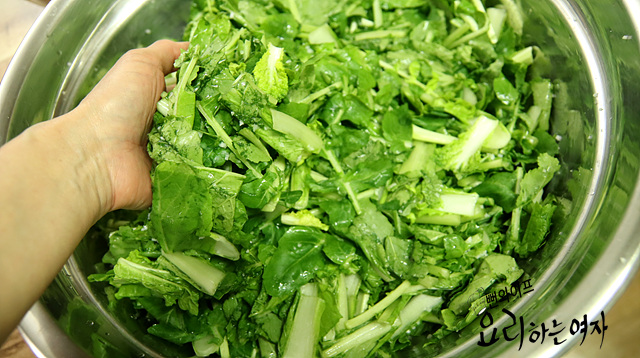
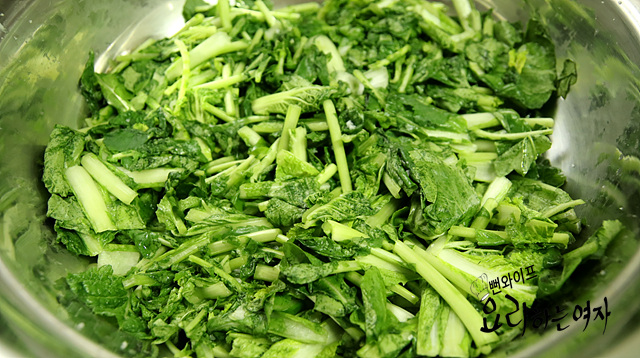
Turn them over once halfway through so they salt evenly from top to bottom.
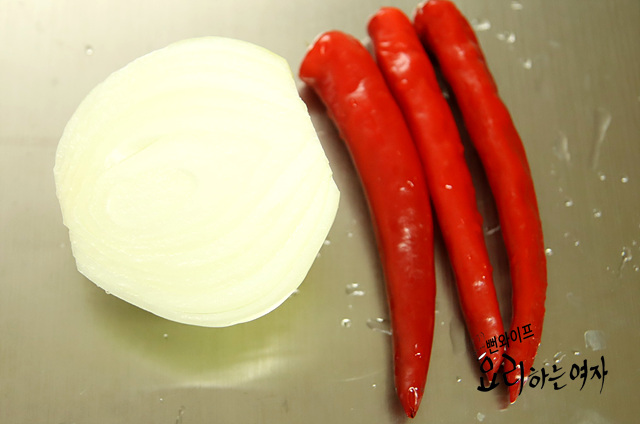
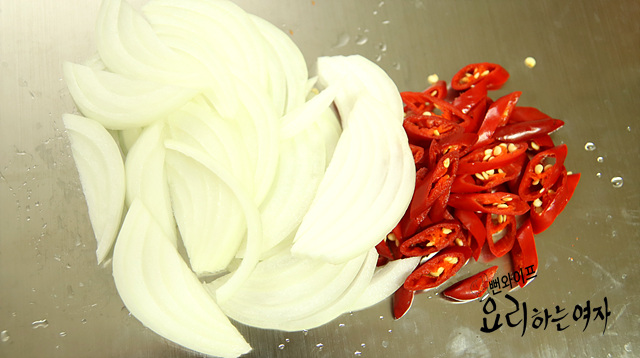
For the garnish, prepare and slice 1/2 onion and 3 red chili peppers.
These slices will be mixed in with the salted greens.
Red chili peppers go into both the garnish and the blended seasoning, so I mention it in case it might be confusing. You can omit the garnish chilies if you do not like chewing on chili pieces.
Make the yeolmu kimchi seasoning
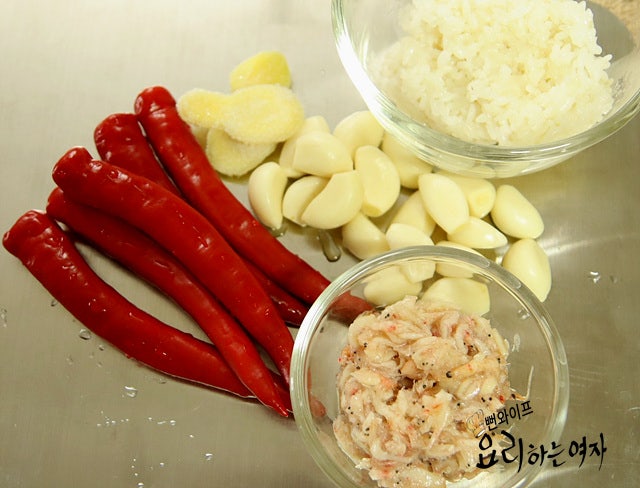
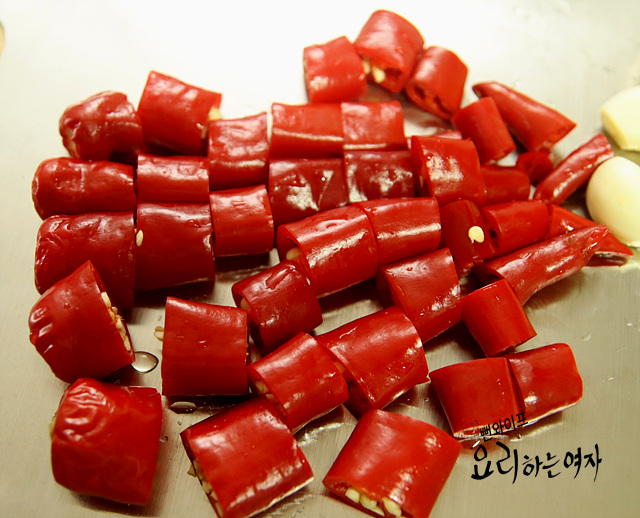
Now blend the ingredients for the yeolmu kimchi seasoning.
Prepare 5 red chili peppers; my garlic cloves were small so I used about 20, but about 15 cloves are enough.
Then ginger, 1/2 bowl of cold cooked rice, and 3 tbsp of salted fermented shrimp (saeujeot).
Just cut the red chili peppers into 3 pieces so they blend easily.


Put all the seasoning ingredients into a blender, pour in 3 cups of anchovy broth, and blend finely.
Using anchovy broth—simmered with well-toasted anchovies so there is no fishiness—instead of plain water gives kimchi a much deeper and richer flavor.
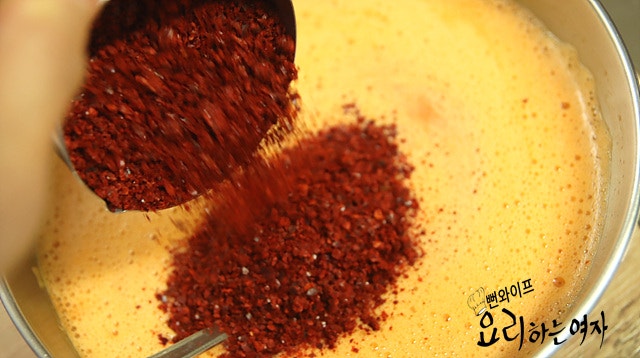
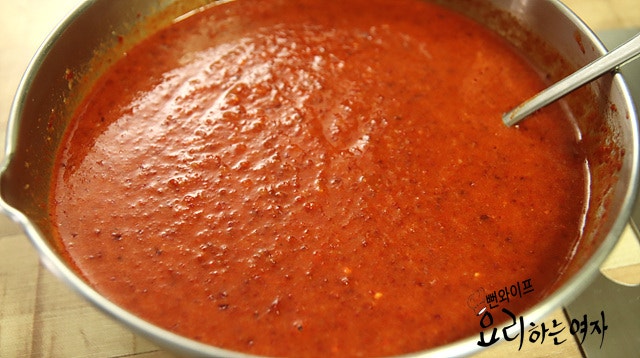
In a bowl, combine the blended seasoning with 2/3 cup gochugaru, 3 tbsp sand lance fish sauce, and 2 tbsp sugar (or green plum syrup), and let it sit so the flavors meld and the gochugaru blooms.
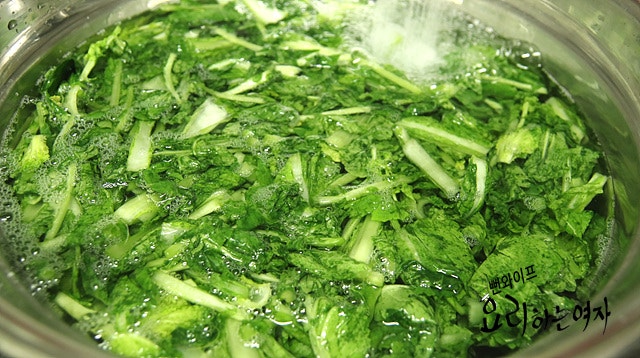
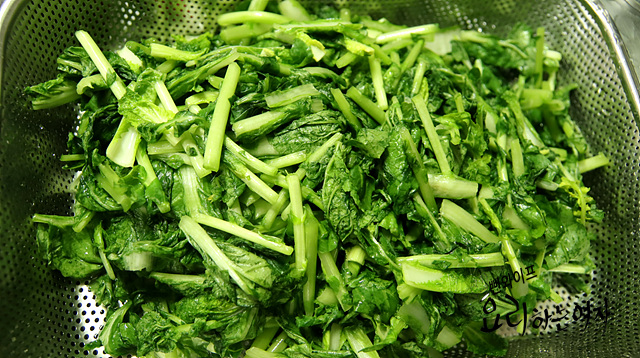
Once the greens are properly salted, rinse them once in water and drain them in a colander.
If they are salted too much and taste salty, rinse them more times to draw out the excess salt.
Mix the kimchi
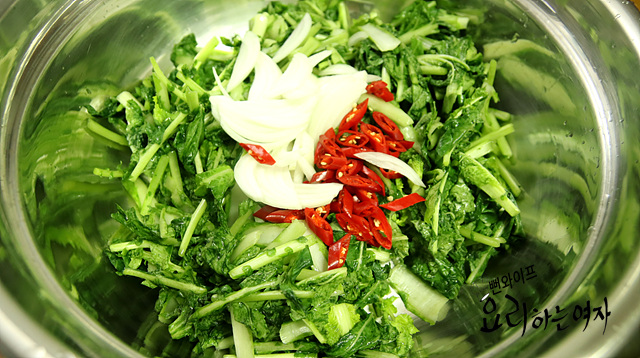
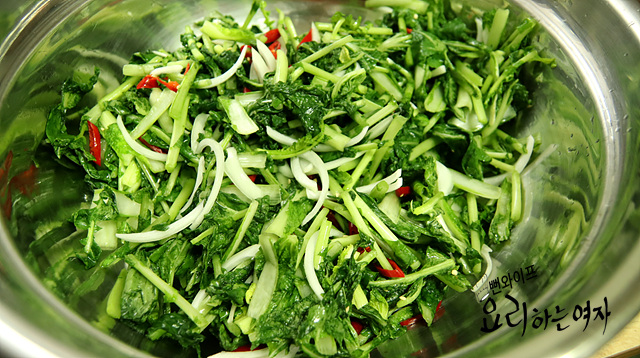
In a wide mixing bowl, add the drained yeolmu along with the sliced onion and red chili pepper garnish, and toss lightly, then...
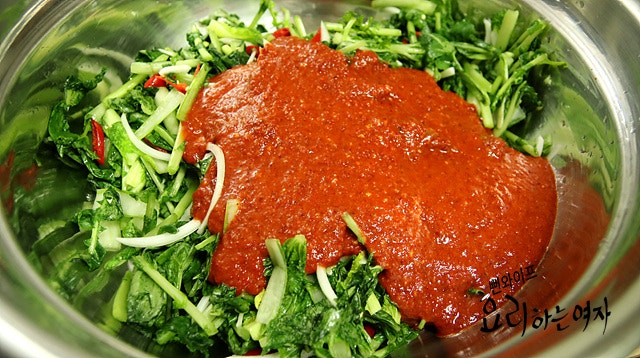
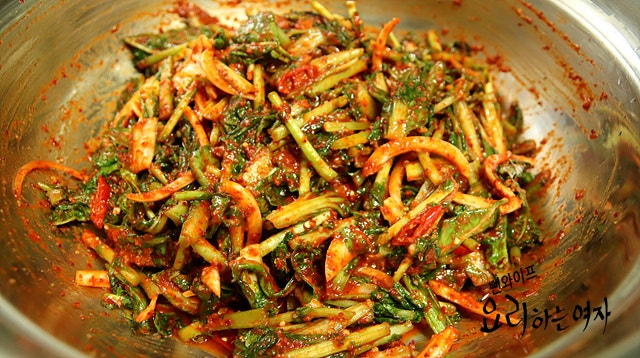
Add the seasoning and toss gently.
Taste it, and if it is bland, add salt or fish sauce, and adjust the sweetness with sugar or green plum syrup.


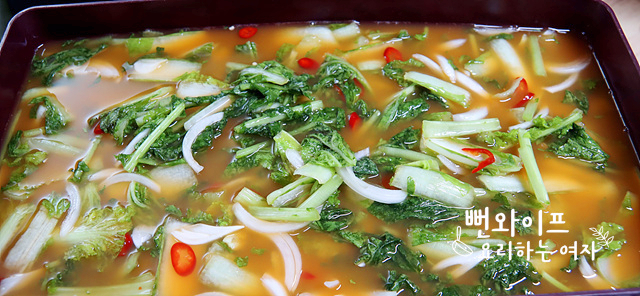
Transfer to a kimchi container, then pour 2 cups of water into the mixing bowl to rinse out the remaining seasoning, season mildly with a little salt, and mix.
Finish
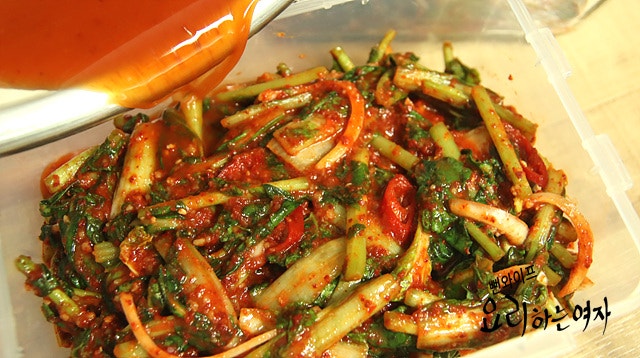
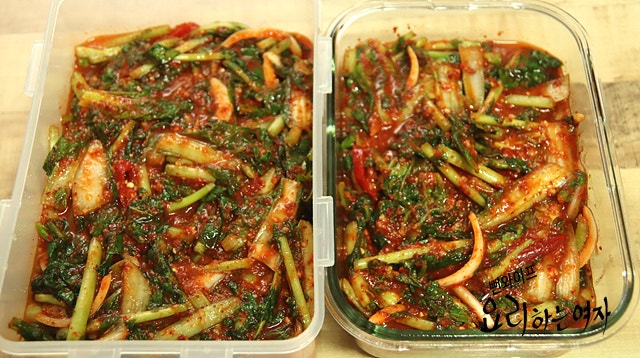
Gently pour the liquid along the edge of the container, let it ferment at room temperature for about a day, and then move it to the refrigerator.
These days daytime temperatures are high, so it can ferment quickly; open the lid and check on it from time to time.
 Ppunwife's tips
- If you salt the greens right after rinsing while plenty of moisture remains, you can salt them without adding extra water.
- Using anchovy broth—simmered with well-toasted anchovies so there is no fishiness—instead of plain water gives kimchi dishes a much deeper, more delicious flavor.
- If the greens become overly salted, rinse them extra times to wash away the excess salt.
FAQ
Do I need to make a glutinous rice or flour porridge separately?
There is no need to make porridge; simply blend half a bowl of cold cooked rice with the seasoning ingredients in a blender as an easy substitute.
What should I do if the greens become too salty after salting?
If they absorbed too much salt, increase the number of rinses to wash away the excess saltiness.
Can I use another fish sauce instead of sand lance fish sauce?
You can substitute anchovy fish sauce instead.
Why do you remove the very tips of the yeolmu and eolgari cabbage leaves?
The tips have poor texture and easily develop a raw grassy smell, so they are removed; the trimmed tips are great to save for soups.