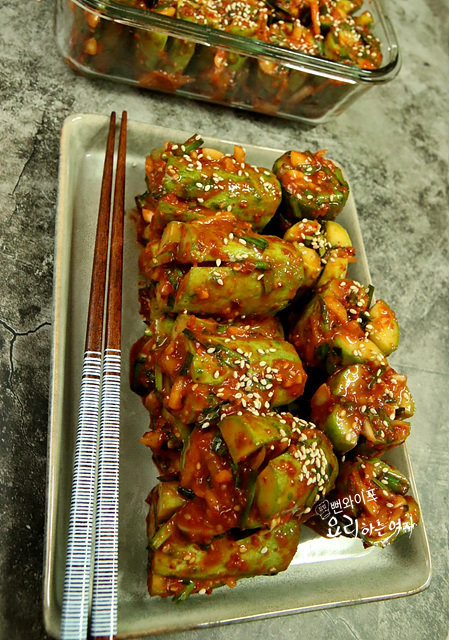
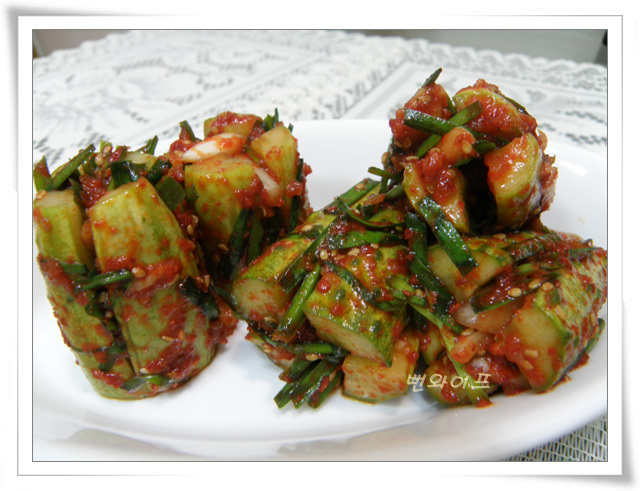
Crisp Oi Sobagi (Stuffed Cucumber Kimchi)
A special kimchi of cucumbers salted in hot brine for extra crunch and stuffed with seasoned garlic chives.
Translated from Korean by AI and not yet checked by a native speaker. Amounts and numbers are taken directly from the original recipe. Read the Korean original →
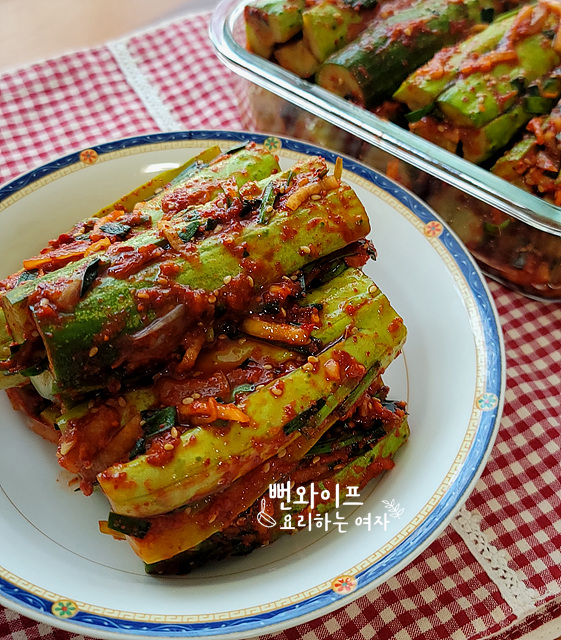
This is a simple kimchi made with ten tender spring white cucumbers. Pouring boiling brine directly over the cucumbers keeps them crisp for a long time without turning mushy. The trick is to fold in the garlic chives at the very end so they do not develop a raw, grassy taste.
- Servings
- about 8–10 servingsOriginal: 10 cucumbers
- Difficulty
- Medium
- Spiciness
- Mildly spicy
- Keeps
- 10 days
Ingredients
Ingredients
- White cucumber10
- Garlic chives (buchu)150 g
- Korean radish (mu)200 g
- Onion1 (small)
- Coarse sea salt2/3 cup
- Water8 cups
Seasoning
- Gochugaru (Korean chili flakes)1 cup
- Minced garlic3 tbsp
- Minced ginger1/2 tbsp
- Salted fermented shrimp (saeujeot)2 tbsp
- Sand lance fish sauce (or dried anchovies)2 tbsp
- Sugar (or green plum syrup (maesil-cheong))2 tbsp
- Anchovy broth (or bottled water)1/2 cup
- Toasted sesame seeds2 tbsp
- Using straight cucumbers makes prepping them much easier.
- The onion is one small one, but if using a medium size, 1/2 onion is enough.
- Rub the cucumbers gently with a soft sponge or fine salt so they do not bruise, removing the prickles from the skin, then wash them clean.
- Because it does not keep for very long, it is best to make only enough to finish within ten days.
Steps
Cut the vegetables
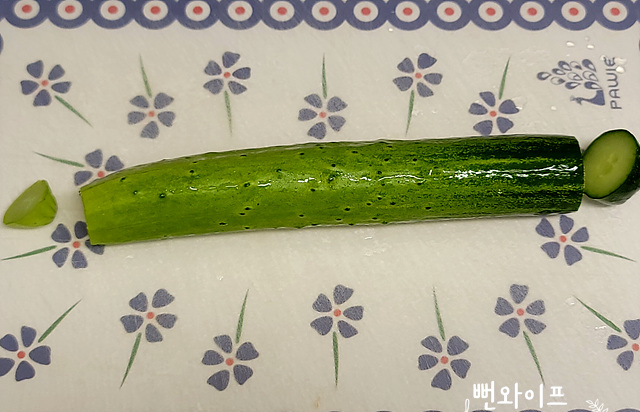
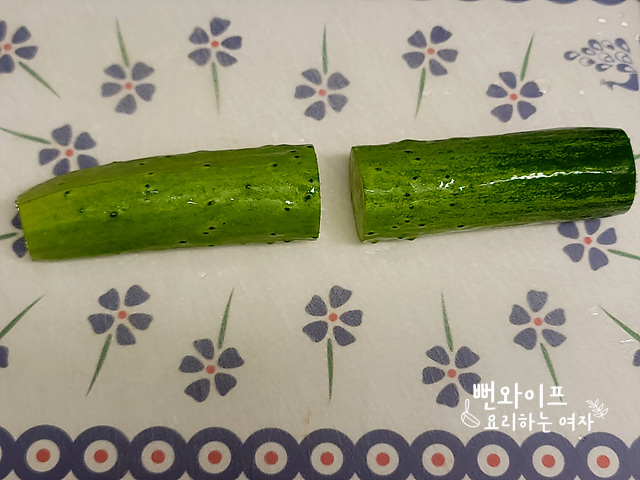
Trim off both ends and cut each cucumber in half.
You can also cut them into 3 to 4 pieces.
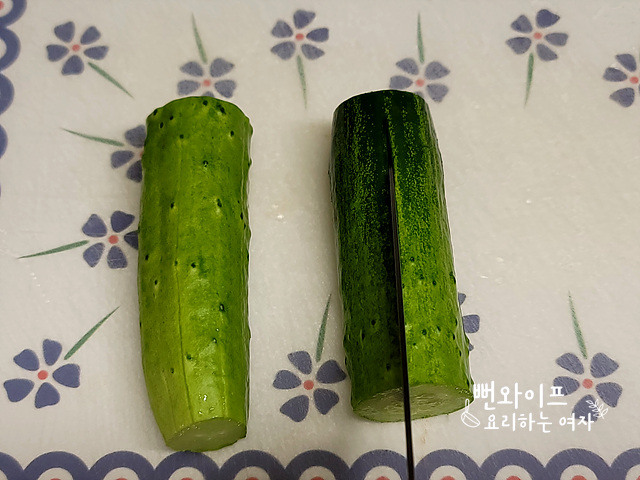
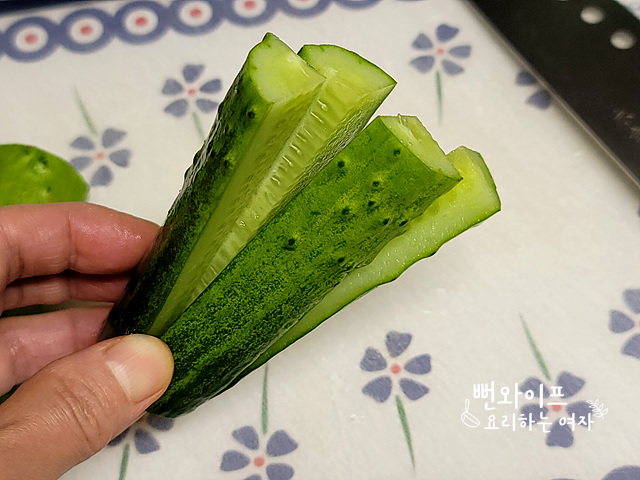
Slit each piece into a cross shape, leaving a little attached at the base.
Cutting them in half rather than into 4 pieces yields fewer pieces overall, which I found takes less effort and is much easier when stuffing the seasoning.
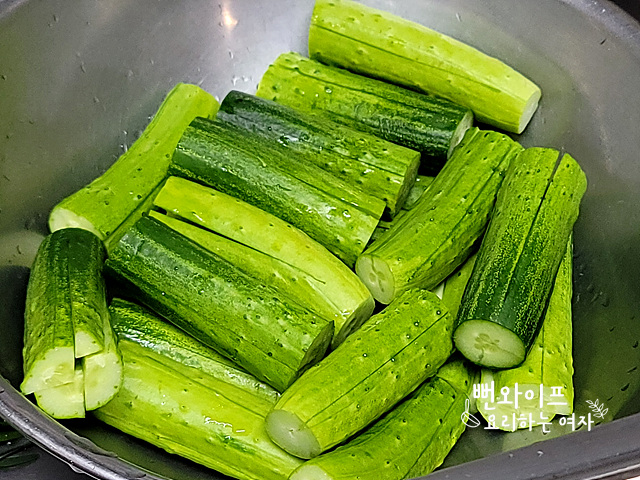
Stack the cucumbers neatly in a large bowl for pickling.
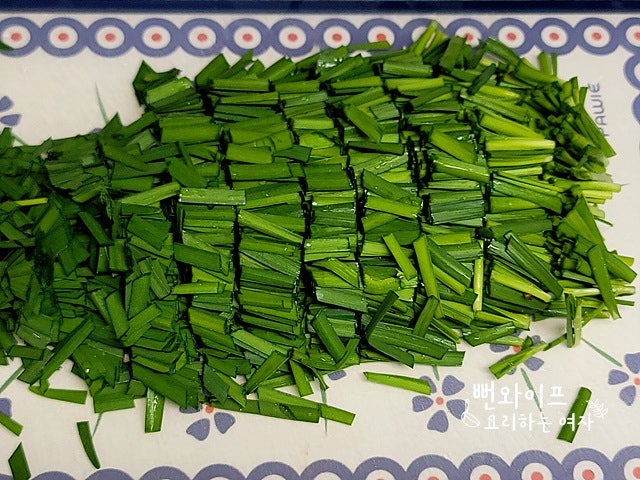
Cut the garlic chives into short pieces, about 1.5 cm. Use the white root ends for soup or savory pancakes instead of the stuffing.
If they are cut too long, the stuffing does not look tidy.
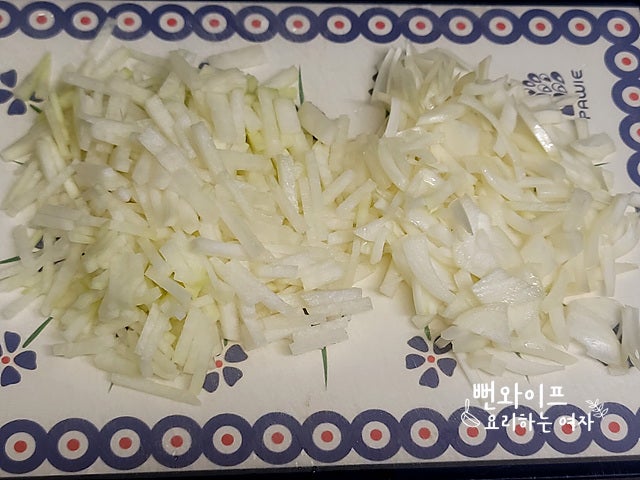
Julienne the Korean radish and onion finely, then cut them to about the same length as the chives.
Salt the cucumbers
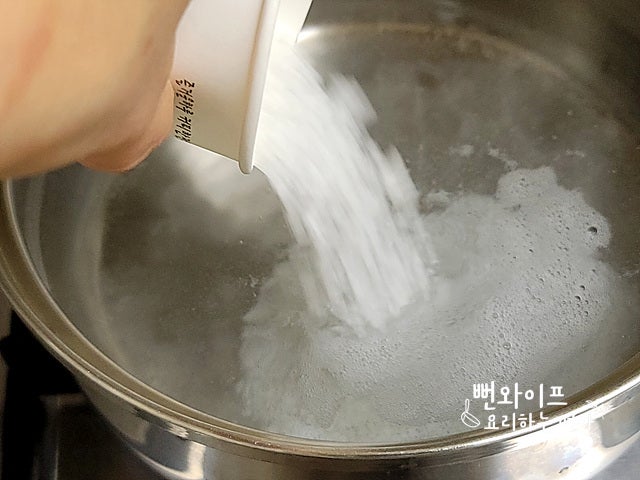
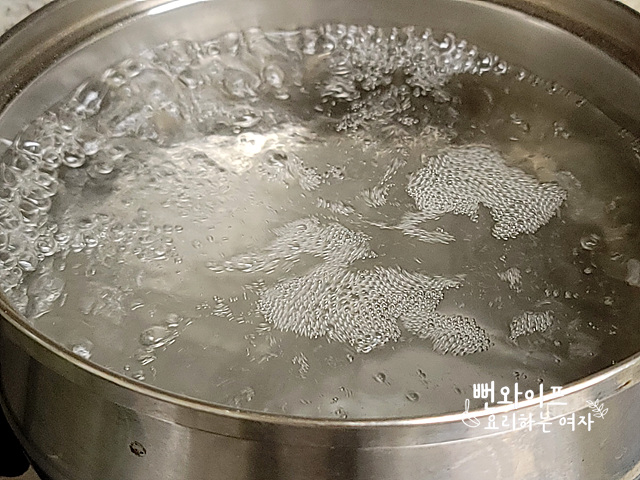
Pour 8 cups of water and 2/3 cup of coarse sea salt into a pot, bring it to a rolling boil, and dissolve the salt.
There is no need to boil it long; once the salt is dissolved...
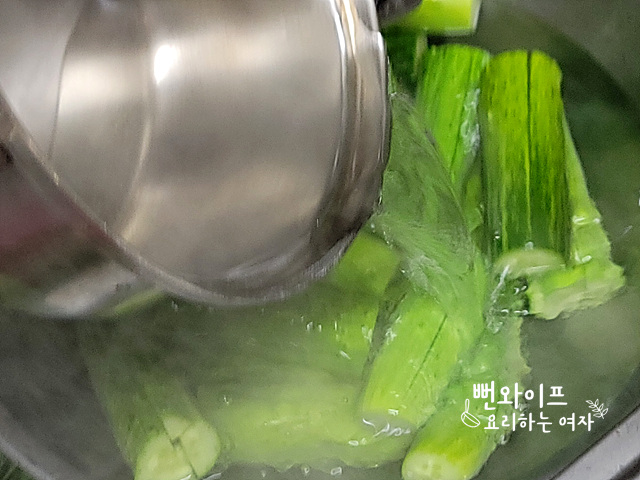
Pour the hot brine directly over the cucumbers.
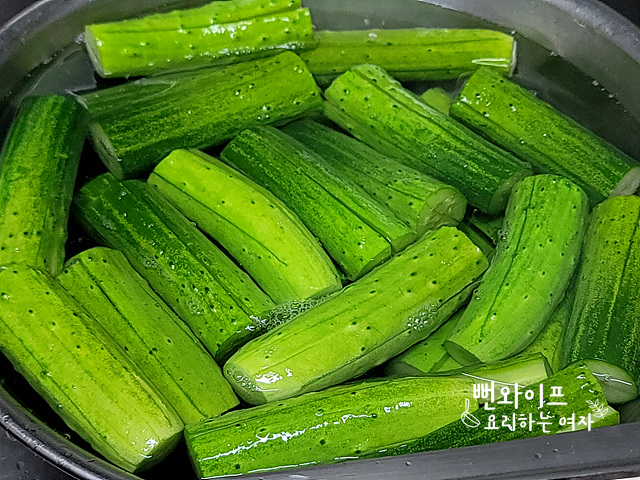
As soon as you pour the hot brine, the cucumbers will turn a more vivid green and their stiff surface will soften slightly.
Salting them in hot brine gives the cucumbers a delightfully crisp texture and keeps them from turning mushy.
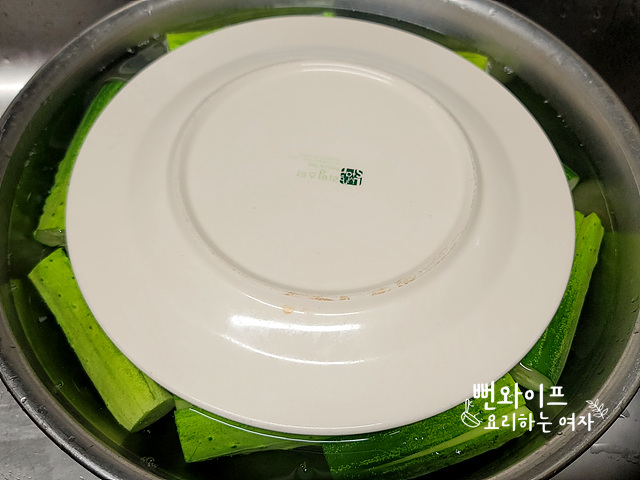
Press them down with a plate so they do not float, and salt for 30 minutes to 1 hour.
Adjust the salting time depending on the thickness of your cucumbers.
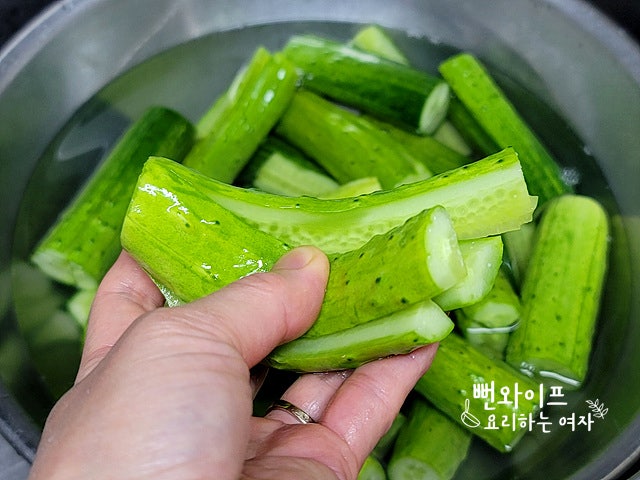
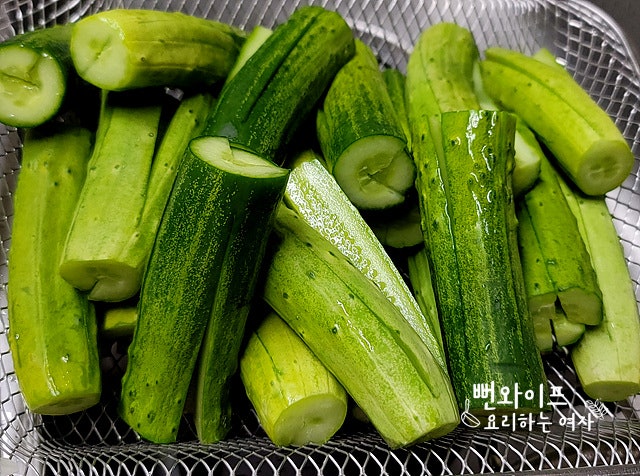
They should bend smoothly without snapping when you flex them like this.
Rinse one in water, cut off a small piece, and check the seasoning.
Since the stuffing is well-seasoned, it is crucial that the cucumbers are salted gently and not salty at all. (If they taste too salty, soak them briefly in water to draw out the salt.)
Rinse lightly under running water and drain thoroughly.
If you drain them poorly, the excess water will wash away and dilute the seasoning, dulling the flavor and making the kimchi spoil easily.
Make the stuffing
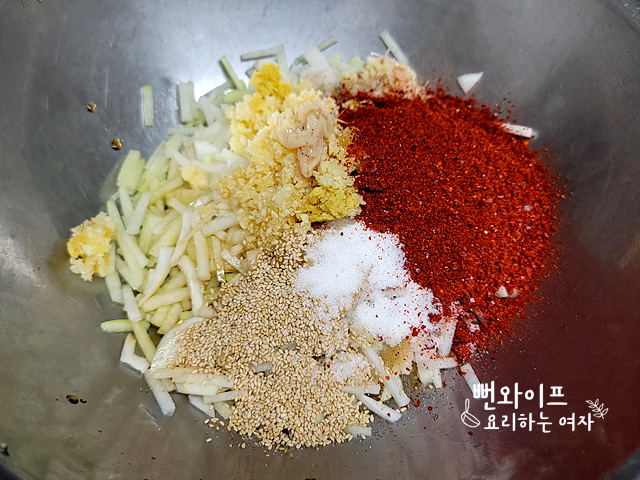
Now make the stuffing seasoning for the stuffed cucumber kimchi.
First, add the sliced radish and onion to a bowl...
Add 1 cup of gochugaru, 3 tbsp of minced garlic, 1/2 tbsp of minced ginger, 2 tbsp of salted fermented shrimp, 2 tbsp of fish sauce, 2 tbsp of sugar, and 2 tbsp of toasted sesame seeds—everything except the broth—and mix well. If you want to use green plum syrup, you will need to add more than the amount of sugar to get the seasoning right.
Also, if you do not like fish sauce, you can season it with salted fermented shrimp alone.
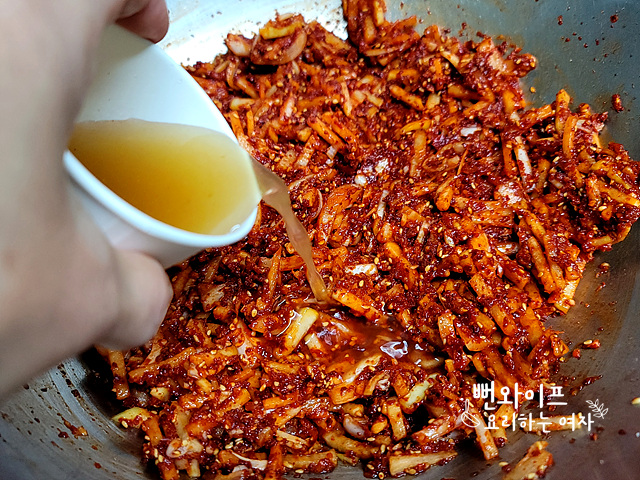
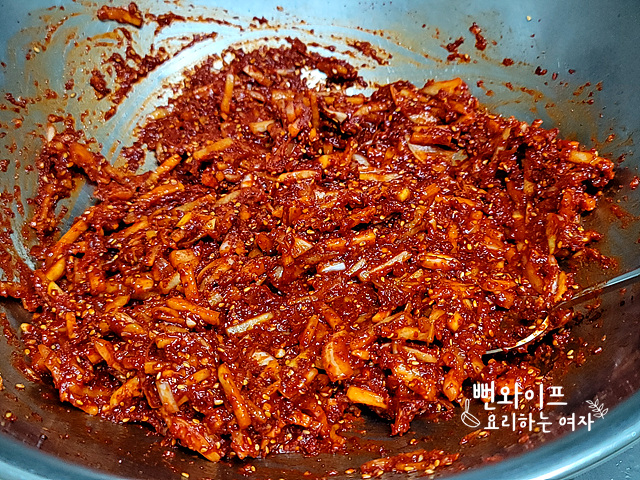
As the radish sits, the mixture will naturally soften, but since the garlic chives still need to go in, you want to add extra moisture to keep the seasoning juicy.
Pour in anchovy broth or plain water little by little until you reach the right consistency.
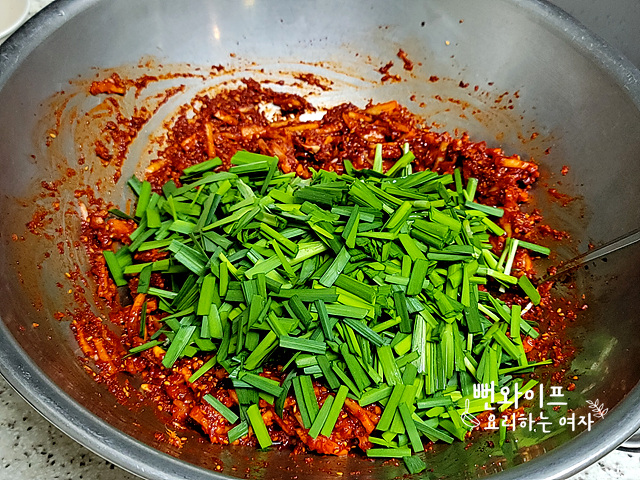
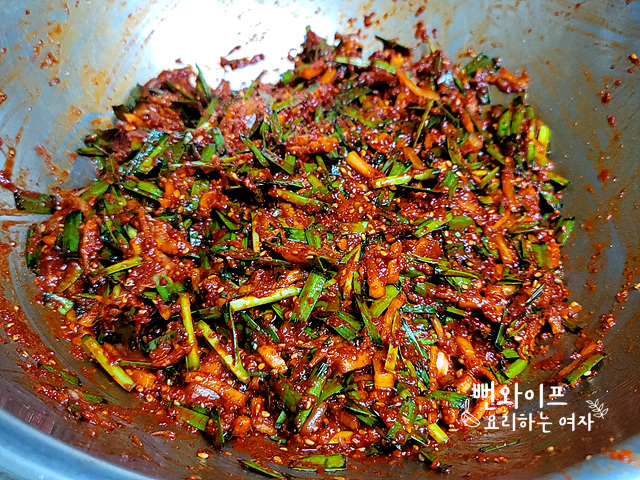
If you mix in the garlic chives from the start, they can develop a raw, grassy taste, so add them at the end like this, toss gently...
and let them wilt down.
That completes the stuffing for the stuffed cucumber kimchi.
If you prepare the stuffing and let it sit while the cucumbers are brining, the flavors will meld nicely, giving it a vibrant color and great flavor.
Stuff the cucumbers
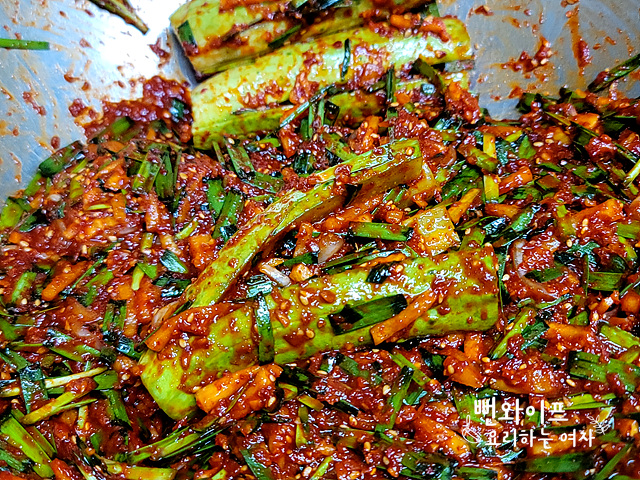
Rub a little seasoning on a cucumber to do a final taste check, and add more saltiness or sweetness if needed.
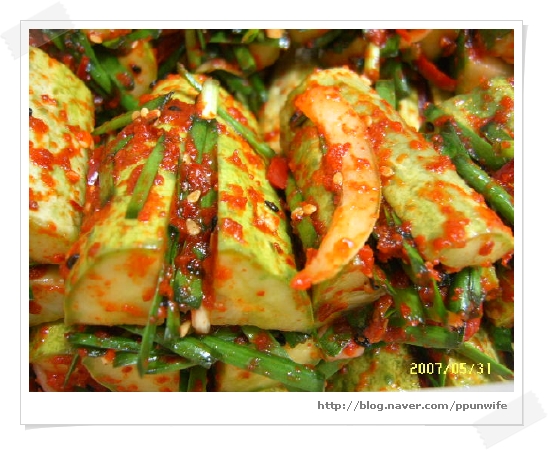
Stuff each cucumber carefully, pacing yourself so you do not run out of filling, and coat the outside lightly with seasoning as well.
Finish
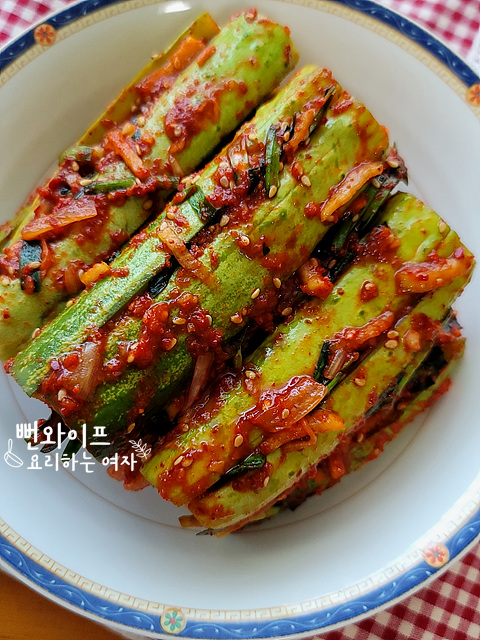
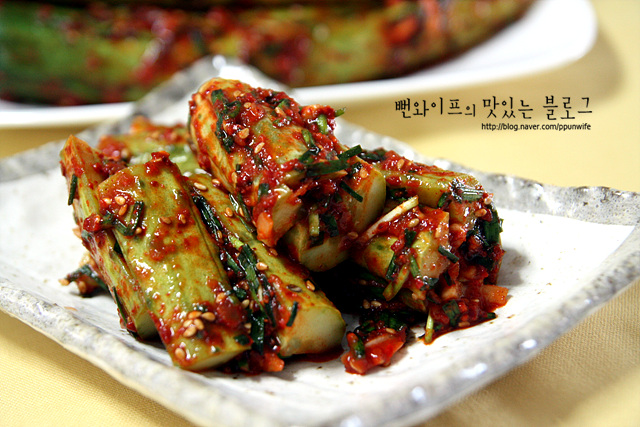
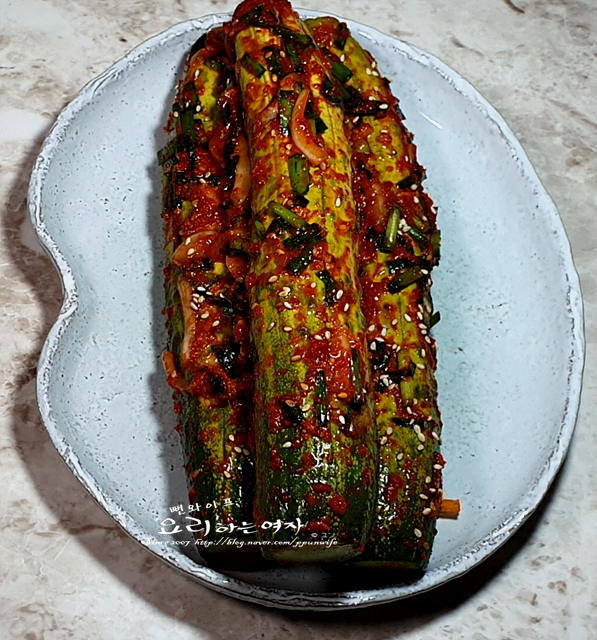
The flavorful oi sobagi is complete.
We ate some right away yesterday for a fresh taste, and this is what it looked like when I took it out this morning for photos.
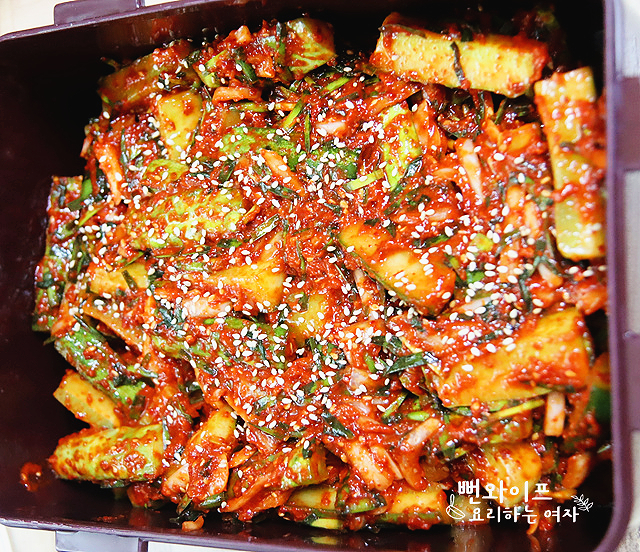
Liquid will collect at the bottom overnight, so simply flip the top and bottom pieces around before enjoying.
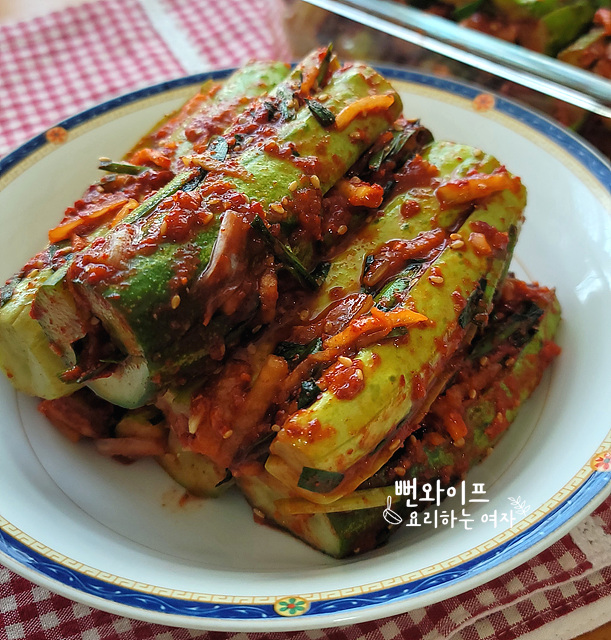
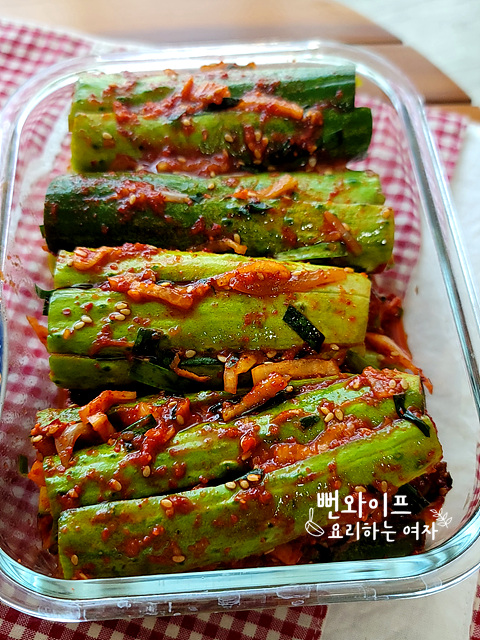
When you make oi sobagi like this, all your other side dishes take a back seat and you reach for only this.
I think this rice thief of an oi sobagi will be my favorite side dish for a while.
Because it does not keep for very long, it is best to make only enough to finish within ten days.
 Ppunwife's tips
- Salting the cucumbers in hot brine gives them a delightfully crisp texture and keeps them from turning mushy.
- Since the stuffing is well-seasoned, it is crucial that the cucumbers are salted gently and not salty at all. (If they taste too salty, soak them briefly in water to draw out the salt.)
- If you drain them poorly, the excess water will wash away and dilute the seasoning, dulling the flavor and making the kimchi spoil easily.
- If you mix in the garlic chives from the start, they can develop a raw, grassy taste, so add them at the end, toss gently, and let them wilt down.
- Liquid will collect at the bottom overnight, so simply flip the top and bottom pieces around before enjoying.
FAQ
Why are the cucumbers salted in boiling brine?
Pouring hot brine over them brightens their color and keeps them crisp for a long time without turning mushy.
Why are the garlic chives added last when making the stuffing?
Mixing the garlic chives in from the beginning can bring out a raw, grassy taste, so it is best to mix the seasonings first and gently toss the chives in at the end to wilt.
Can I season this with something else instead of fish sauce?
If the flavor of fish sauce feels too strong, you can omit it and season the kimchi with salted fermented shrimp alone.
How soon should the finished oi sobagi be eaten?
Because oi sobagi has a relatively short shelf life, it is recommended to make only as much as you can eat within ten days.