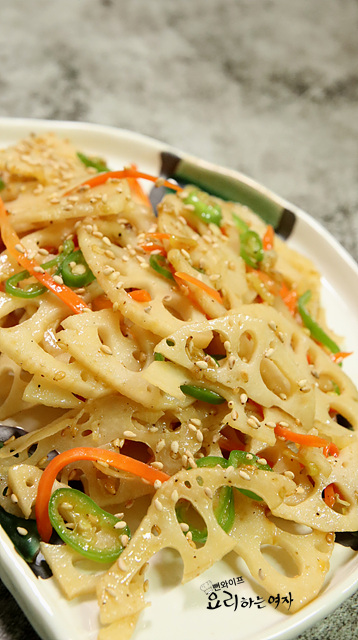
Yeongeun Jorim (Braised Lotus Root)
Yeongeun jorim (braised lotus root) stir-fried in garlic oil and gently simmered in a sweet and savory sauce for a chewy yet crisp texture.
Translated from Korean by AI and not yet checked by a native speaker. Amounts and numbers are taken directly from the original recipe. Read the Korean original →
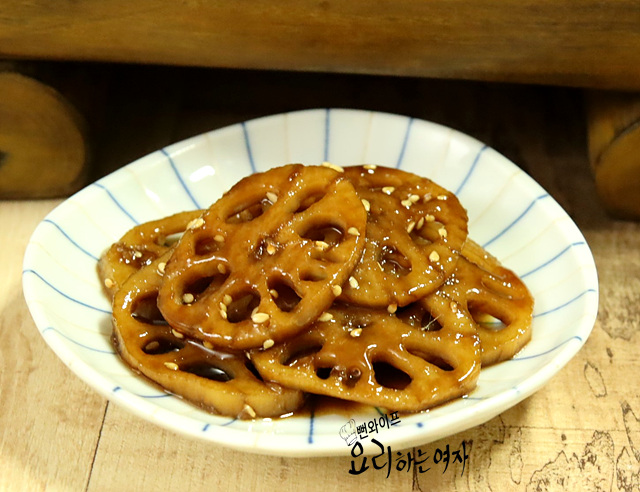
By skipping the blanching step and stir-frying the lotus root in garlic oil first, it holds its shape without breaking and keeps a delightful chewy-crisp texture. Dark brown sugar and rice syrup give it a rich color and glossy shine, making it perfect for lunch boxes or an everyday side dish.
- Servings
- about 3–4 servings
- Difficulty
- Easy
- Spiciness
- Not spicy
Ingredients
Ingredients
- Lotus root300 g
- Garlic3 cloves
- Cooking oil2 tbsp
- Kelp broth (or water)1 1/2 cups
Seasoning
- Regular soy sauce (jin-ganjang) (or brewed soy sauce (yangjo-ganjang))4 tbsp
- Dark brown sugar2 tbsp
- Mirin (cooking rice wine)2 tbsp
- Rice syrup (jocheong) (or corn syrup (mulyeot))3 tbsp
- Toasted sesame oil1 tbsp
- Toasted sesame seeds
- I bought unwashed lotus root still covered in dirt, making sure to check for any bruises or damage.
- I sliced the lotus root to about 0.5 cm thick. If the slices are thicker or thinner, they can easily break or take much longer to braise.
- You can soak a 5 cm square piece of dried kelp in water for 30 minutes to make kelp broth, or simply use plain water.
Steps
Prepare the ingredients
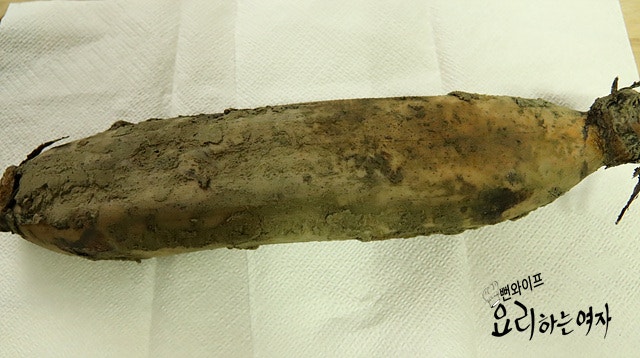
Here is the lotus root I bought at the market.
I bought unwashed lotus root still covered in dirt, making sure to check for any bruises or damage.
Prepare the lotus root
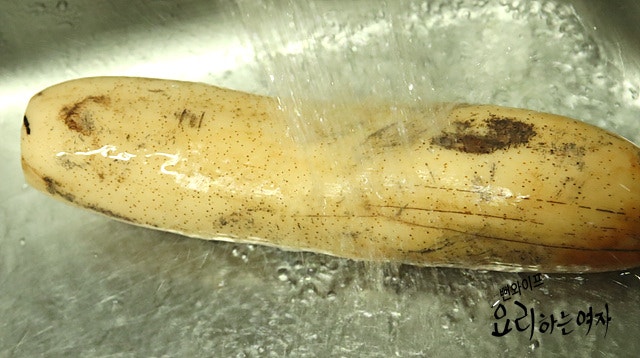
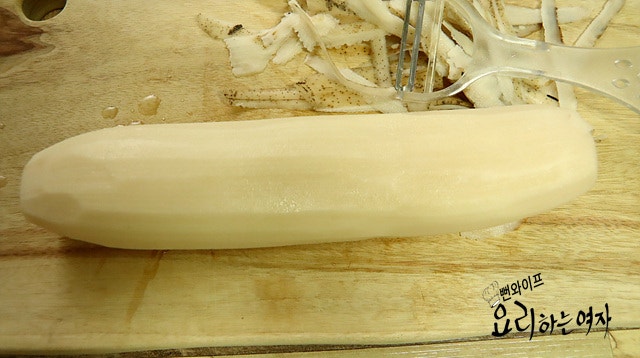
First, rinse away the dirt under running water, wash it clean, and peel the skin with a peeler.
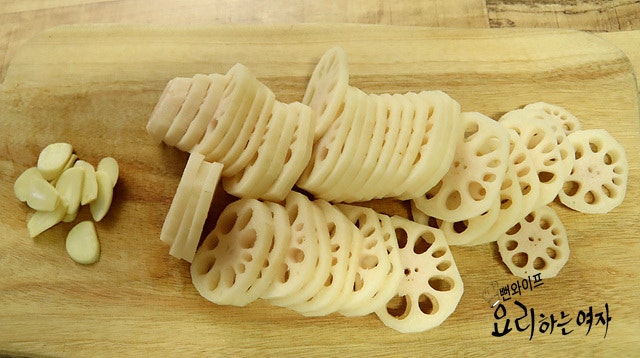
I sliced the lotus root to about 0.5 cm thick.
If the slices are thicker or thinner, they can easily break or take much longer to braise.
Slice 3 cloves of garlic.
This time, I cooked the lotus root directly without blanching it in vinegar water first.
As you slice it, a sticky, thread-like liquid comes out. This is mucin, a healthy nutrient, so you can eat it as is; the unique astringent, harsh taste of lotus root disappears as it simmers for a long time.
Stir-fry in garlic oil
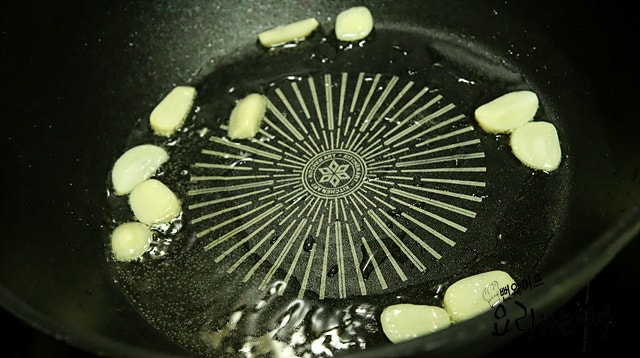
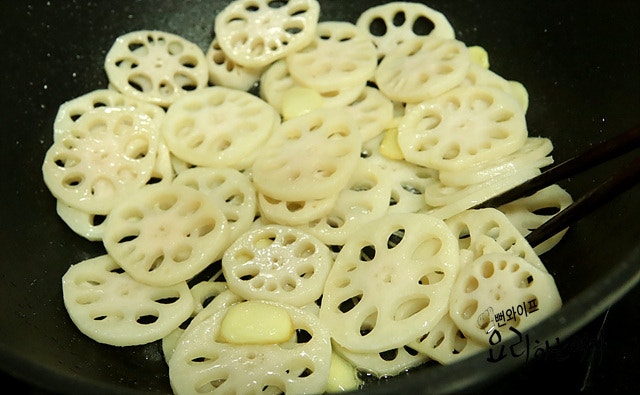
Add the garlic and lotus root over low heat and stir-fry so they do not burn.
Stir-frying them in oil first for at least 3 minutes cooks the surface so the lotus root does not easily break, giving you a chewy yet crisp braised dish.
Braise the lotus root
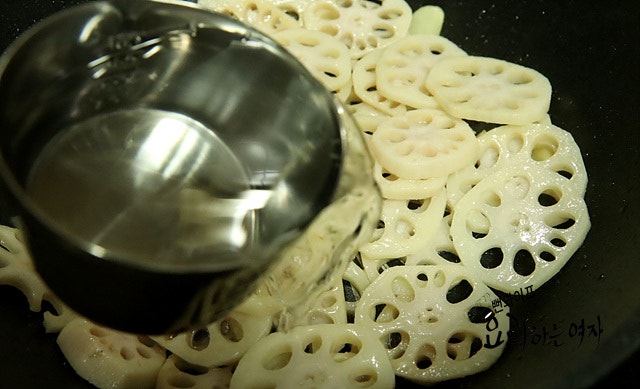
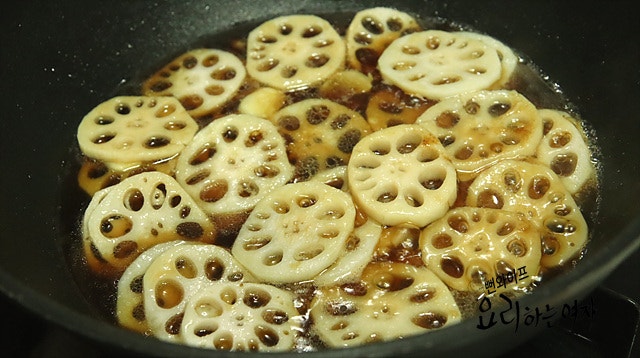
You can soak a 5 cm square piece of dried kelp in water for 30 minutes to use, or simply use plain water.
Pour in 1 1/2 cups of water, add 4 tbsp regular soy sauce (jin-ganjang), 2 tbsp brown (or dark brown) sugar, and 2 tbsp mirin (cooking rice wine), and once it comes to a bubbling boil, simmer gently.
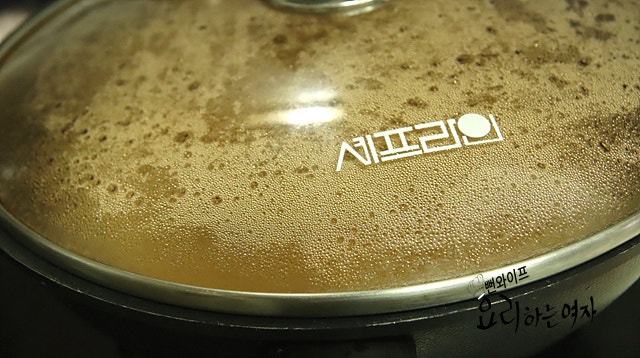
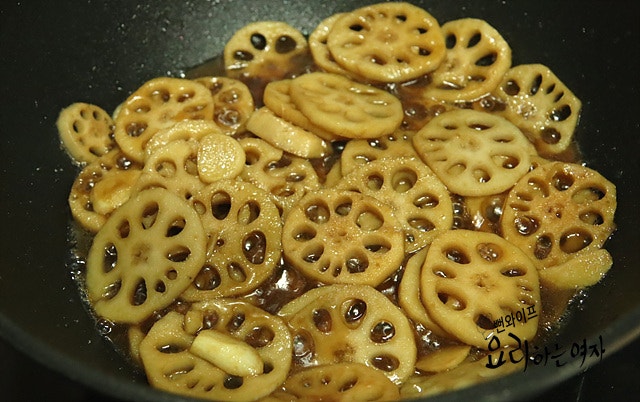
Cover with a lid and simmer for at least 20 minutes, stirring occasionally so it cooks through to the inside and absorbs the soy sauce color evenly.
Since the blanching step was skipped, it may take a little longer.
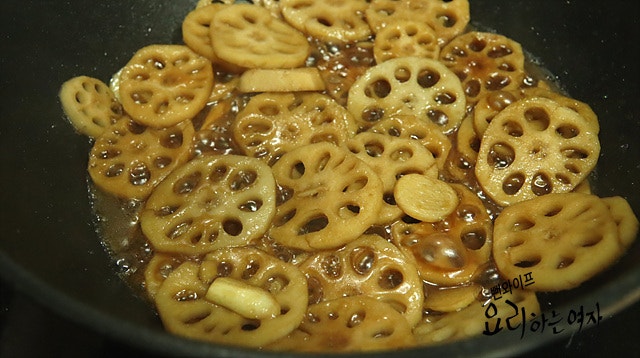
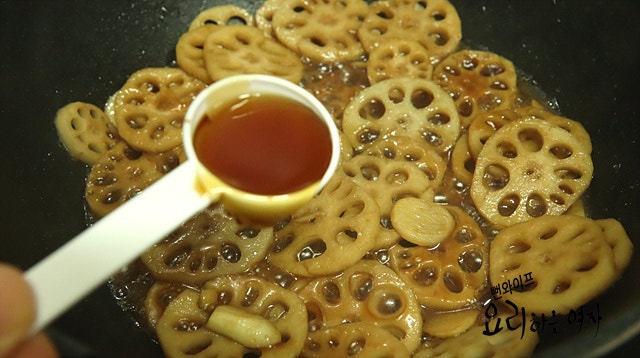
Once the lotus root is nicely cooked through, remove the lid to reduce the liquid, and add 3 tbsp corn syrup or rice syrup (jocheong).
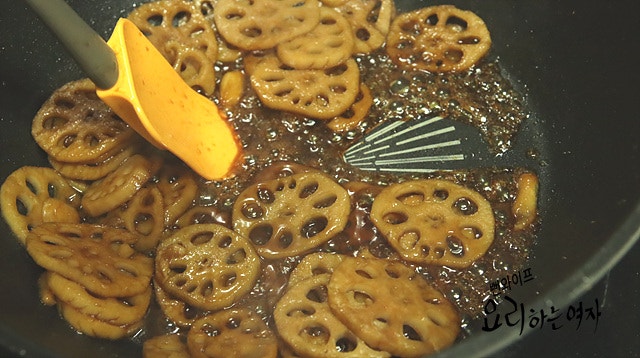
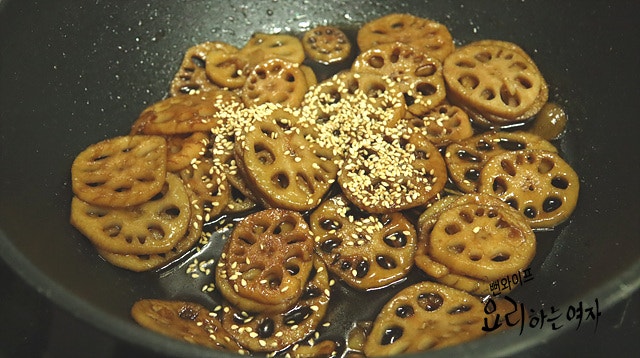
Turn off the heat when just enough liquid remains to keep it glossy and moist.
Finish by adding 1 tbsp toasted sesame oil and toasted sesame seeds.
Finish
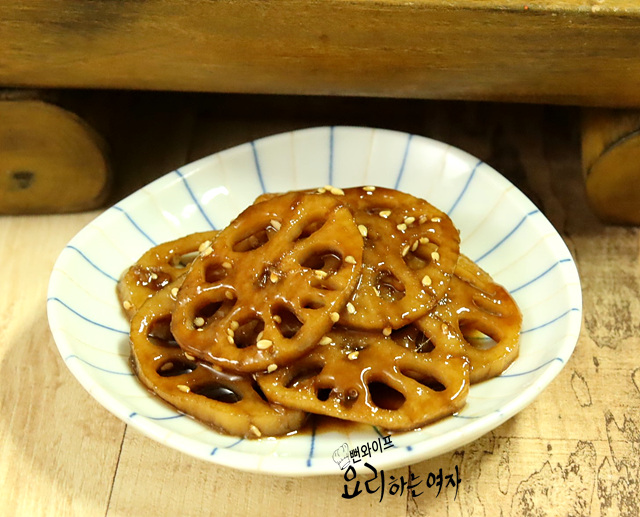
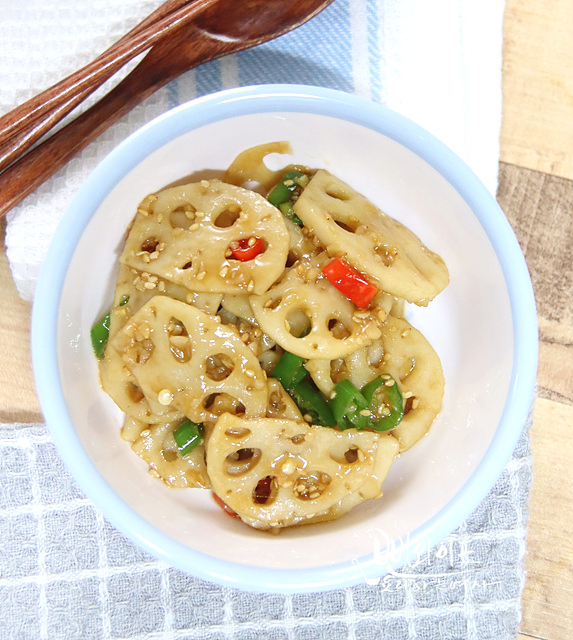
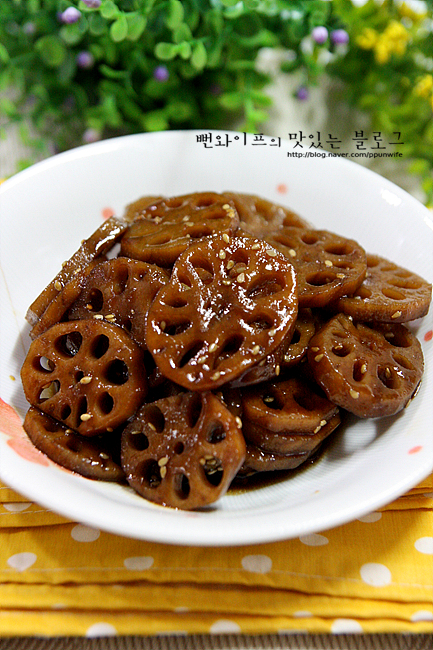
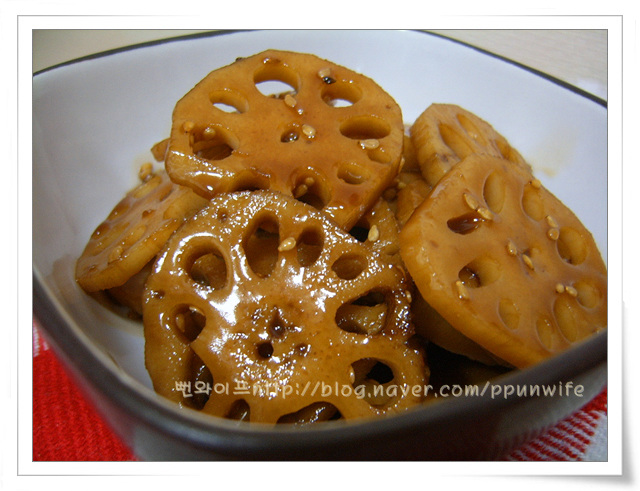
Using dark brown sugar and rice syrup for sweetness gives it such an appetizing color that you will want to eat it right away.
Skipping the blanching step and stir-frying in garlic oil this time made it braise up even more delicious.
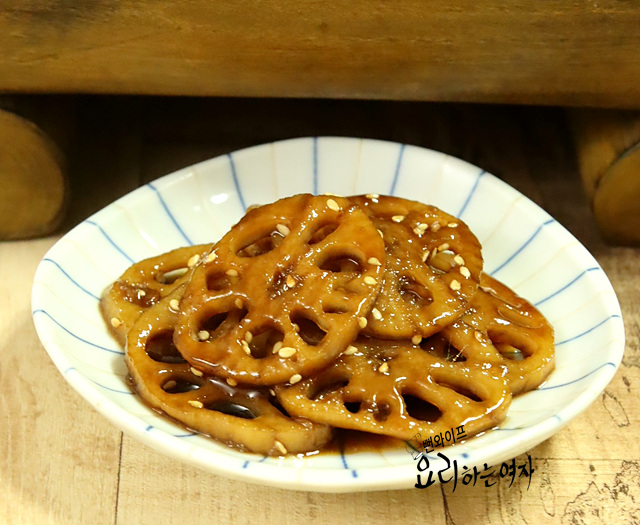
Since it is in season, braise some lotus root to enjoy as a side dish, or try making lotus root rice for a delicious meal.
So many seasonal autumn ingredients are coming out these days...
Perhaps caught up in the autumn breeze, my eyes keep wandering toward the autumn scenery rather than cooking, and I am trying hard to keep myself from just wandering outside.
 Ppunwife's tips
- Stir-frying the lotus root in oil first for at least 3 minutes cooks the surface so it does not easily break, giving the braised dish a chewy yet crisp texture.
- Cover with a lid and simmer for at least 20 minutes, stirring occasionally so it cooks through to the inside and absorbs the soy sauce color evenly.
FAQ
Is it okay not to blanch the lotus root in vinegar water beforehand?
Even without blanching, simmering it long enough with the seasoning will remove the astringent, harsh taste unique to lotus root.
Why do you stir-fry the lotus root in oil before braising it in seasoning?
Stir-frying the surface in oil for at least 3 minutes prevents it from breaking easily and helps maintain a chewy yet crisp texture.
What should I do if I do not have kelp broth?
You can simply pour in plain water instead of kelp-infused water.
How thick should the lotus root be sliced?
About 0.5 cm thick is ideal. If it is too thick or too thin, it may take longer to braise or break apart while cooking.