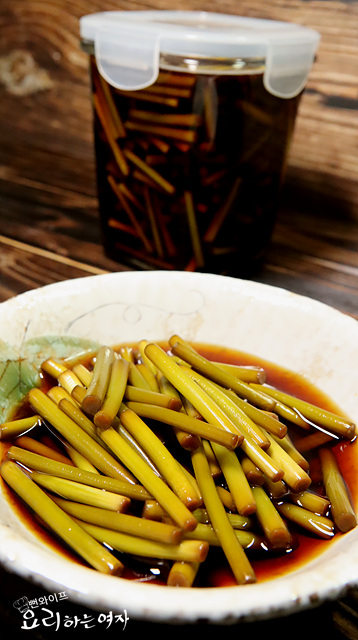
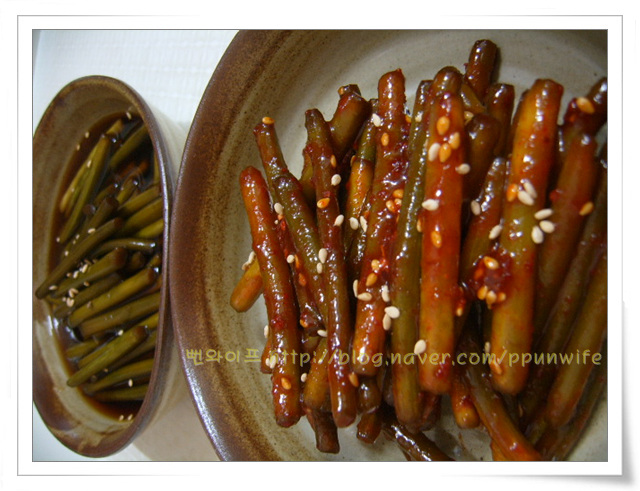
Putmaneul Jangajji (Pickled Green Garlic)
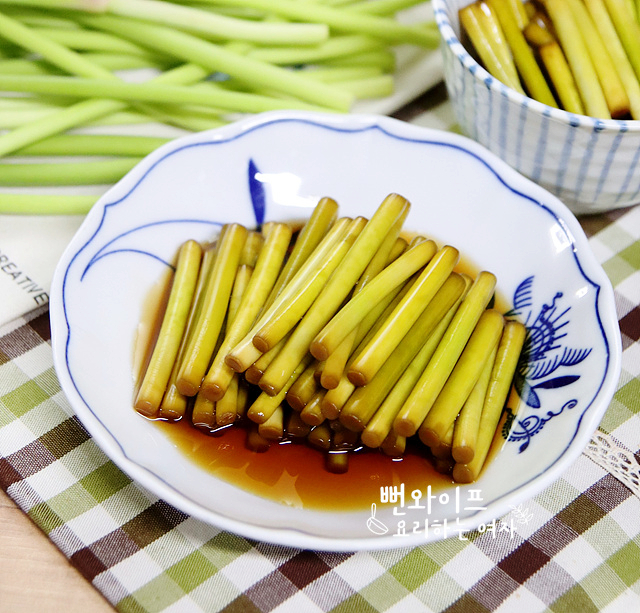
A crunchy springtime side dish of pickled green garlic made by pouring boiling seasoned soy sauce directly over the stalks.
Translated from Korean by AI and not yet checked by a native speaker. Amounts and numbers are taken directly from the original recipe. Read the Korean original →
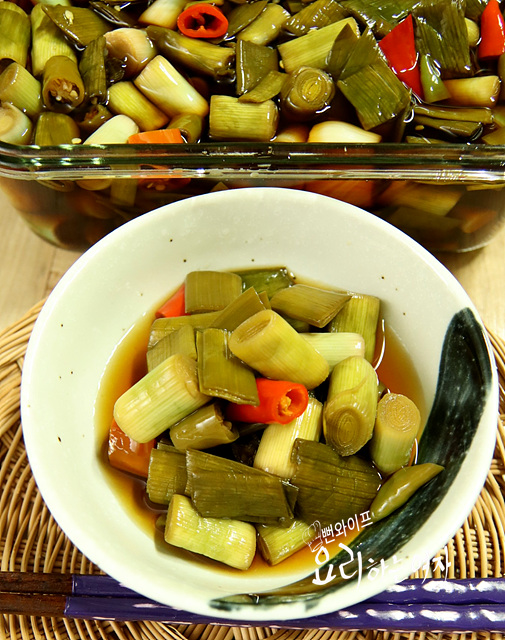
This pickle is made by steeping tender green garlic, available only in early spring, in a boiling soy sauce brine. Adding salt keeps the color light, and soju prevents spoiling so you can enjoy this clean side dish all year round.
- Servings
- about 8–10 servings
- Difficulty
- Medium
- Spiciness
- Mildly spicy
Ingredients
Ingredients
- Green garlicabout 20 stalks, 1 kg (approx.)
Soy sauce brine
- Water3 cups
- Regular soy sauce (jin-ganjang) (or brewed soy sauce (yangjo-ganjang))1 cup
- Vinegar2 cups
- Sugar1 cup
- Salt2 tbsp
- Soju1/2 cup
- The more reddish the green garlic is near the root, the more tender, slender, and soft it is.
Steps
Prepare the ingredients
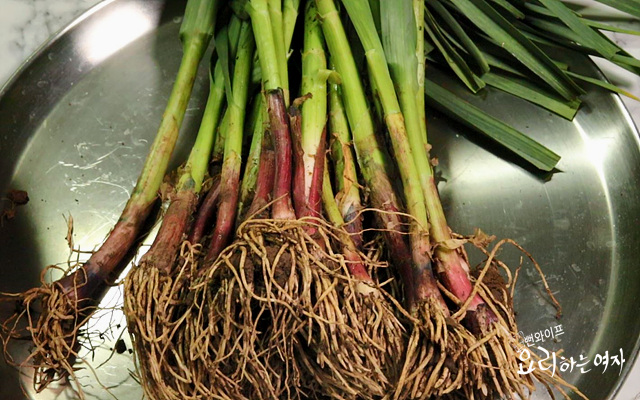
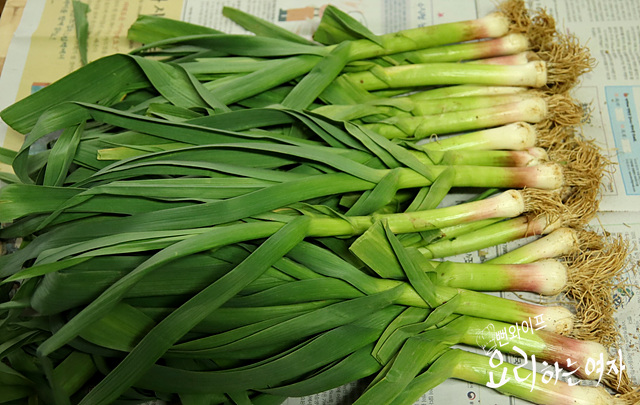
The more reddish the green garlic is near the root, the more tender, slender, and soft it is.
As time passes, the reddish tint fades and it grows thicker until it becomes mature garlic.
Today I am using the green garlic shown on the right, which has a good thickness for pickling and a nice texture.
Trim the green garlic
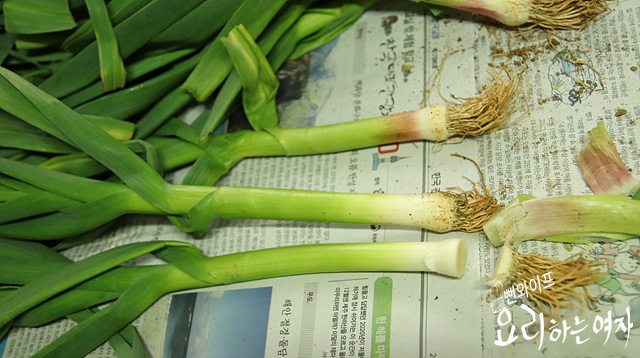
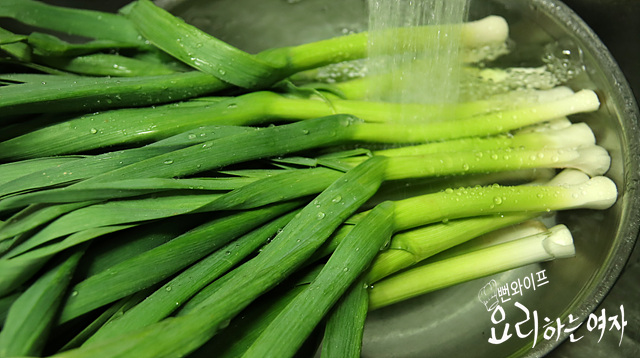
Trimming is easy once you cut off the roots and peel off the outermost skin.
After trimming, soak them briefly in water and wash each one thoroughly.
Wash
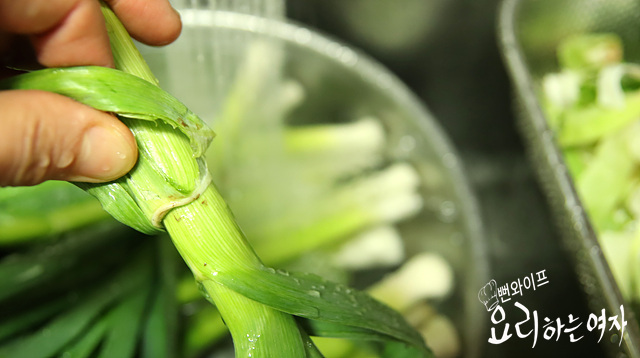
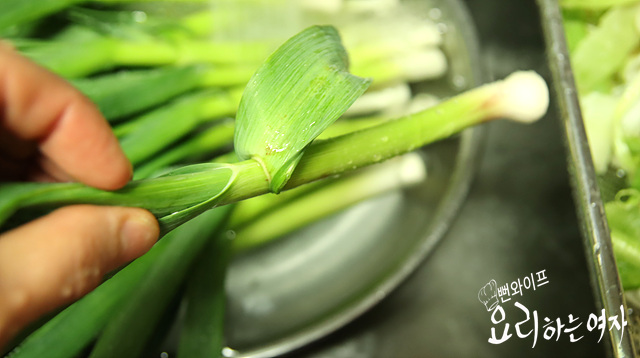
Even if they look clean to the eye, when you lift each leaf, there is often a lot of soil stuck deep inside.
Wash them by running your fingers along the leaves under running water.
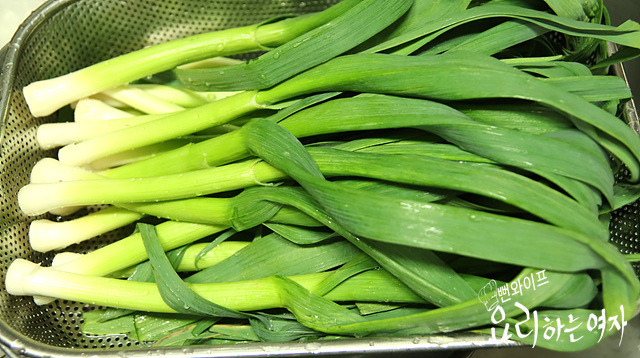
Once thoroughly washed, drain them in a colander.
Cut the ingredients
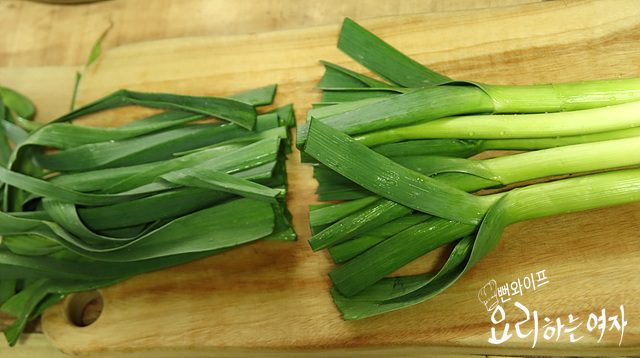
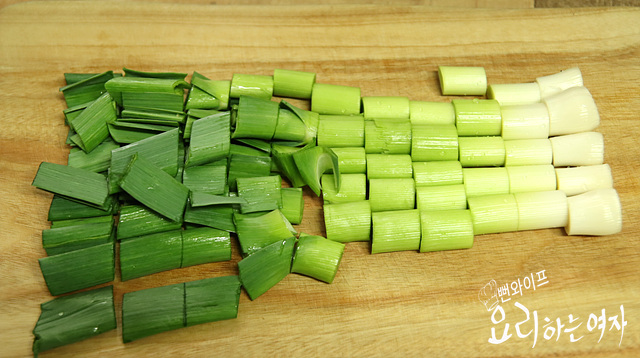
Cut only from the root up to the middle part of the green garlic for the pickle; the rest can be used in jjigae or doenjang soup instead of large green onion.
I cut them into lengths of about 2 to 3 cm.
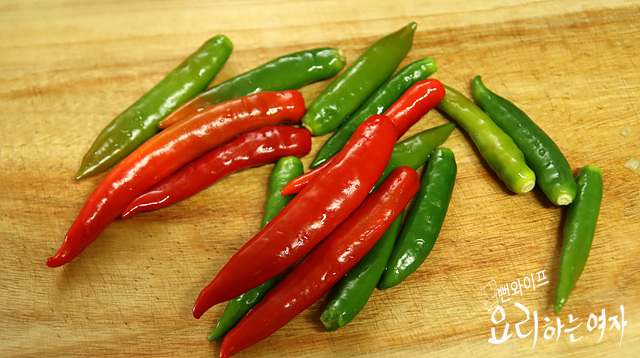
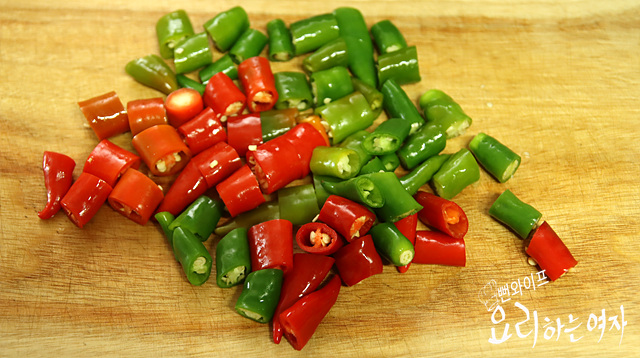
Thinly slice Cheongyang chili peppers (hot green chilies) to add some heat.
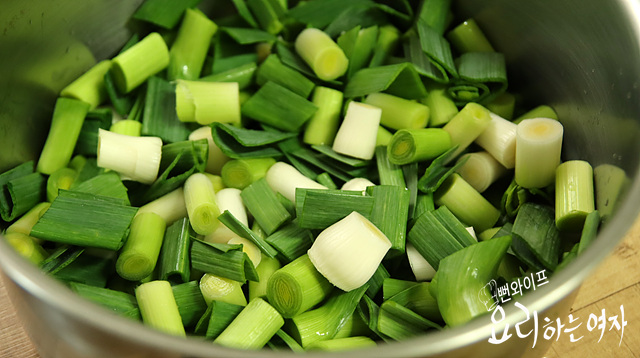
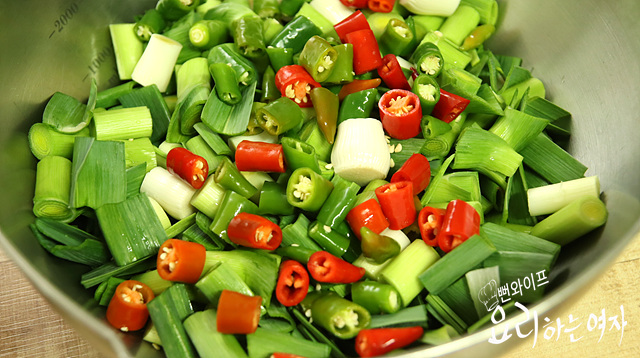
Mix the green garlic and chilies together in the bowl where you will pour the soy sauce brine.
Boil the soy sauce brine
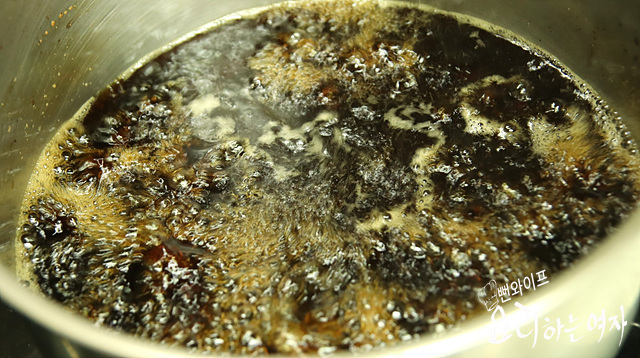
In a pot, combine 3 cups water, 1 cup regular soy sauce (jin-ganjang), 2 cups vinegar, 1 cup sugar, and 2 tbsp salt, then boil vigorously for about 30 seconds.
Making pickles with only soy sauce makes the color too dark, so these days I add an appropriate amount of salt to keep the color lighter.
Pour the soy sauce brine
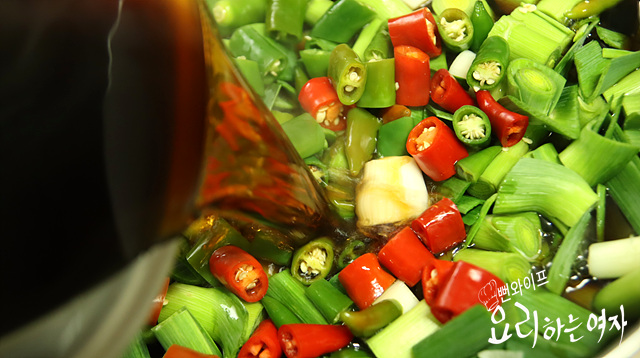
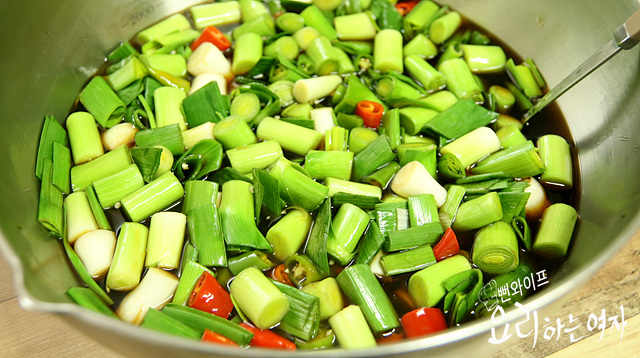
Pour the boiled soy sauce brine directly into the bowl with the ingredients, and let it cool while stirring evenly once in a while.
Ferment
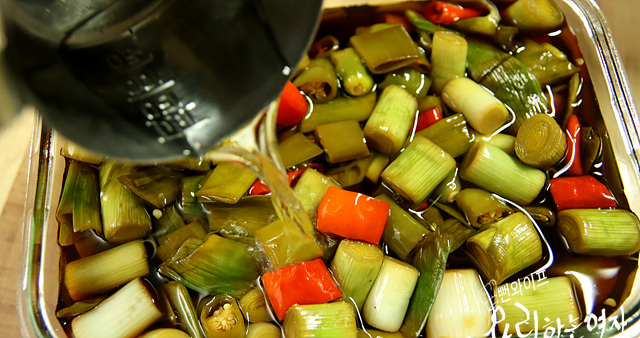
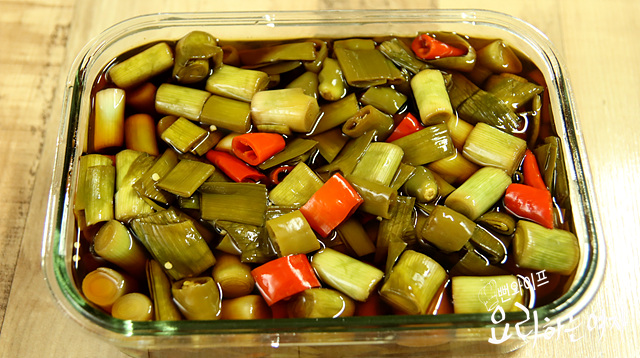
Pouring in 1/2 cup of soju helps sterilize and acts as a preservative.
After about a day at room temperature, the leafy parts are ready to eat, and the stalks can be enjoyed after 2~3 more days of aging.
Finish
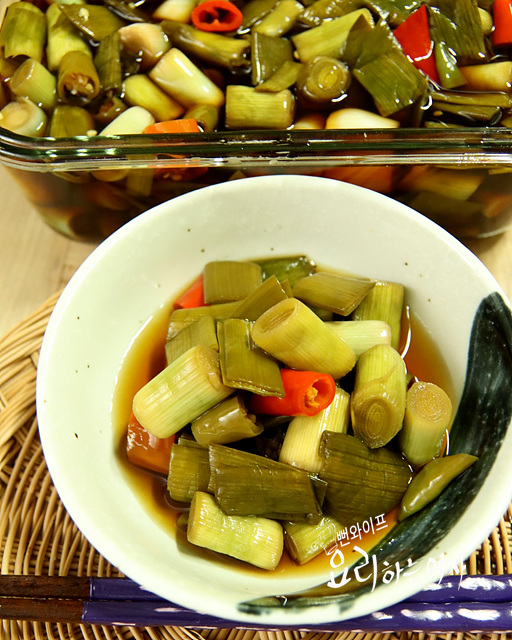
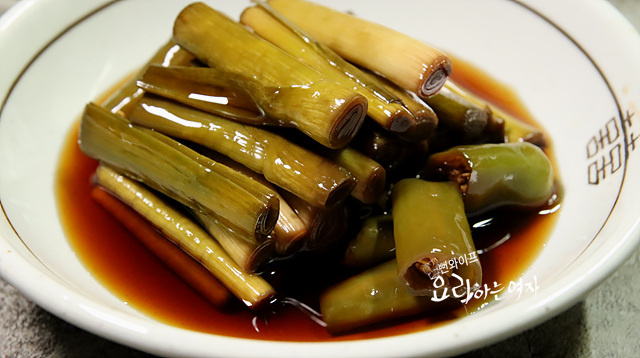
This is how it looks after 3 days; the root parts are still light in color, but they are mildly seasoned.
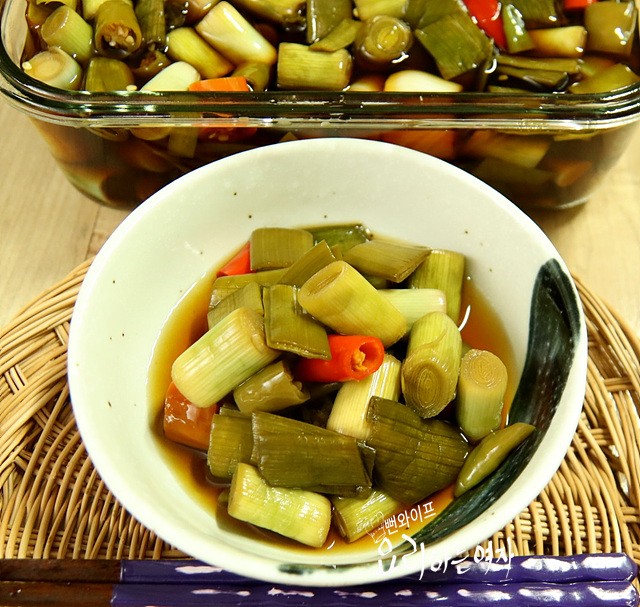
You can enjoy this pickled green garlic for 1 year without it spoiling, even without reboiling the brine along the way.
Divide it into portions you will eat so the ingredients stay submerged in the brine, and avoid contact with air or moisture for long-term storage.
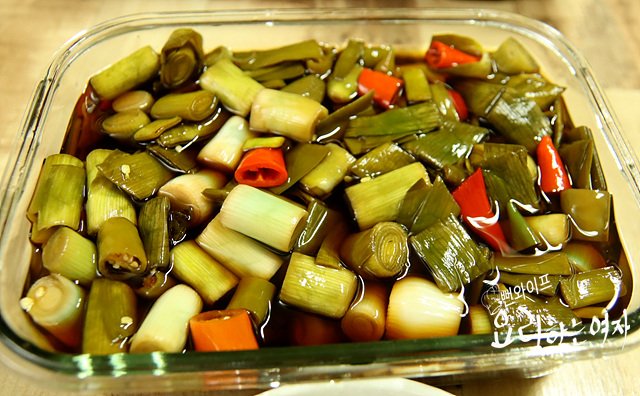
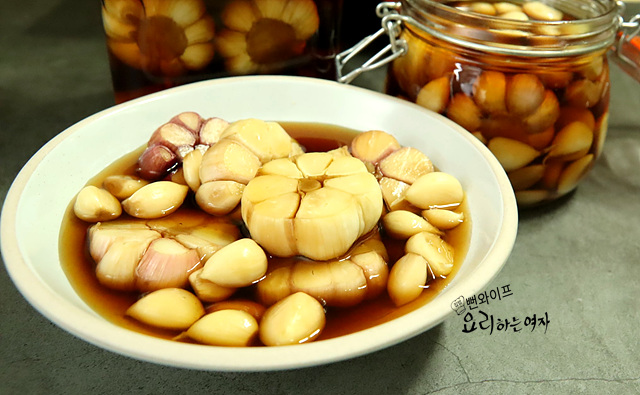
A green discoloration appeared on the white parts.
This happens with minced garlic as well, and it sometimes occurs when pickling garlic in vinegar or salt water.
They say it happens when using garlic that has been exposed to sunlight or stored at low temperatures for a long time before mincing or pickling, but it causes no problem with the taste at all, so do not worry if it turns green.
Shall we get this week off to an energetic start together?
 Ppunwife's tips
- Divide it into portions so the ingredients stay well submerged in the brine and avoid contact with air or moisture for long-term storage.
- Even if garlic turns green while pickling, there is no problem with the flavor, so do not worry if it changes color.
FAQ
When can I start eating the pickle after making it?
After about a day at room temperature, you can eat the leafy parts first, and the stem parts are best enjoyed after fermenting for about 2~3 more days.
Why is soju added to the pickling brine?
Adding soju provides a sterilizing effect and acts as a preservative, helping with long-term storage.
The white parts of the green garlic turned green. Is it safe to eat?
This is a natural green discoloration that can happen during the garlic pickling process. It does not affect the flavor or quality, so you can safely eat it.
How do I use the leftover upper leaves that were not pickled?
You can slice the upper leafy parts and use them as a substitute for large green onion in doenjang soup or jjigae.