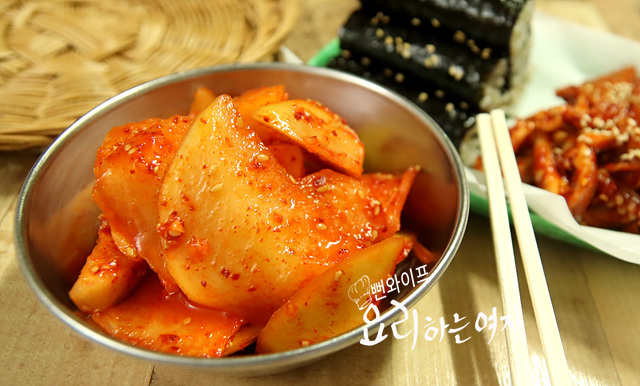
Crisp Sweet and Sour Mu Jangajji (Pickled Radish)
A quick-cured mu jangajji made by pouring boiled soy pickling liquid over thickly sliced, sun-dried radish.
Translated from Korean by AI and not yet checked by a native speaker. Amounts and numbers are taken directly from the original recipe. Read the Korean original →
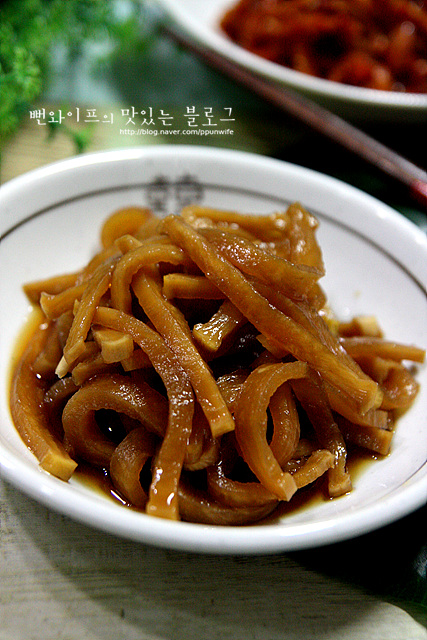
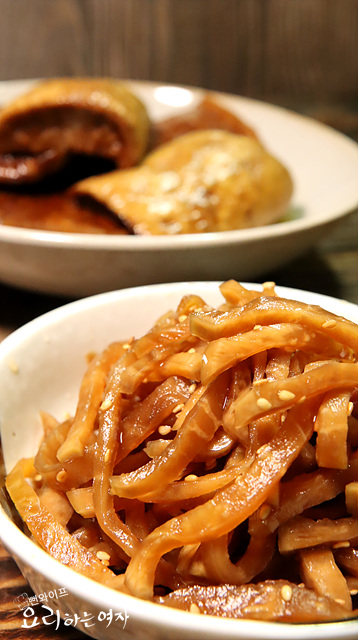
This pickled side dish is finished in a short time by cutting Korean radish thickly, sun-drying it for two days, and pouring boiled soy pickling liquid over it. Removing the moisture beforehand gives it an appealing crisp, crunchy texture, and once it has absorbed the flavors from re-boiled pickling liquid, it is wonderful seasoned sweet and spicy.
- Servings
- about 8–10 servings
- Cook time
- 15 minprep not included
- Difficulty
- Hard
- Spiciness
- Mildly spicy
Ingredients
Ingredients
- Korean radish (mu)3, 1.3 kg (medium size)
Soy pickling liquid
- Water4 cups
- Regular soy sauce (jin-ganjang)4 cups
- Vinegar2 cups
- Sugar1 cup
- Green plum syrup (maesil-cheong)1 cup (substitute with sugar or corn syrup if unavailable)
Pickled radish seasoning
- Julienned pickled Korean radish (mu-jangajji)2 handfuls, 200 g
- Gochujang (Korean red chili paste)1 tbsp
- Gochugaru (Korean chili flakes)1 tbsp
- Corn syrup (mulyeot)1 tbsp
- Toasted sesame oil1 tsp
- Toasted sesame seeds
- Spread on a woven tray and dry for about two days in a sunny, well-ventilated spot. Turning them over about once a day helps them dry much faster.
- If you do not have green plum syrup, you can substitute sugar or corn syrup.
Steps
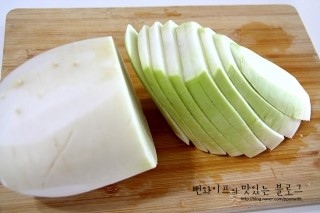
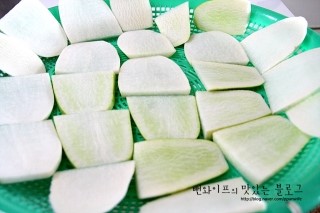
1. Usually, mu jangajji is made by pickling radishes whole or cut in half, but doing so takes a very long time before you can serve it at the table.
To make pickles in a shorter time, I decided to slice them.
I cut them into large, flat slices about 1.5cm thick.
2. I spread them on woven trays and dried them for about two days in a sunny, well-ventilated spot.
Turning them over about once a day helps them dry much faster.
By drying them like this, you remove a fair amount of moisture, and since the volume shrinks compared to when the radish was raw, you do not need as much soy pickling liquid.
Above all, it becomes a delicious pickle with a crisp, crunchy texture similar to dried radish strips or cucumber pickles.
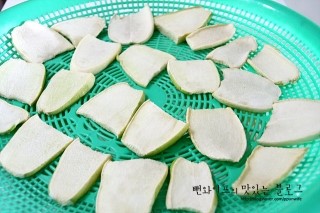
3. After drying for about two days, a lot of moisture was drawn out and the size shrank,
so the radish that initially filled two woven trays all fit onto a single tray.
Since these are thick rather than thin like dried radish strips, leaving them too long could cause mold to develop,
so please pick good sunny days and dry them for about two days.
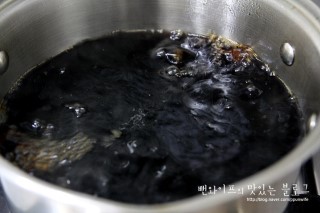
4. Add all the soy pickling liquid ingredients and boil vigorously for about 5 minutes.
If you do not have green plum syrup (maesil-cheong), you can substitute sugar or corn syrup (mulyeot).
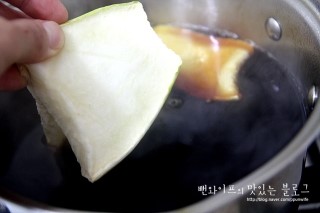
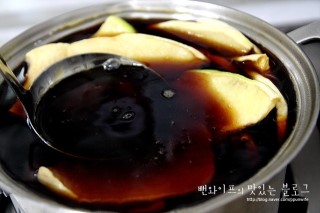
5. Add the dried radish directly to the pot of boiled soy pickling liquid. You can also place the radish in a large stainless steel container and pour the boiled soy pickling liquid right over it.
6. Once all the radish is in, press it down so it is fully submerged in the soy pickling liquid; as the liquid penetrates the radish, it will soften and sink.
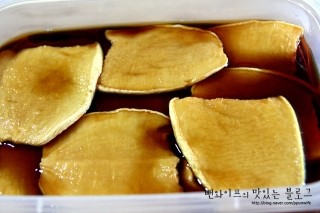
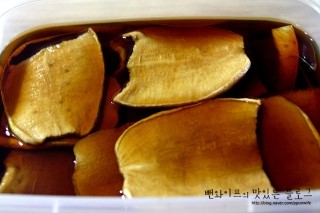
7. Once the soy pickling liquid has cooled, transfer the radish and pickling liquid together into an airtight container and leave it at room temperature. If the radish floats above the liquid, white mold can form and cause it to spoil, so place a flat, heavy plate or a clean stone right on top.
8. After 3 days, pour out only the soy pickling liquid, boil it for about 5 minutes, let it cool, and pour it back into the container with the radish. Even though the radish was dried, it still has more moisture than other pickle ingredients, so I boiled it after a short curing period.
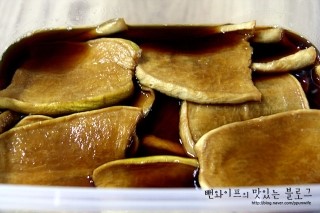
10
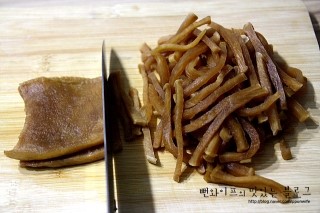
9. After another 5 days (day 8 since first boiling the soy pickling liquid), I tasted the radish and found the flavor had penetrated well. Pour out only the soy pickling liquid, boil it for about 5 minutes, let it cool, and pour it over the radish. Store it in the refrigerator and enjoy.
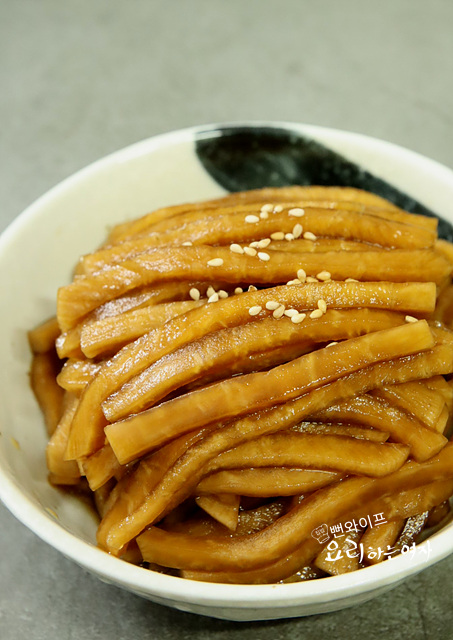
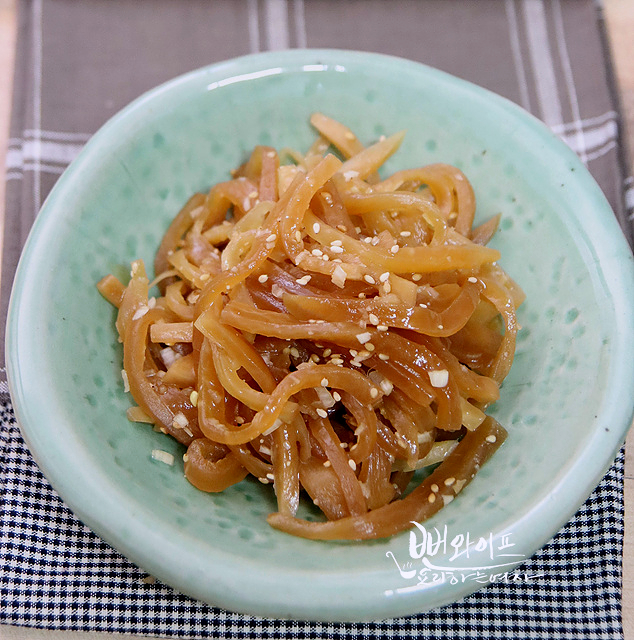
10. Through the drying process in the sun and pickling in the soy liquid, it has thinned down to just the right thickness, so you do not need to slice it thinly into sheets; you can simply julienne it right away.
11
12
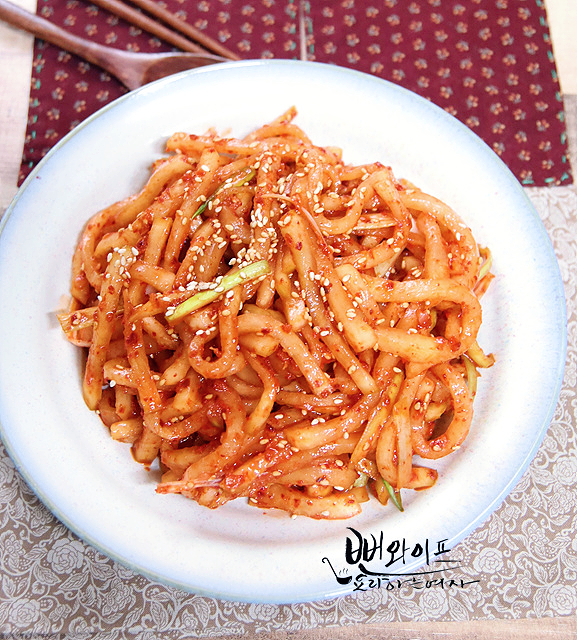
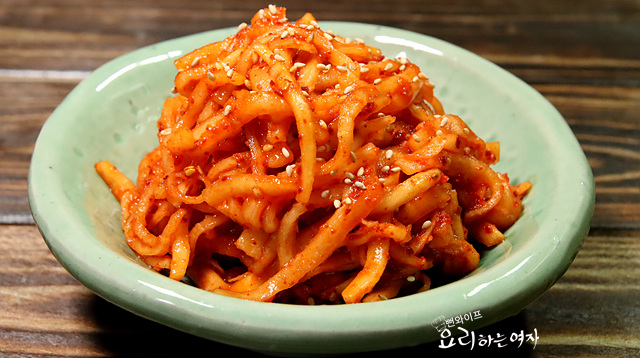
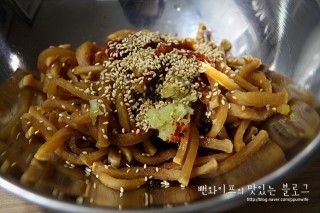
11. Add 200 g (two handfuls) of julienned pickled Korean radish, 1 tbsp gochujang, 1 tbsp gochugaru, 1 tbsp corn syrup, 1 tsp toasted sesame oil, and toasted sesame seeds, all together...
Adjust the seasoning to your taste. You may also finely slice and add Cheongyang chili pepper.
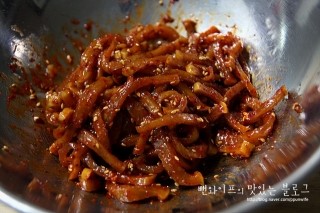
12. Toss everything evenly. When making the gochujang seasoning, squeeze the radish tightly so almost no soy pickling liquid remains; that way it will not turn out too salty, the seasoning will be just right as a side dish for rice, and the crisp, crunchy texture comes through even better.
 Ppunwife's tips
- If the radish floats above the soy pickling liquid, white mold can form and cause it to spoil, so place a flat, heavy plate or a clean stone right on top.
- When making the gochujang seasoning, squeeze the radish tightly so almost no soy pickling liquid remains; that way it will not turn out too salty, the seasoning will be just right as a side dish for rice, and the crisp, crunchy texture comes through even better.
FAQ
What can I substitute if I don't have green plum syrup for the soy pickling liquid?
You can use sugar or corn syrup in place of green plum syrup to adjust the sweetness.
Do I need to make a fresh batch every time I re-boil the soy pickling liquid?
You do not make a fresh batch; simply pour off the existing soy pickling liquid in which the radish was curing and boil it again to reuse.
Should I store it at room temperature or in the refrigerator while it cures?
It takes too long to develop flavor in the refrigerator, so cure it at room temperature first; once the flavors have thoroughly soaked in and you have poured the final re-boiled pickling liquid over it, store it in the refrigerator.
How can I use the leftover soy pickling liquid after finishing all the radish?
After straining out any settled sediment, you can supplement it with soy sauce or vinegar, boil it again, and use it for other pickles, or use it as a dressing for thinly sliced onions or scallions.