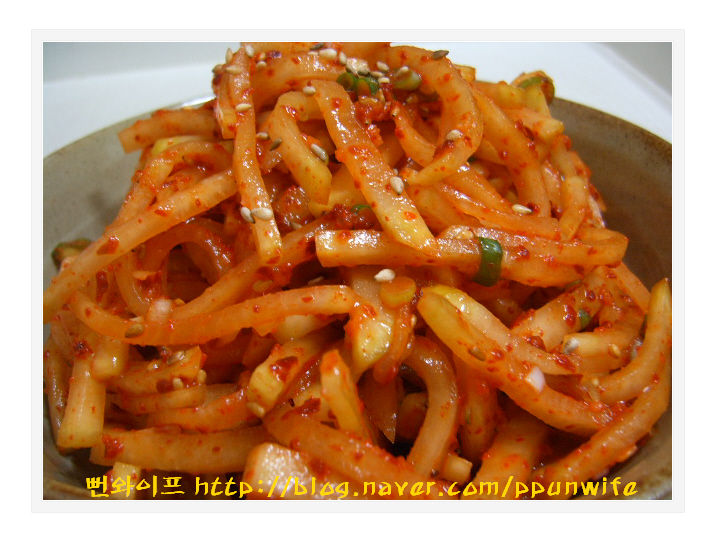
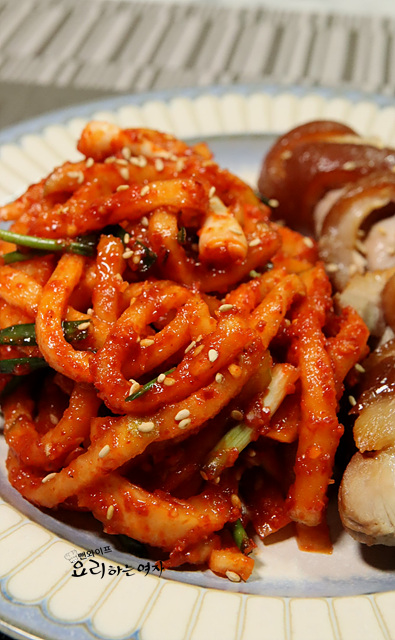
Chewy and Crunchy Mu Jangajji (Pickled Radish in Soy Sauce)
A long-lasting side dish cured in soy sauce after drawing out moisture with sugar to achieve a pleasantly chewy texture.
Translated from Korean by AI and not yet checked by a native speaker. Amounts and numbers are taken directly from the original recipe. Read the Korean original →
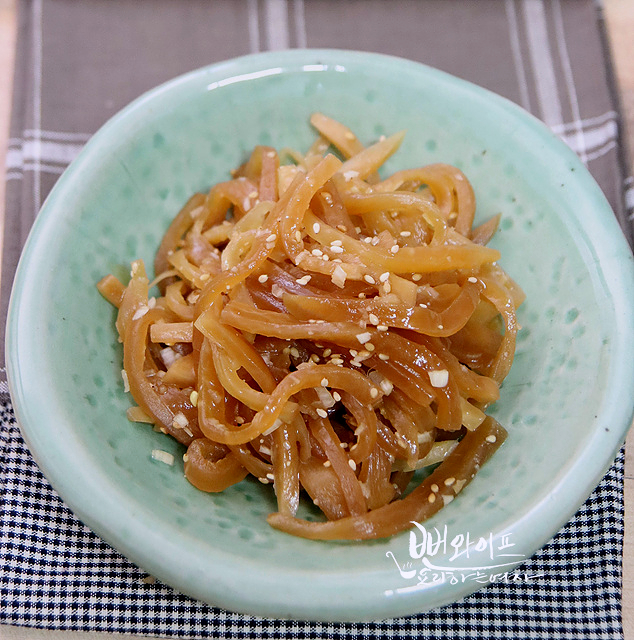
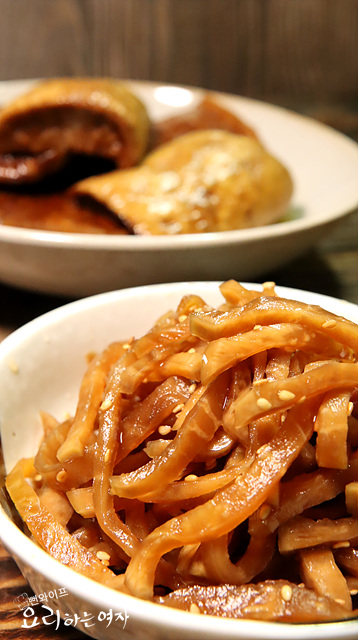
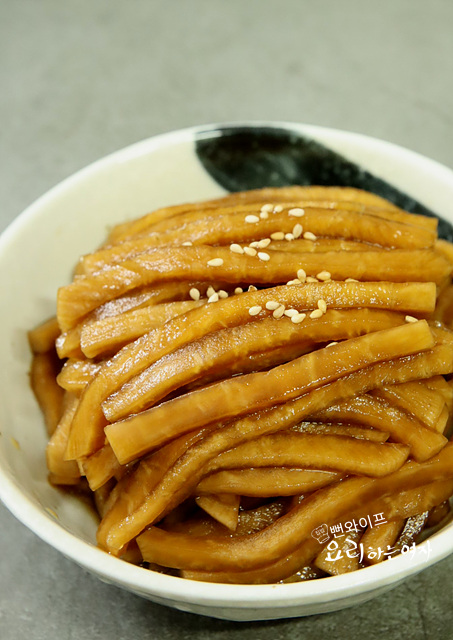
This is a pickled side dish made by slicing unpeeled radish, drawing out moisture in sugar for two days, and aging it in regular soy sauce and soju. Retaining its signature crunchy and chewy bite, it is useful as a filling for gimbap or as an everyday side dish. It keeps for a long time without spoiling even without boiling and pouring the soy sauce.
- Servings
- about 10–12 servings
- Difficulty
- Medium
- Spiciness
- Not spicy
- Keeps
- 730 days
Ingredients
- Korean radish (mu)8, 7.5 kg
- Sugar13 cups
- Regular soy sauce (jin-ganjang) (or brewed soy sauce (yangjo-ganjang))10 cups
- Soju2 cups
- When making radish pickles, it is best to use firm bundled radishes typically sold for dongchimi (radish water kimchi).
- Wash the radishes thoroughly by scrubbing with a sponge without peeling the skin. Autumn radishes are mild, thin-skinned, and have the crunchy bite right in the skin, so just trim off any bruised spots and prepare them with the skin on.
Steps
Prepare the ingredients
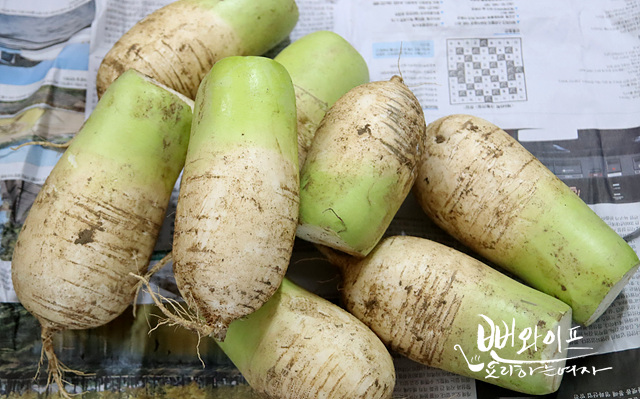
When making radish pickles, it is best to use firm bundled radishes typically sold for dongchimi.
I prepared 8 radishes.
Prepare the radish
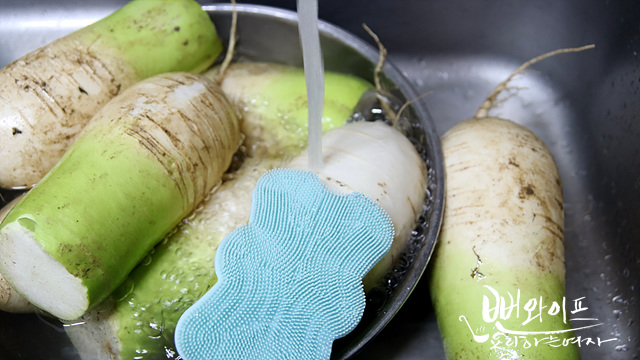
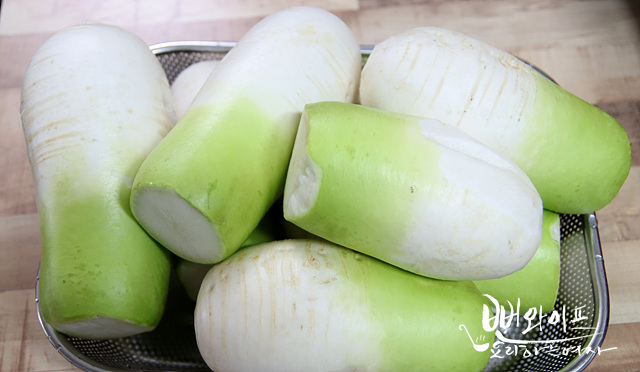
Wash the radishes thoroughly by scrubbing with a sponge without peeling the skin.
Autumn radishes are mild, thin-skinned, and have the crunchy bite right in the skin, so just trim off any bruised spots and prepare them with the skin on.
Slice the radish
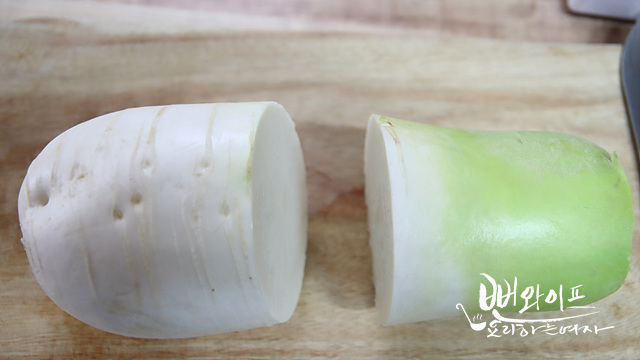
First, cut the radishes in half.
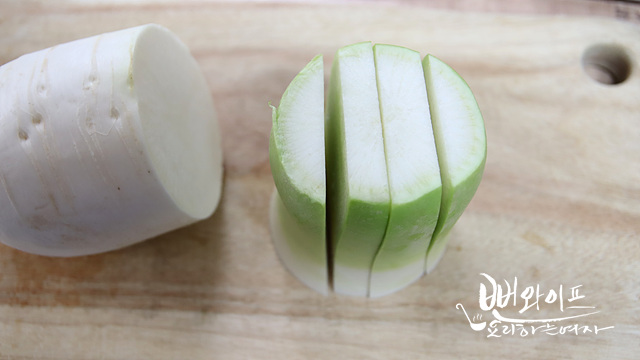
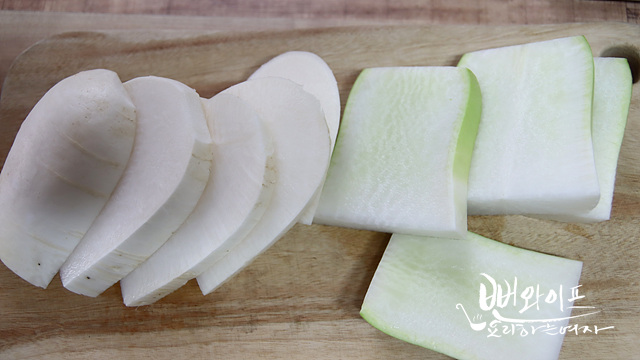
Cut each half lengthwise into 4 pieces, aiming for a thickness of around 2 cm.
Cure in sugar
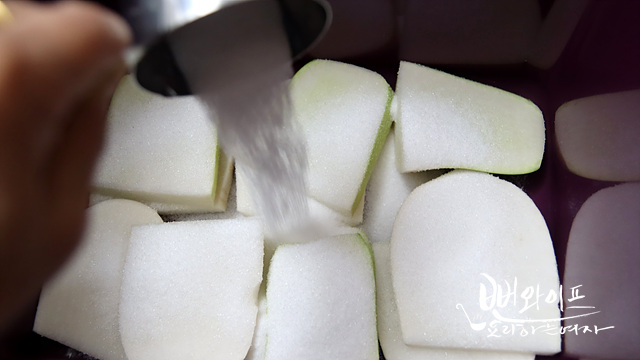
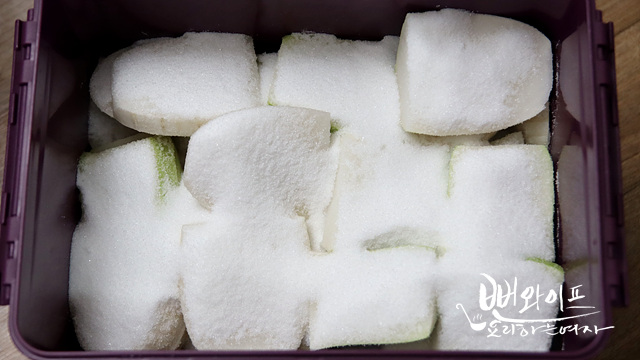
We will cure the radish in sugar to draw out moisture.
Arrange a tight single layer of radish and pour sugar over it, repeating the layers so everything cures evenly in sugar.
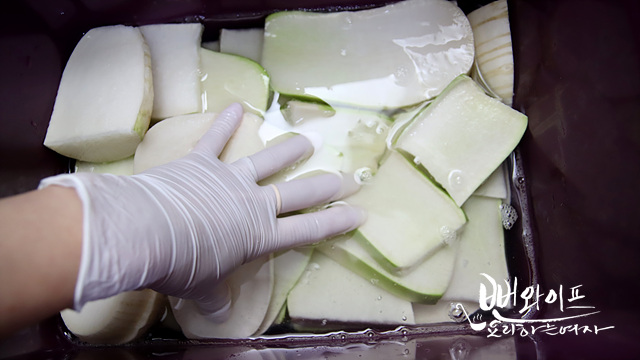
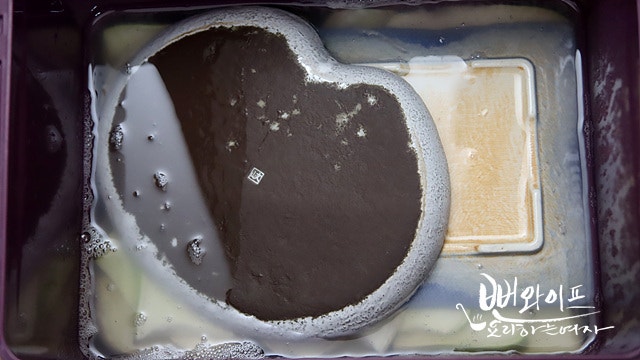
Cover with a lid and let sit at cool room temperature for about a day, and a lot of liquid will have formed.
Swap the top and bottom positions of the radish, press down with a plate so it is completely submerged in the sugar water, and let it pickle for another day.
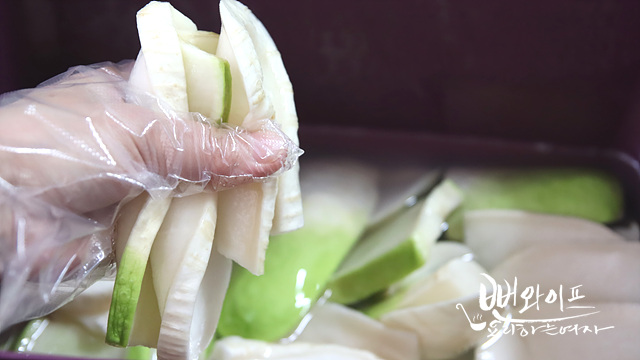
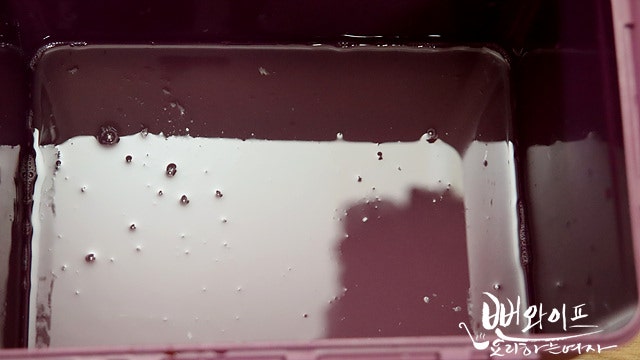
As moisture leaves the radish, it shrinks in volume and turns chewy.
Remove the radish pieces and drain them in a colander to remove moisture.
You can collect as much of the drained sugar syrup as needed and reuse it in place of water for braised fish dishes.
Pour soy sauce and age
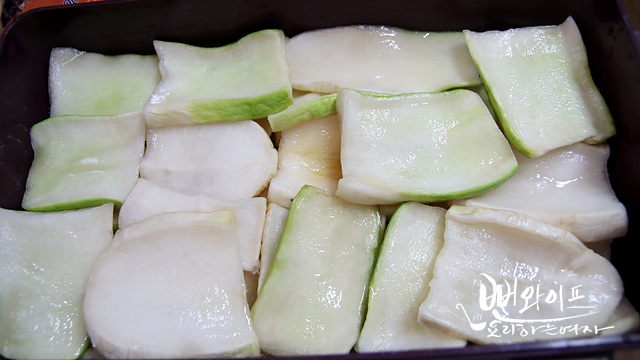
Pack the radish pieces tightly and neatly into a container...
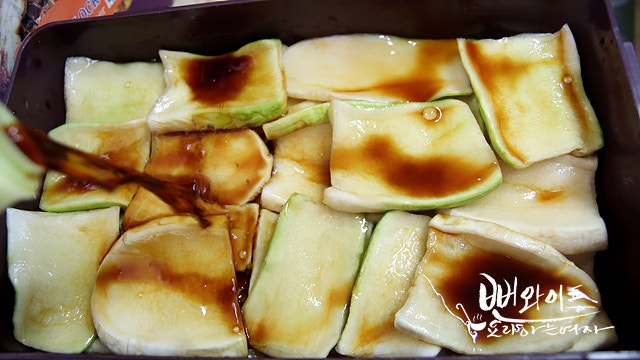
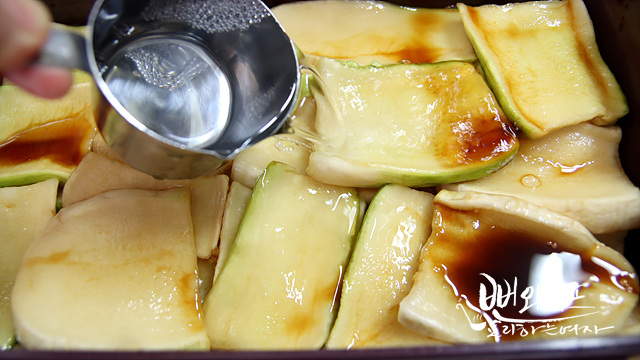
Pour in 10 cups of regular soy sauce (jin-ganjang or yangjo-ganjang), and finish by pouring in 2 cups of soju.
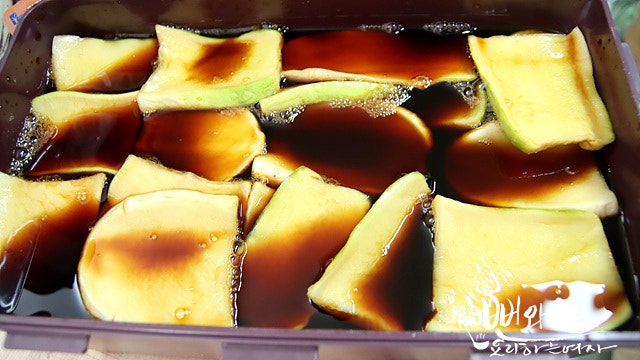
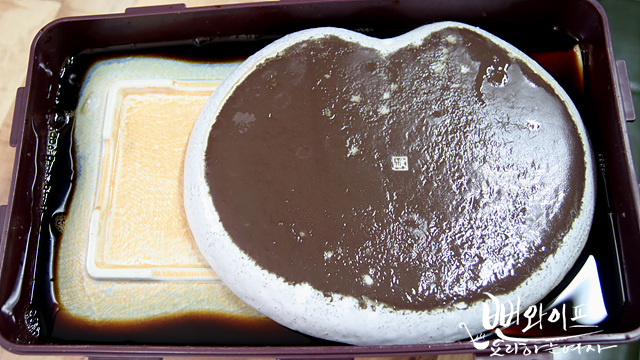
If you pour enough soy sauce to just cover the radish, pressing down with a plate will submerge the pieces completely in the soy sauce brine.
If the radish is still not submerged after pressing with a plate, pour in more soy sauce.
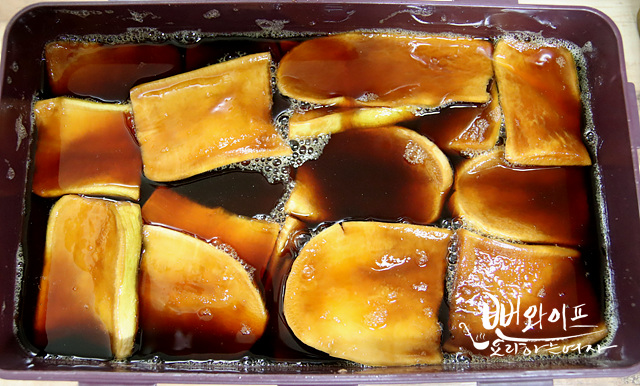
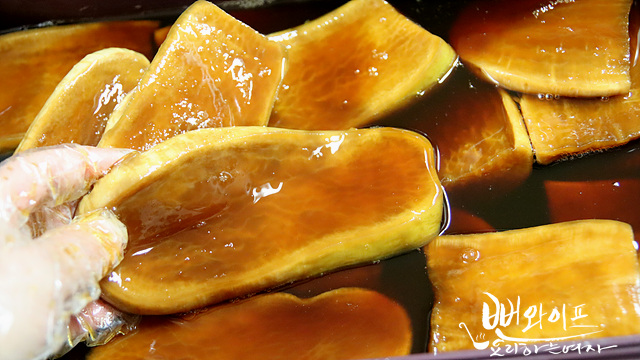
Keep the radish from floating above the soy sauce brine so it ages properly without spoiling.
Age at room temperature for about 5 days to 7 days.
The duration varies with the ambient temperature, so check how well the radish has seasoned; once it tastes nicely savory and seasoned through, move it to the refrigerator.
Make seasoned radish pickles
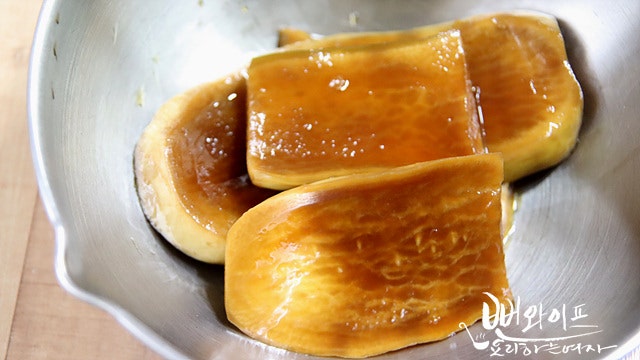
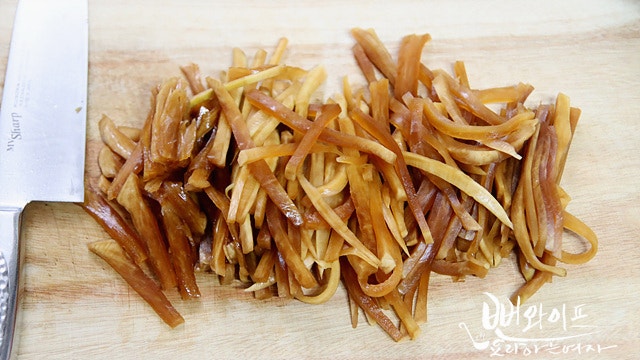
I took out a few pieces of mu jangajji made a month ago to toss them in seasoning.
Since the pieces are thick, slice them once or twice and then julienne finely...
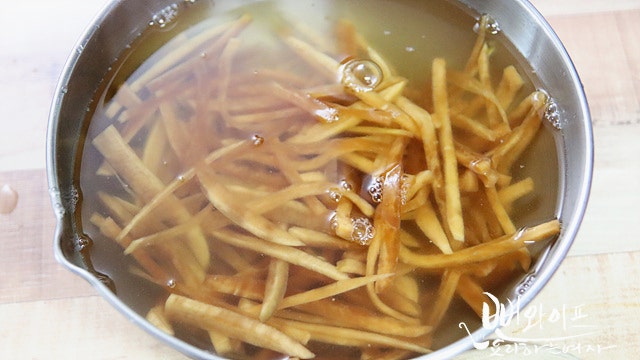
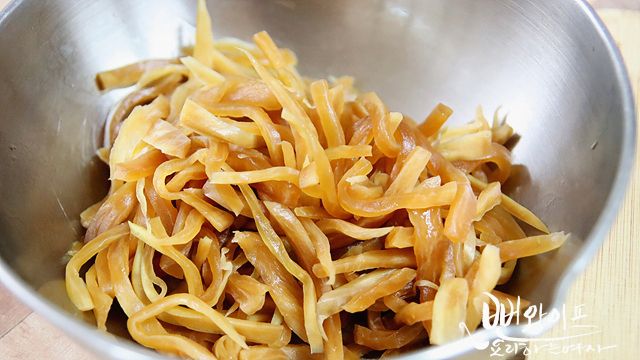
Soak in water for at least 5 minutes to tone down the saltiness to a pleasant level, then squeeze out the moisture thoroughly.
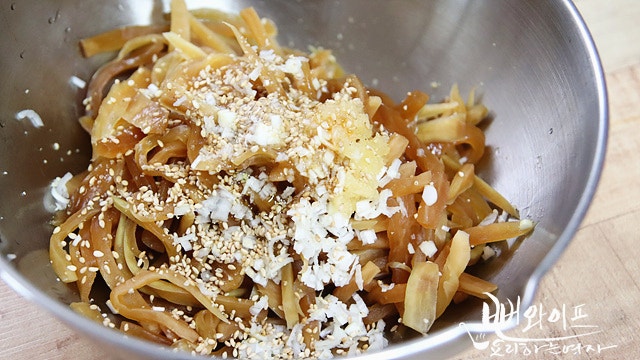
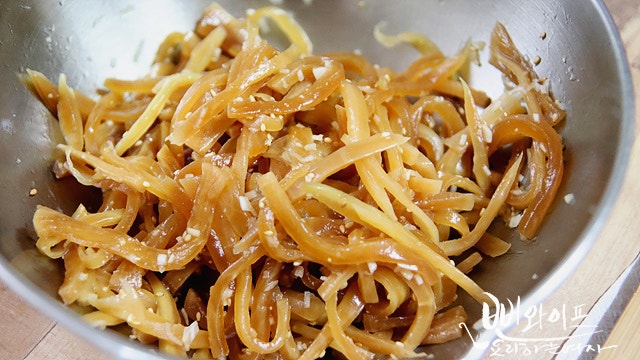
Add minced garlic, minced green onion, corn syrup (mulyeot), vinegar, and toasted sesame oil, and toss to your taste to complete this rice-stealing seasoned mu jangajji.
Finish
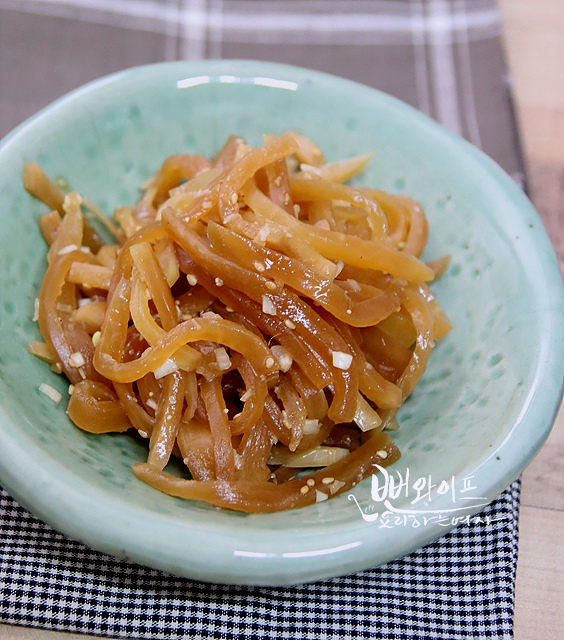
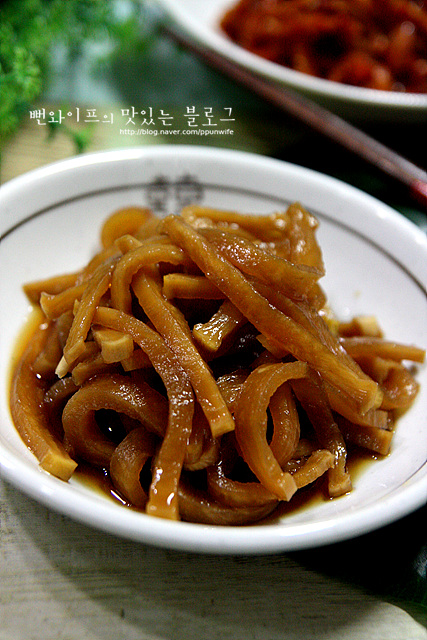
As moisture leaves the radish and the soy sauce brine seeps in, you get that distinct, delightfully crunchy bite.
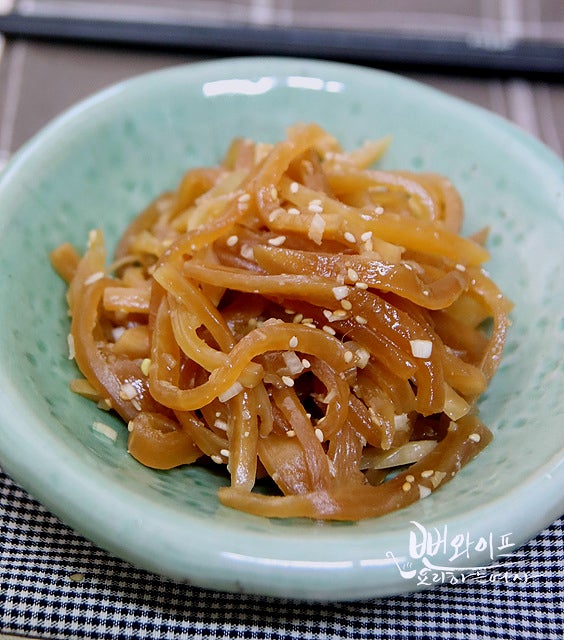
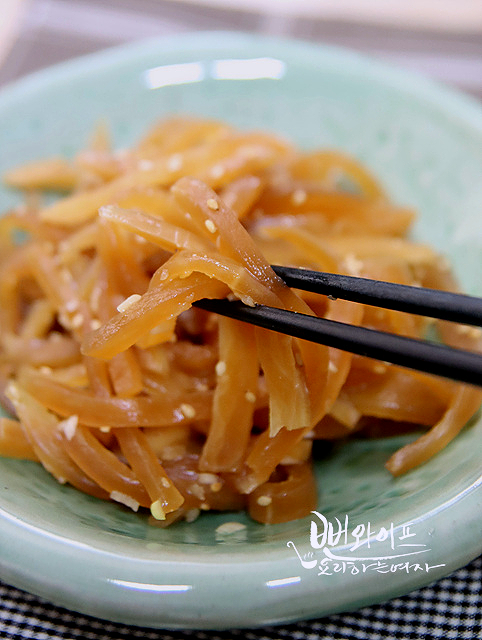
Made like this once, you can enjoy delicious mu jangajji without boiling the brine until it is completely finished without it spoiling.
On mornings when your mouth feels rough, having this alongside rice in water or nurungji (scorched rice soup) instantly revives your appetite.
 Ppunwife's tips
- If you pour enough soy sauce to just cover the radish, pressing down with a plate will submerge the pieces completely in the soy sauce brine. If the radish is still not submerged after pressing with a plate, pour in more soy sauce.
- Keep the radish from floating above the soy sauce brine so it ages properly without spoiling.
- You can collect as much of the drained sugar syrup as needed and reuse it in place of water for braised fish dishes.
- Once the mu jangajji is finished, bring the leftover soy sauce to a rolling boil, let it cool, and use it to make other pickles.
FAQ
Is there a reason to leave the radish peel on?
Autumn radishes have thin skins and are mild, and the signature crunchy texture comes from the skin, so it is best to trim away only damaged spots and use them unpeeled.
How can I use the leftover sugar syrup from curing?
Do not throw away the sugar syrup drawn from the radish; save it and reuse it in place of water in dishes such as braised fish.
Do I need to boil the soy sauce brine again during storage?
Because soju is added during pickling, it keeps without spoiling until it is all eaten, without needing to reboil and pour the soy sauce.
How do I adjust the saltiness when seasoning the finished pickles?
Soaking the julienned mu jangajji in cold water for at least 5 minutes draws out excess salt; simply squeeze out the water firmly before tossing with seasonings.