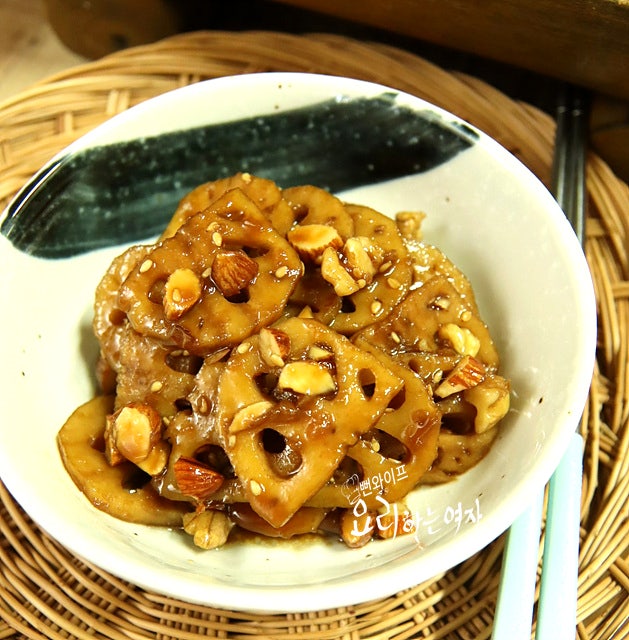
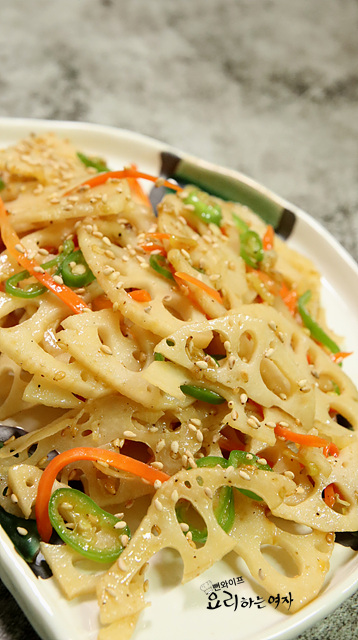
Crisp and Chewy Yeongeun Jorim (Braised Lotus Root)
A side dish of lotus root rinsed in vinegar water, sautéed in oil, and braised in a sweet and savory soy sauce glaze.
Translated from Korean by AI and not yet checked by a native speaker. Amounts and numbers are taken directly from the original recipe. Read the Korean original →
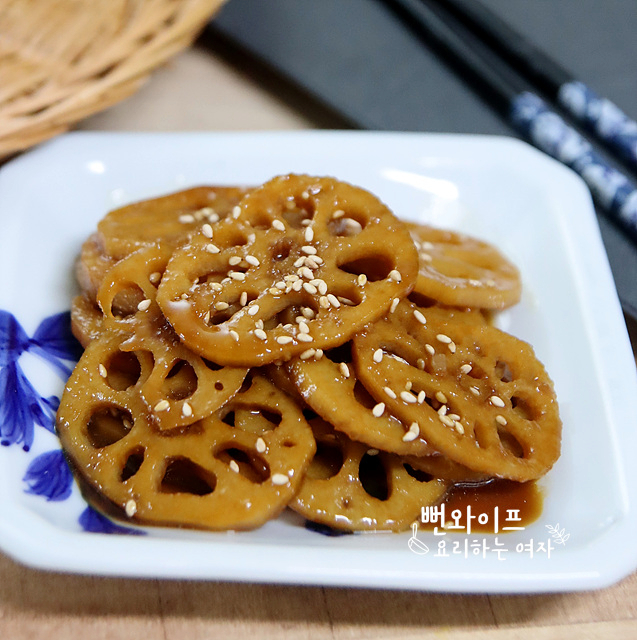
This side dish uses autumn seasonal lotus root, coating it first in oil before braising so it holds its shape while staying both crisp and chewy. Mildly seasoned with a sweet and savory sauce, it is an easy dish for anyone to enjoy.
- Servings
- about 4 servingsOriginal: 2 plates
- Cook time
- 10 minprep not included
- Difficulty
- Easy
- Spiciness
- Not spicy
Ingredients
Ingredients
- Lotus root350 g (after cleaning)
- Vinegar3 tbsp
Seasoning
- Water2 cups
- Minced garlic1 tbsp
- Regular soy sauce (jin-ganjang) (or brewed soy sauce (yangjo-ganjang))4 tbsp
- Dark brown sugar (or brown sugar)2 tbsp
- Mirin (cooking rice wine)2 tbsp
- Rice syrup (jocheong) (or corn syrup (mulyeot))2 tbsp
- Toasted sesame oil1 tbsp
- Toasted sesame seeds1 tbsp
- Peel the lotus root with a peeler, then slice it to 0.5 cm thick for a crisp texture, or thinner if you want a chewier texture.
- To remove any dirt trapped in the holes and eliminate the root's natural stickiness, soak it in water mixed with three tablespoons of vinegar, shake to rinse, and drain in a colander.
Steps
Prepare the ingredients
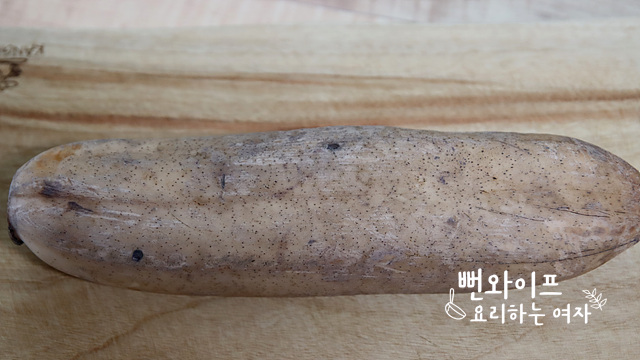
I prepared one lotus root.
It was purchased from the supermarket, so it came pre-washed with hardly any dirt on it.
Prep the lotus root
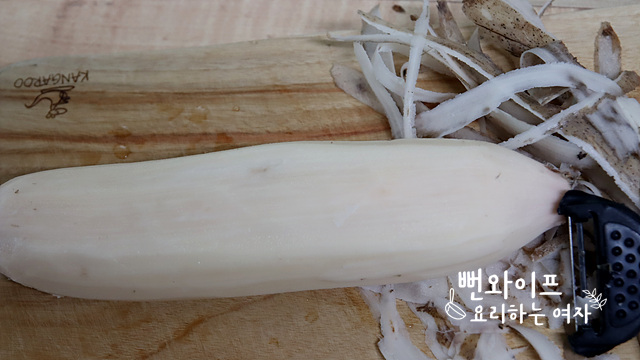
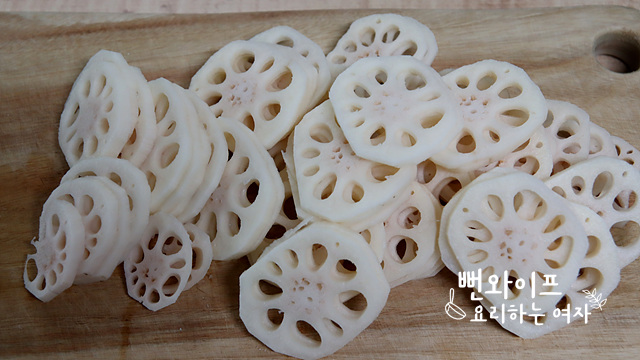
Peel the lotus root with a peeler, then slice it to 0.5 cm if you want a crisp texture, or slice it thinner for a chewy texture.
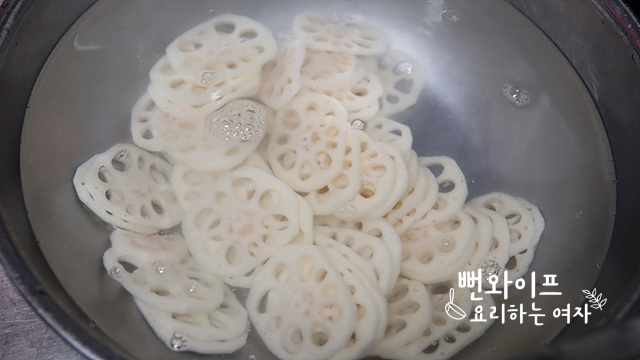
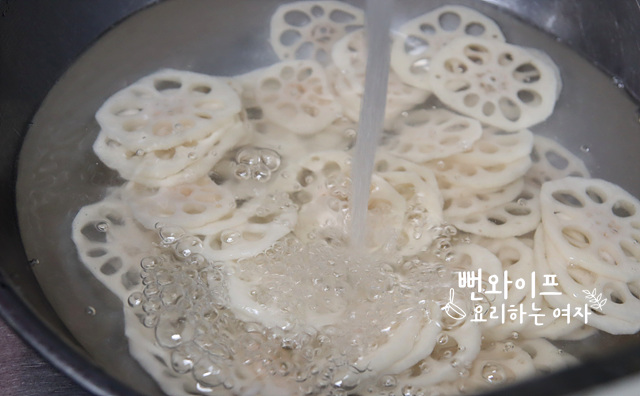
Soak the slices in water mixed with three tablespoons of vinegar and swish them around to wash away any dirt trapped in the holes and remove the characteristic stickiness of the lotus root.
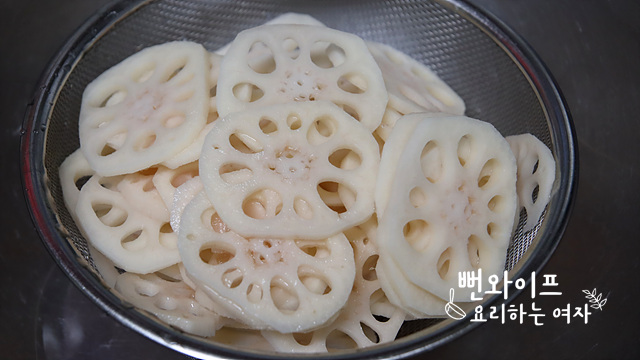
Drain in a colander.
3. Sauté the lotus root
Sauté the lotus root
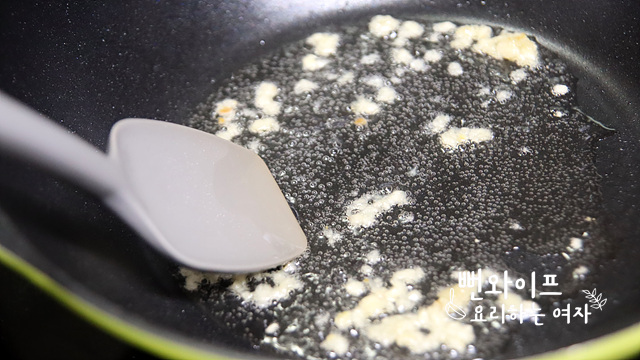
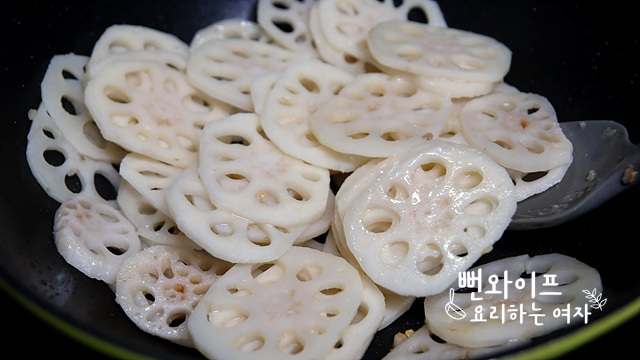
Add 1 tbsp of minced garlic to an oiled pan and stir-fry briskly until fragrant.
Add the lotus root and sauté until the edges turn translucent.
Stir-frying briefly in oil coats the exterior and cooks it lightly so it does not break apart easily even when thoroughly braised in the sauce.
Braise the lotus root
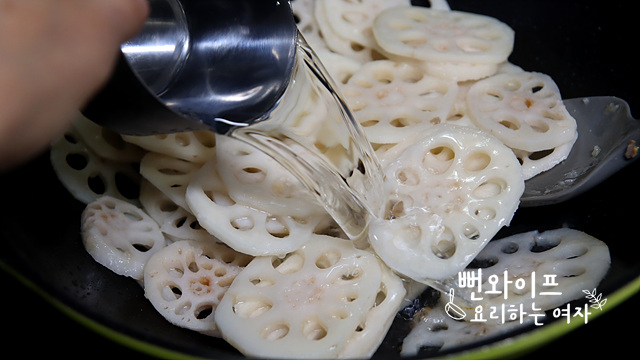
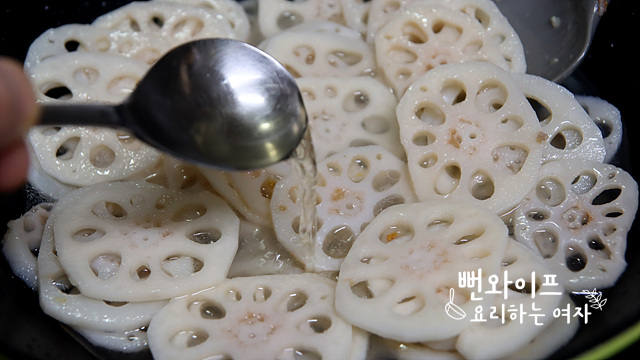
Pour in 2 cups of water...
2 tbsp of mirin...
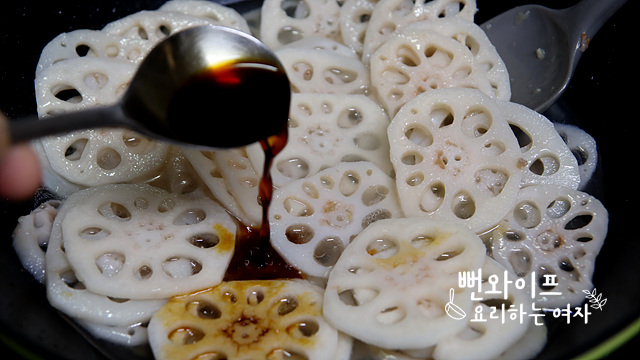
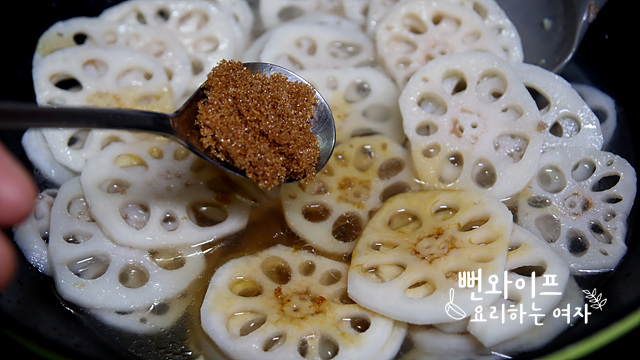
Add 4 tbsp of regular soy sauce (jin-ganjang) (or brewed soy sauce) and 2 tbsp of dark brown sugar (or brown sugar, white sugar).
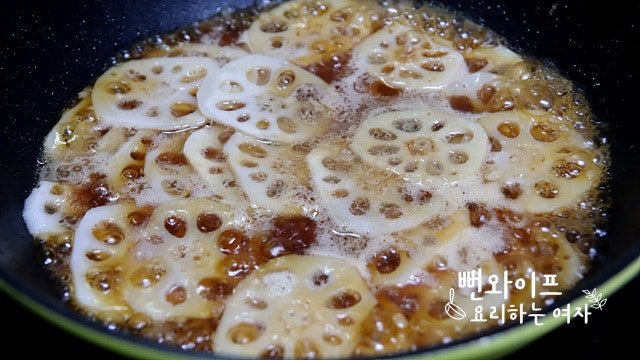
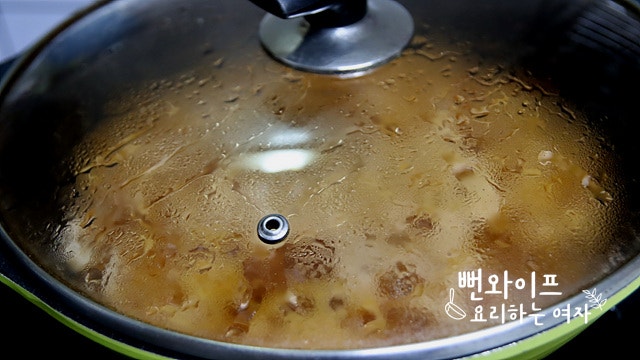
Once it comes to a rolling boil, cover with a lid and cook over low heat for about 10 minutes so it cooks through evenly.
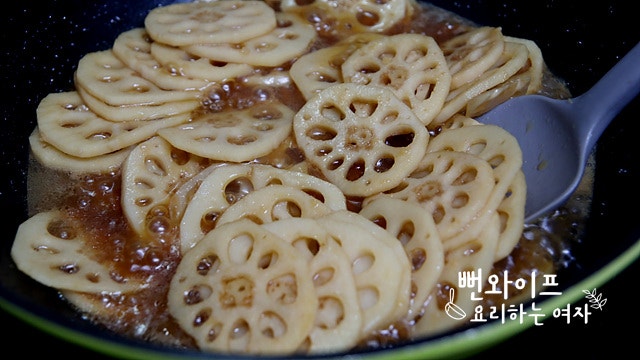
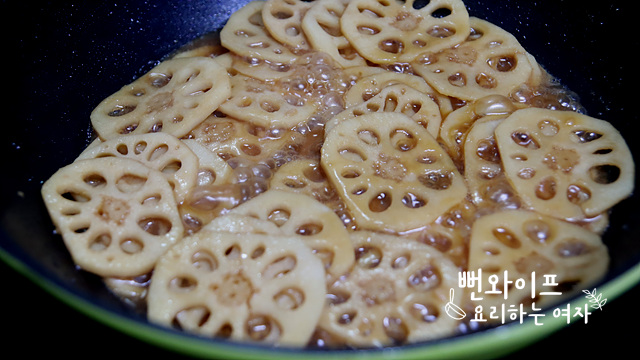
Uncover and continue braising the remaining sauce until it boils down and becomes shallow.
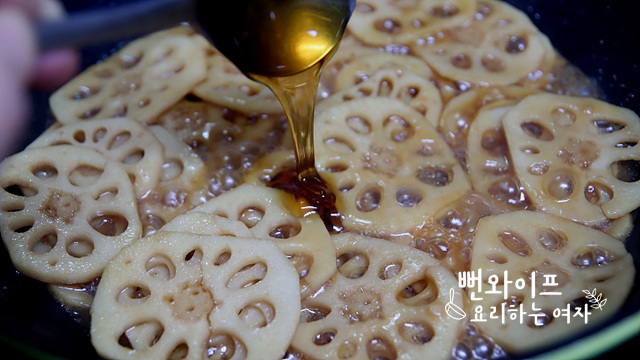
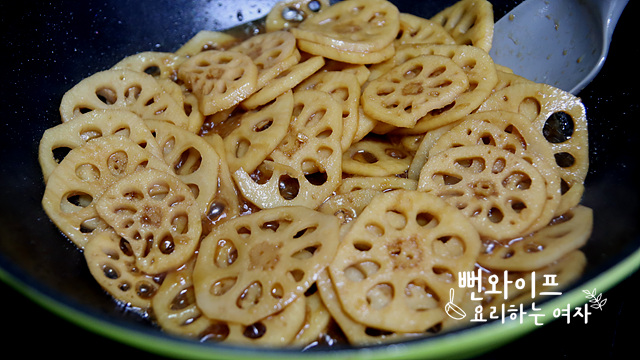
To add the missing shine and sweetness, add 2 tbsp of rice syrup (jocheong) or corn syrup and braise further.
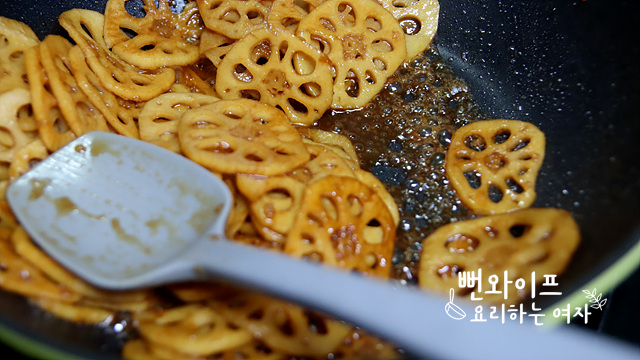
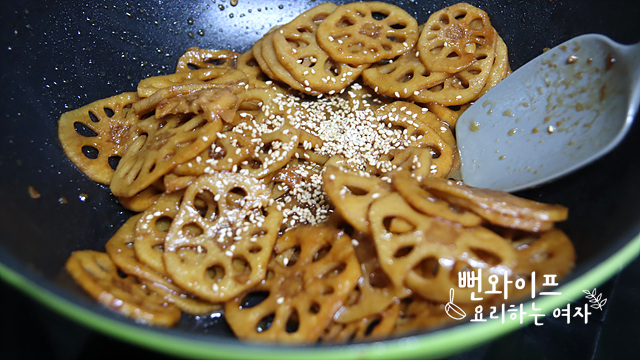
When just a small amount of sauce remains, turn off the heat and finish by stirring in 1 tbsp of toasted sesame oil and 1 tbsp of toasted sesame seeds.
Finish
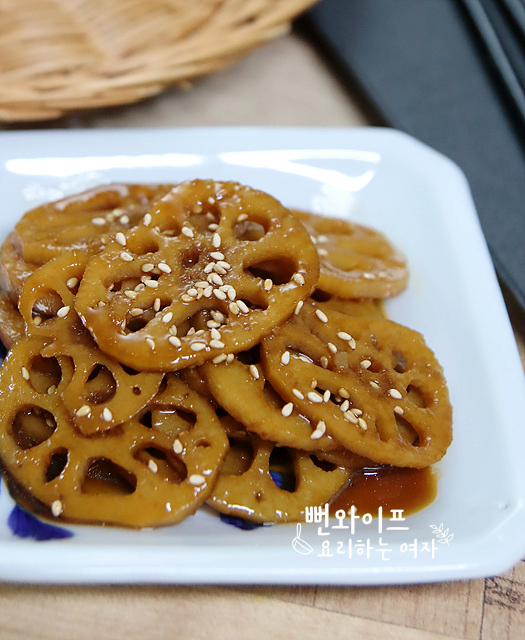
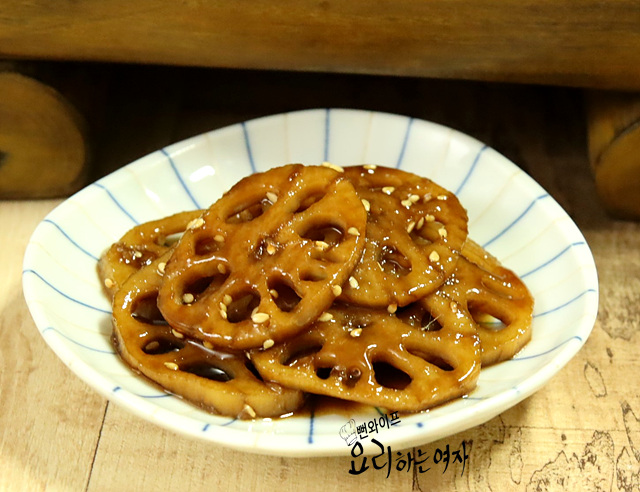
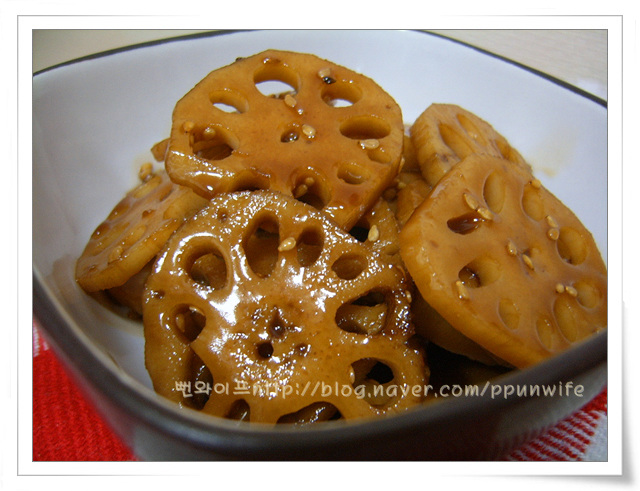
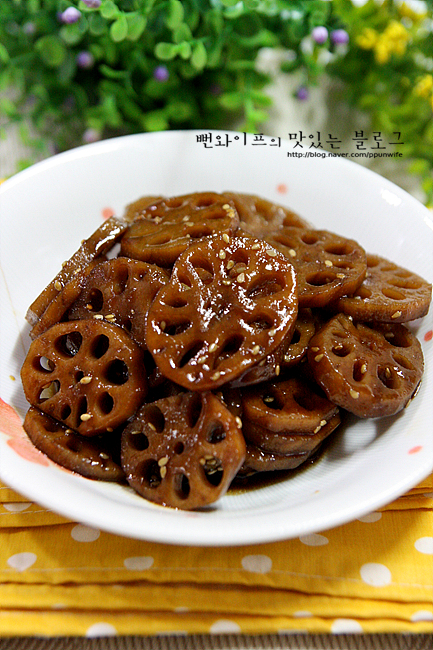
The braised lotus root is done.
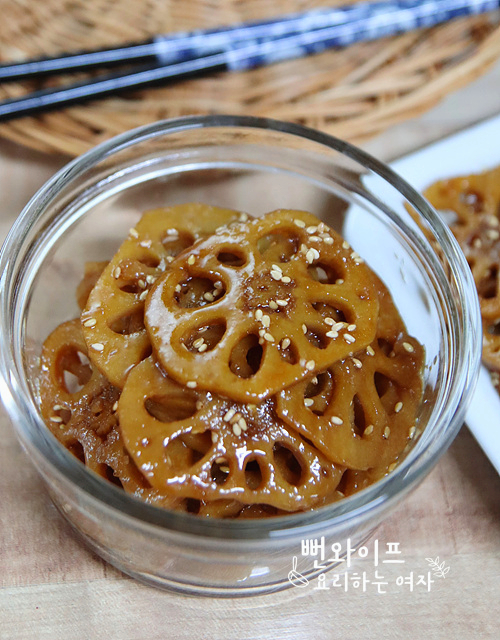
It has braised down with a lovely, shiny glaze.
The seasoning has soaked all the way through to the inside.
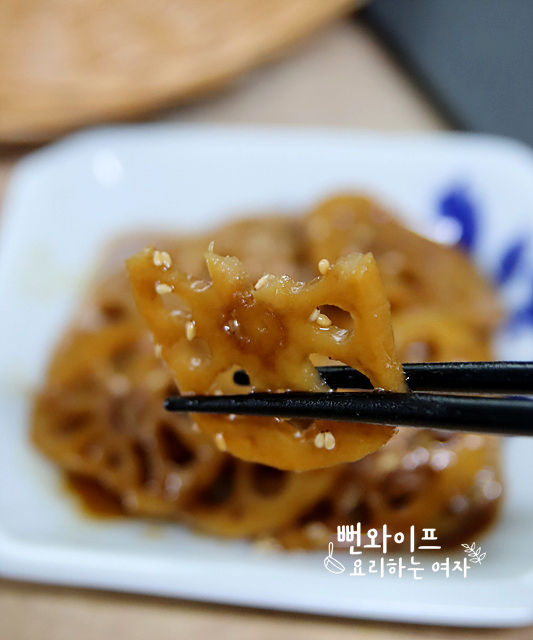
Slice it not too thin to keep its pleasant bite, and enjoy the chewy taste of braised lotus root.
 Ppunwife's tips
- Stir-frying briefly in oil coats the exterior and cooks it lightly so it does not break apart easily even when thoroughly braised in the sauce.
FAQ
How thick should the lotus root be sliced?
If you want to keep a crisp bite, slice it to around 0.5 cm; if you prefer a chewier texture, slice it thinner before cooking.
Why is the lotus root sautéed in oil before braising?
Coating the exterior in oil and lightly cooking it beforehand keeps the lotus root from breaking apart easily during a long braise.
Why do you soak it in vinegar water during prep?
It removes any dirt left inside the holes and neatly gets rid of the root's characteristic sticky mucilage.
At what stage should the rice syrup or corn syrup be added?
Add it once the braising liquid has reduced and become shallow so that it properly adds shine and sweetness.